
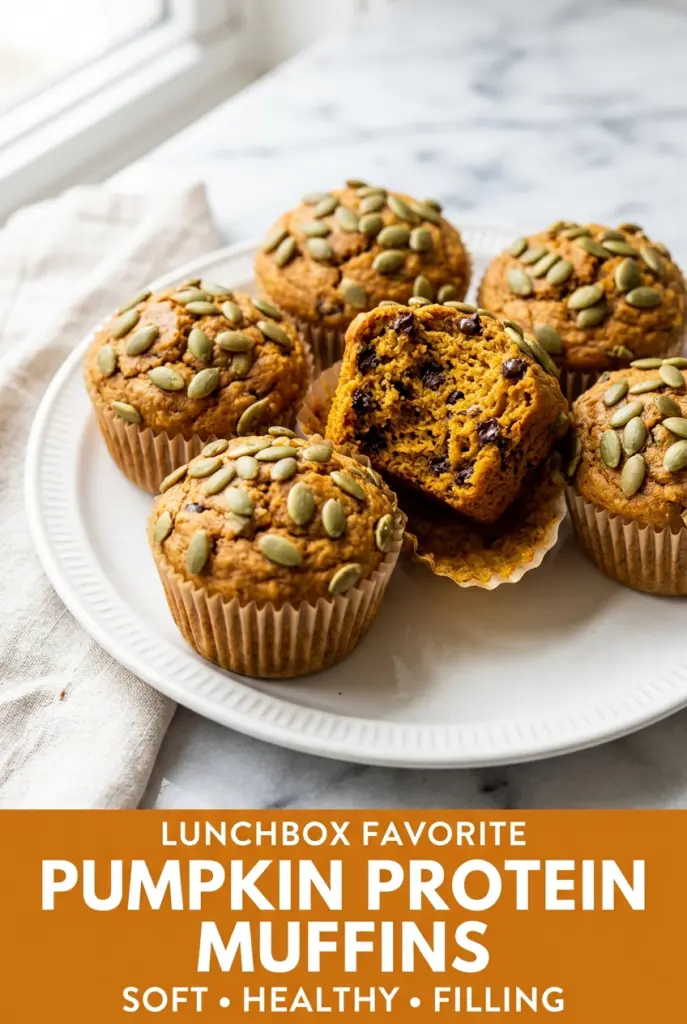
Pumpkin Protein Muffins for Lunchboxes
Soft pumpkin muffins with a sturdy, tender crumb are the kind of breakfast you keep reaching for because they hold up in a lunchbox and still taste good hours later.…

By Ava
•
•
Reading time: 9 min
Tip: save now, make later.
Soft pumpkin muffins with a sturdy, tender crumb are the kind of breakfast you keep reaching for because they hold up in a lunchbox and still taste good hours later. The pumpkin keeps them moist, the protein powder gives them a little more staying power, and the warm spice pattern lands somewhere between cozy and practical. They’re sweet enough to feel like a treat, but not so sweet that they start tasting like dessert by 10 a.m.
The part that makes these work is the balance between oat flour, pumpkin puree, and a few ingredients that keep the crumb from turning gummy. Oat flour gives a soft, almost cake-like texture, but it can get dense fast if you overmix it. Greek yogurt and applesauce bring extra moisture without making the batter heavy, and the protein powder is tucked in at a level that boosts nutrition without drying everything out. A gentle hand at the mixing bowl matters more here than speed.
Below, I’ve included the small details that keep the muffins tender, plus the swaps that still work when you need to use what’s already in the pantry. If you’ve had protein muffins come out dry, rubbery, or oddly bland, the notes here will help you avoid those traps.
The muffins came out soft instead of dense, and the pumpkin spice was just right. I used the chocolate chips on top and my kids grabbed two each for breakfast before school.
Save these pumpkin protein muffins for the mornings when you need a soft, spiced breakfast that packs well and stays tender for days.
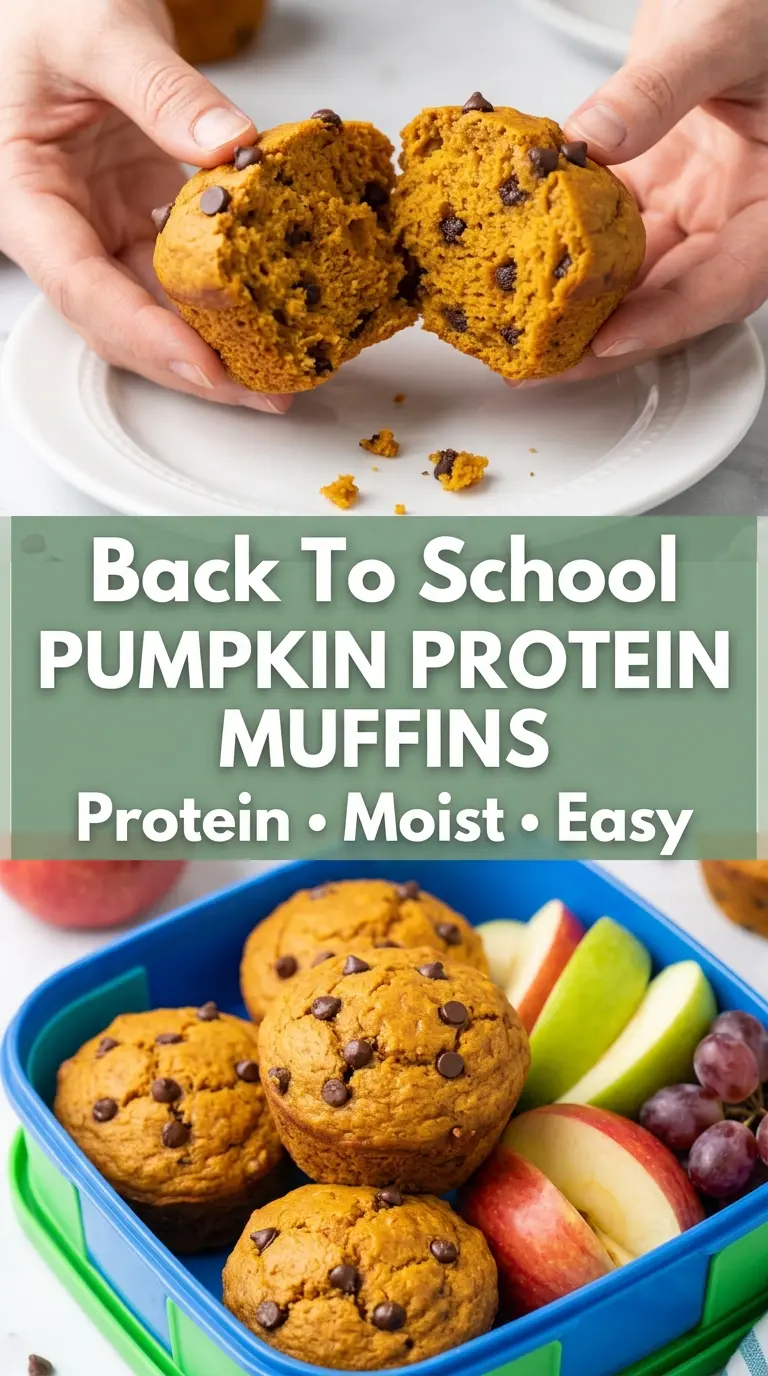
The Part That Keeps Protein Muffins From Turning Dry
Protein muffins usually fail for one of two reasons: the batter gets overworked, or the dry ingredients outnumber the moisture enough that the finished muffin bakes up chalky. Oat flour is soft, but it doesn’t behave exactly like all-purpose flour, and protein powder makes that more obvious. The answer isn’t more liquid dumped in at the end. It’s a batter that starts balanced and stays barely mixed.
Another common issue is baking too long because the tops still look pale when the centers are already done. These muffins should spring back lightly when touched and a toothpick should come out with a few moist crumbs, not a wet streak of batter. If they go from perfect to dry, it usually happens in the last few minutes. Pull them the moment the centers are set.
- Oat flour — This gives the muffins their soft, tender structure. If you only have oats, grind them into a fine flour first; a coarse grind makes the crumb sandy.
- Vanilla protein powder — Different brands behave differently, and whey tends to dry out faster than plant-based blends. If your powder is sweetened heavily, reduce the maple syrup a little so the muffins don’t turn cloying.
- Pumpkin puree — Use pure pumpkin, not pumpkin pie filling. Pie filling already contains sugar and spices, which throws off both the texture and the balance of the batter.
- Greek yogurt — This adds moisture and a little tang that keeps the muffins from tasting flat. Plain regular yogurt works in a pinch, but the batter will be a bit looser.
- Applesauce — It softens the crumb without adding noticeable flavor. If you swap it for more pumpkin, the muffins still work, but they’ll be denser.
Mixing Just Until the Batter Comes Together
Dry Ingredients First
Whisk the oat flour, protein powder, baking powder, spices, and salt until the mixture looks even and no clumps of protein powder remain. That quick whisk matters because protein powder tends to hide in little pockets and bake up unevenly if it isn’t distributed well. If you skip this, some muffins taste underseasoned while others get an odd dry bite.
Wet Ingredients Until Smooth
In a separate bowl, whisk the eggs, pumpkin puree, maple syrup, yogurt, applesauce, melted coconut oil, and vanilla until the mixture looks glossy and uniform. The oil should be cool enough that it doesn’t scramble the eggs. If your coconut oil starts to solidify on contact, warm the bowl briefly or use another neutral oil.
Fold, Don’t Beat
Pour the wet mixture into the dry ingredients and stir just until the last streaks disappear. The batter will be thick, and that’s what you want. Overmixing tightens oat flour batter fast, which gives you squat muffins with a gummy middle instead of a soft crumb.
Bake Until the Centers Set
Fill the muffin cups about three-quarters full, add the pumpkin seeds, and bake until the tops are lightly golden and the centers spring back when touched. A toothpick should come out clean or with a few moist crumbs. If it comes out wet, give them a few more minutes and check again rather than baking by the clock alone.
Make Them Dairy-Free
Swap the Greek yogurt for an unsweetened dairy-free yogurt with a thick texture, like coconut or almond yogurt. The muffins will still stay moist, but they may be slightly less tangy and a touch more delicate.
Skip the Chocolate Chips
Leave out the mini chocolate chips and add a few extra pumpkin seeds on top for a more breakfast-forward muffin. You lose a little sweetness, but the pumpkin and spice become more noticeable.
Use a Different Protein Powder
Whey, casein, and plant-based powders all absorb moisture differently, so the batter may need a small adjustment. If it looks overly thick and crumbly before baking, stir in a tablespoon or two of milk or water; if it looks loose, add a spoonful of oat flour.
Storage and Reheating
- Refrigerator: Store in an airtight container for up to 4 days. The tops soften a little, but the crumb stays moist.
- Freezer: These freeze well. Wrap individually or freeze in a single layer, then move to a bag or container for up to 3 months.
- Reheating: Warm from frozen or chilled in the microwave for 15 to 25 seconds. Don’t overheat them or the protein powder can make the texture dry and spongy.
Answers to the Questions Worth Asking
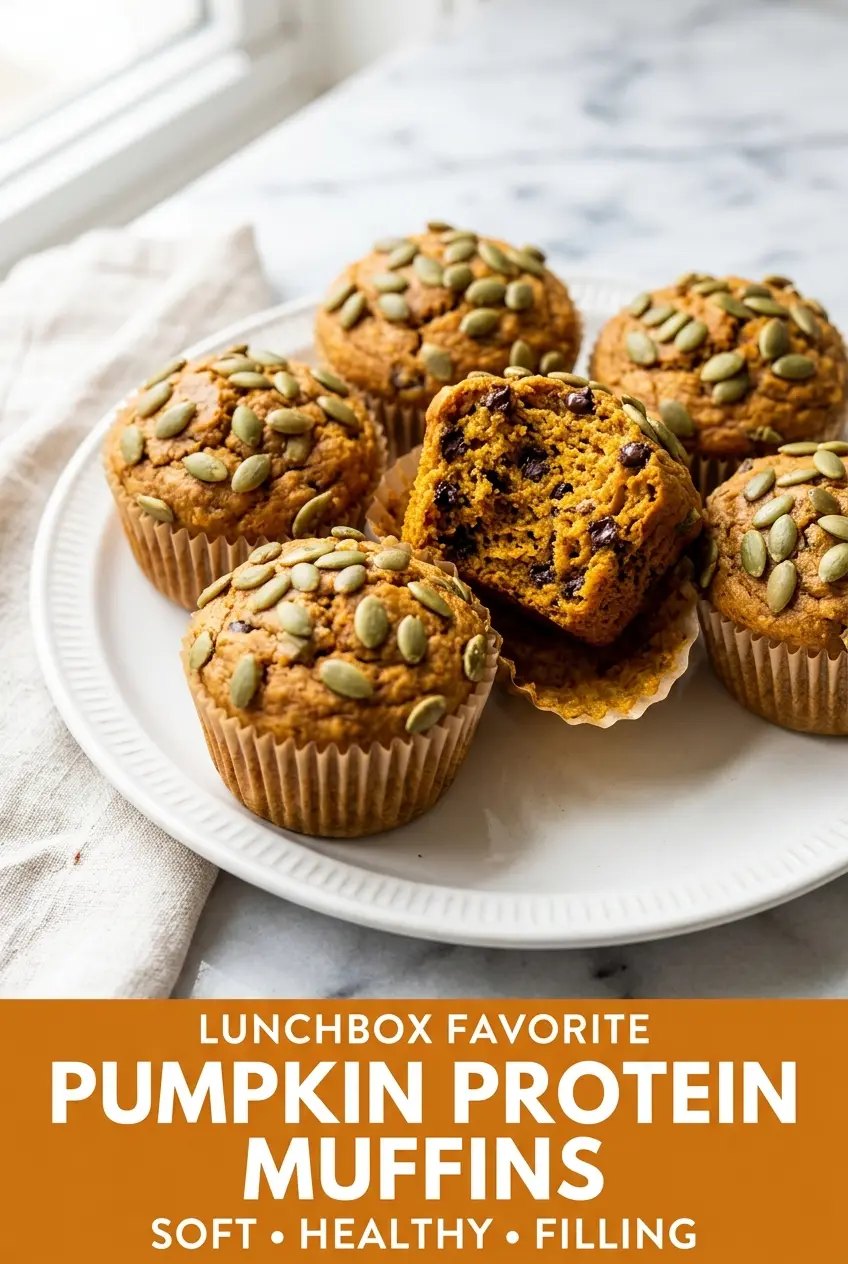
Pumpkin Protein Muffins for Lunchboxes
Ingredients
Equipment
Method
- Preheat the oven to 350°F. Line a 12-cup muffin pan with paper liners or lightly grease each cup.
- Whisk the oat flour, vanilla protein powder, baking powder, pumpkin pie spice, ground cinnamon, ground nutmeg, and salt in a large bowl until evenly combined. Stop mixing when you see no dry spice pockets.
- Whisk the eggs, pumpkin puree, maple syrup, plain Greek yogurt, unsweetened applesauce, melted coconut oil, and vanilla extract in another bowl until smooth. The mixture should look glossy and uniform.
- Pour the wet ingredients into the dry ingredients and stir gently until just combined. Fold in the mini chocolate chips, if using.
- Divide the batter evenly among the muffin cups, filling each about three-quarters full. Sprinkle the tops with pumpkin seeds so they stay visible after baking.
- Bake at 350°F for 18–22 minutes, until a toothpick inserted into the center comes out clean and the tops are lightly golden. Look for domed tops and set centers rather than wet batter.
- Cool in the pan for 5 minutes, then transfer the muffins to a wire rack to cool completely. This prevents soggy bottoms and helps them hold their shape.