
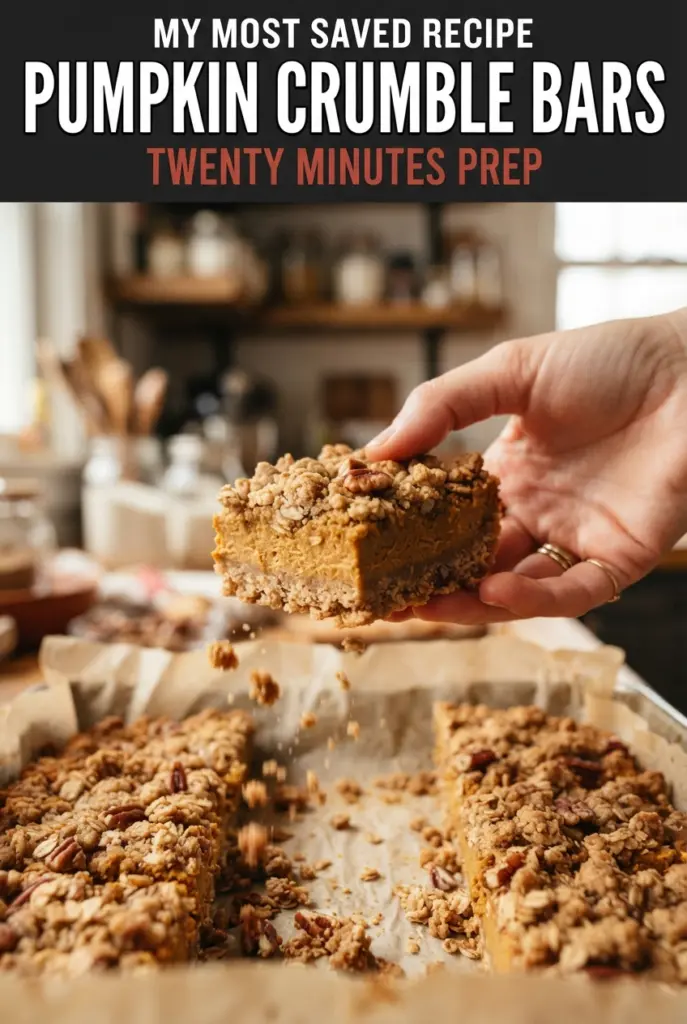
Pumpkin Crumble Bars with Brown Sugar Oat Crumble
Pumpkin crumble bars hit that sweet spot between a baked pumpkin custard and a sturdy dessert bar, with a buttery oat crust that stays chewy instead of going dry and…

By Ava
•
•
Reading time: 9 min
Tip: save now, make later.
Pumpkin crumble bars hit that sweet spot between a baked pumpkin custard and a sturdy dessert bar, with a buttery oat crust that stays chewy instead of going dry and a spiced filling that slices cleanly once it’s chilled. The topping bakes into crisp, golden clusters, so every bite gives you soft pumpkin, tender crumb, and a little crunch at the edges.
What makes this version work is the one-bowl crumble mixture used for both the base and the topping. Pressing most of it into the pan creates a firm foundation, while the reserved portion stays loose enough to brown into those rough, crackly bits people reach for first. Sweetened condensed milk does the heavy lifting in the filling, giving it body and a smooth texture without needing a water bath or extra fuss.
You’ll find the small details that keep these bars from turning soggy, plus the timing that helps the center set without overbaking the oats on top. If you’ve ever had pumpkin bars that fell apart on the plate, this method fixes that.
The crumble stayed crisp on top, and the filling set up perfectly after chilling. I cut them into neat squares for a bake sale and they disappeared before lunch.
Keep these pumpkin crumble bars for the days when you want a make-ahead dessert with a chewy oat base and a crisp brown sugar topping.
The Reason the Crumble Needs to Be Split Before It Hits the Pan
The biggest mistake with crumb bars is using the entire mixture as a loose topping and hoping it behaves like a crust. It won’t. You need a portion pressed firmly into the pan so the butter can set into a base, and you need the rest left in rough clumps so the oven can turn it into those crisp, nubby bits on top.
Baking the crust for a short head start matters too. That 10-minute bake gives the base enough structure to hold the pumpkin layer without turning pasty underneath. Skip that step and the filling can soak in before the oats have a chance to set.
- Pressed crust: The packed layer keeps the bars sliceable. If you press it loosely, the bottom falls apart when you lift the first square.
- Reserved crumble: Larger clumps brown better than fine sand. Pinch some of the mixture together before scattering it over the filling.
- Par-baking: This is what protects the bottom from going gummy. It’s a short bake, not a full bake, so the base still finishes with the bars.
What Each Ingredient Is Doing in the Filling and the Crumble
- Old-fashioned rolled oats: These give the bars their chewy structure and keep the crumble from turning sandy. Quick oats work in a pinch, but the texture gets tighter and less defined.
- All-purpose flour: This binds the crumble just enough to hold together after baking. A 1:1 gluten-free flour blend works well here if you need a gluten-free version.
- Light brown sugar: Brown sugar brings moisture, caramel notes, and a softer chew than white sugar alone. Pack it firmly when measuring so the crumble isn’t dry and loose.
- Melted butter: Melted butter coats every oat and flour particle, which is what creates those clumpy topping pieces. If the mixture looks too dry to hold together, it wasn’t fully mixed or the butter cooled too much before stirring in.
- Pumpkin puree: Use pure pumpkin, not pumpkin pie filling. Pie filling is already sweetened and spiced, which throws the balance off and can make the bars too soft.
- Sweetened condensed milk: This is the ingredient that gives the filling its creamy, set texture without a separate custard base. There isn’t a perfect substitute here, because it brings both sweetness and thickness at the same time.
- Pumpkin pie spice and vanilla: These round out the pumpkin so it tastes warm rather than flat. If your spice blend is old, the filling will taste dull no matter how good the pumpkin is.
Building the Bars So the Center Sets and the Top Stays Crisp
Mixing the Crumble Until It Clumps
Stir the oats, flour, brown sugar, cinnamon, baking soda, and salt together first so the spice and leavening are evenly distributed. Then add the melted butter and keep stirring until the mixture looks damp and forms small clumps when squeezed. If it still looks powdery, the bars won’t hold together; keep mixing until every dry patch disappears.
Pressing the Base and Giving It a Head Start
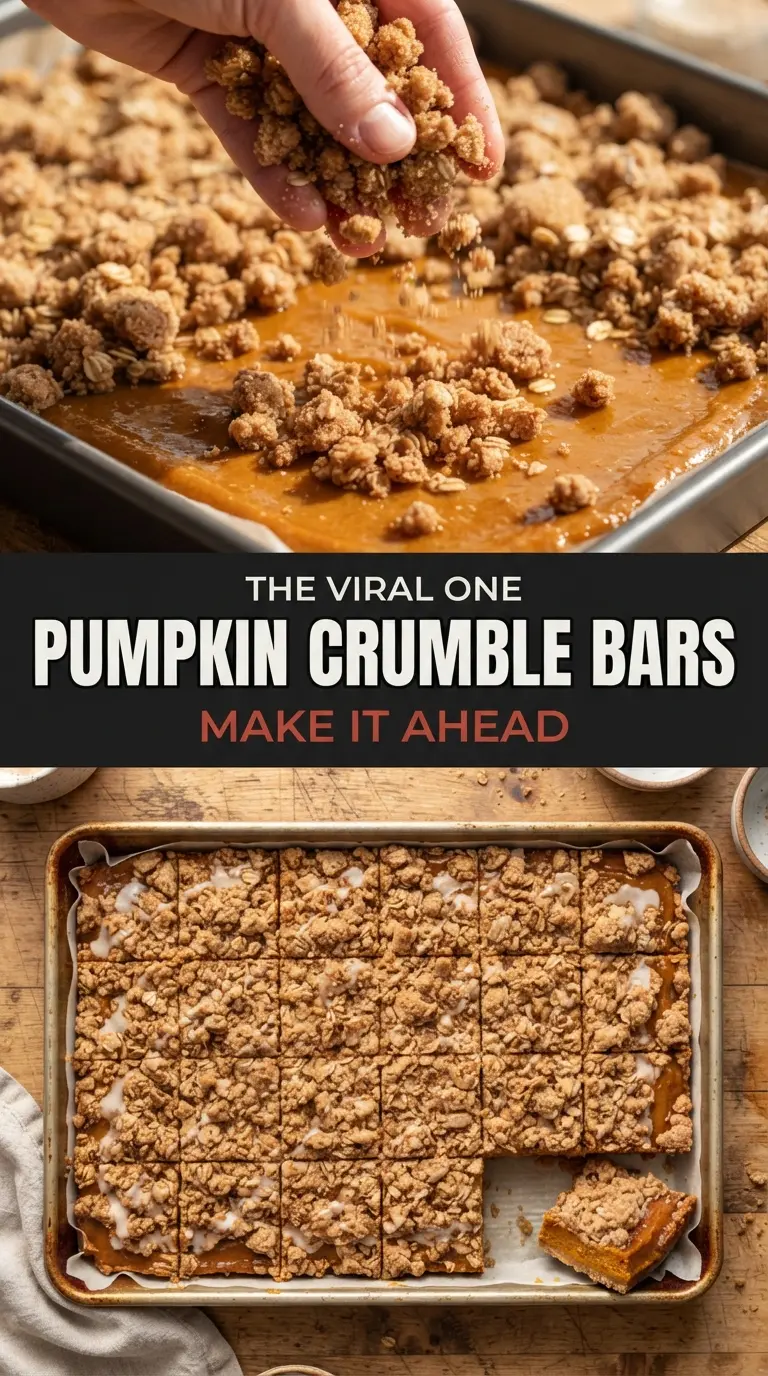
Use most of the crumble to form a firm, even layer in the pan. Press it down hard enough that it looks compact, especially into the corners and along the edges. Bake it until it just starts to turn golden; that short bake keeps the crust from absorbing too much moisture from the pumpkin filling.
Whisking a Smooth Pumpkin Layer
Whisk the pumpkin puree, sweetened condensed milk, eggs, spice, vanilla, and salt until the mixture is completely smooth and glossy. Any streaks of egg white will bake into little pale ribbons, so keep whisking until the filling looks uniform. Pour it over the warm crust while it’s still in the pan, then spread it gently to the corners.
Finishing with a Loose, Craggy Topping
Scatter the reserved crumble over the pumpkin layer, then squeeze some of it into bigger chunks before baking. Those larger pieces are what give the top its crunch instead of a dusty, even blanket. Bake until the center is set and the topping is deep golden brown; the middle should no longer wobble like liquid when you nudge the pan.
Gluten-Free Version
Swap the all-purpose flour for a 1:1 gluten-free baking blend that contains xanthan gum. The bars will still set and slice well, though the crumble will be a little more tender and less nubby than the wheat version.
Dairy-Free Adaptation
Use a plant-based butter that performs well in baking and a dairy-free sweetened condensed milk alternative. The flavor shifts a bit, but you still get the same layered texture and clean slices after chilling.
Extra-Spiced Filling
Add another 1/2 teaspoon of pumpkin pie spice if you want a stronger spice note, especially if your pumpkin puree tastes mild. Don’t push it much further unless you like a sharper finish, because the sweetened condensed milk softens the edge of the spices.
Storage and Reheating
- Refrigerator: Store in an airtight container for up to 5 days. The crumble softens slightly, but the bars still slice cleanly.
- Freezer: These freeze well. Wrap individual bars tightly and freeze for up to 2 months, then thaw in the refrigerator so the filling doesn’t weep.
- Reheating: Eat them chilled or let them sit at room temperature for about 15 minutes. If you warm them, do it briefly; too much heat softens the topping and makes the filling lose its clean cut.
Answers to the Questions Worth Asking
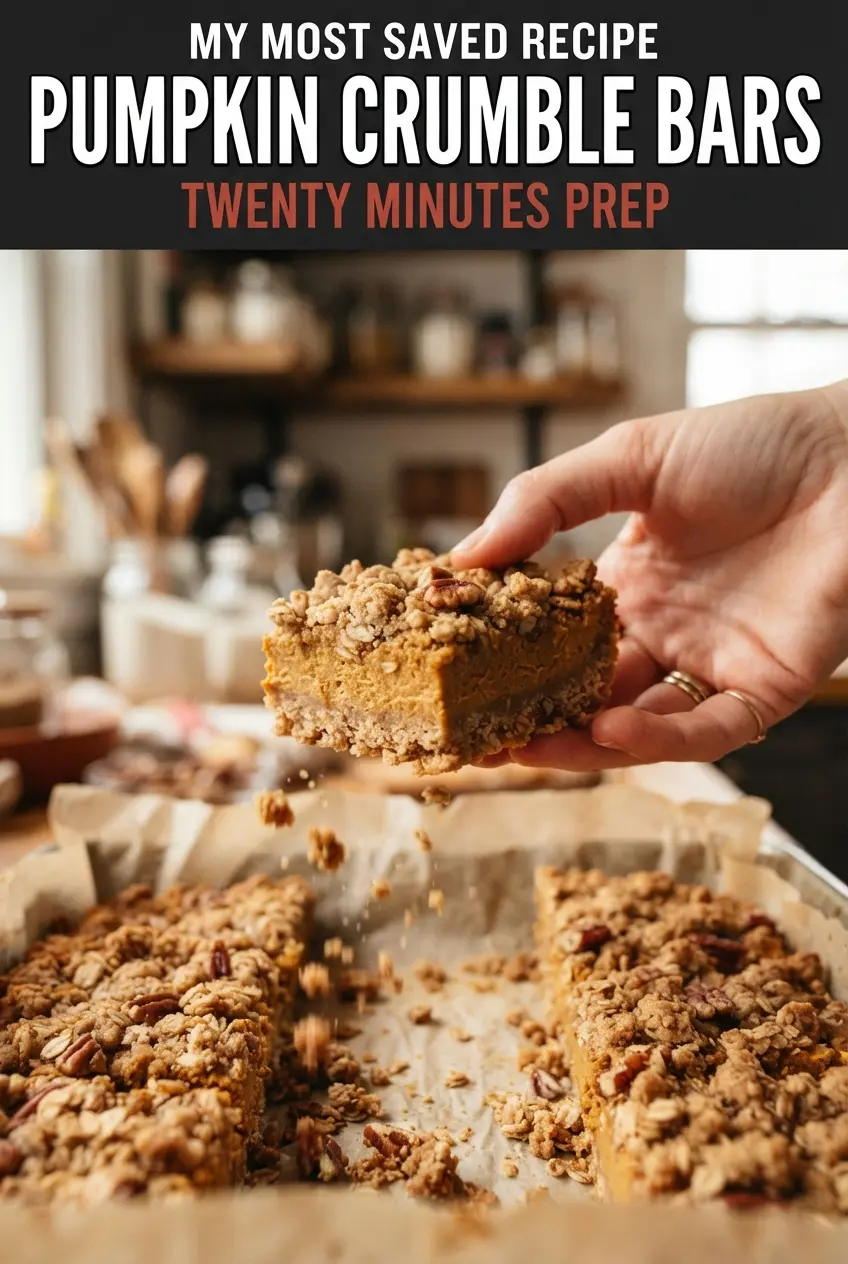
Pumpkin Crumble Bars with Brown Sugar Oat Crumble
Ingredients
Equipment
Method
- Preheat the oven to 350°F and line a 9x13-inch pan with parchment paper, leaving an overhang on the long sides.
- Stir together the old-fashioned rolled oats, all-purpose flour, light brown sugar, ground cinnamon, baking soda, and salt.
- Pour in the melted unsalted butter and stir until the mixture is moist and clumpy.
- Set aside 1½ cups of the crumble.
- Press the rest firmly into the pan and bake for 10 minutes, until lightly golden.
- Whisk the pumpkin puree, sweetened condensed milk, eggs, pumpkin pie spice, vanilla extract, and salt until smooth.
- Pour the pumpkin mixture over the warm crust.
- Scatter the reserved crumble over the filling, squeezing some of it into larger clumps.
- Bake for 30–35 minutes, until the center is set and the crumble topping is golden brown.
- Cool at room temperature for 1 hour.
- Refrigerate for at least 2 hours, until firm.
- If using the drizzle, whisk the powdered sugar and milk into a thin drizzle and zigzag it over the bars.
- Lift out with the parchment and cut into 24 bars.