
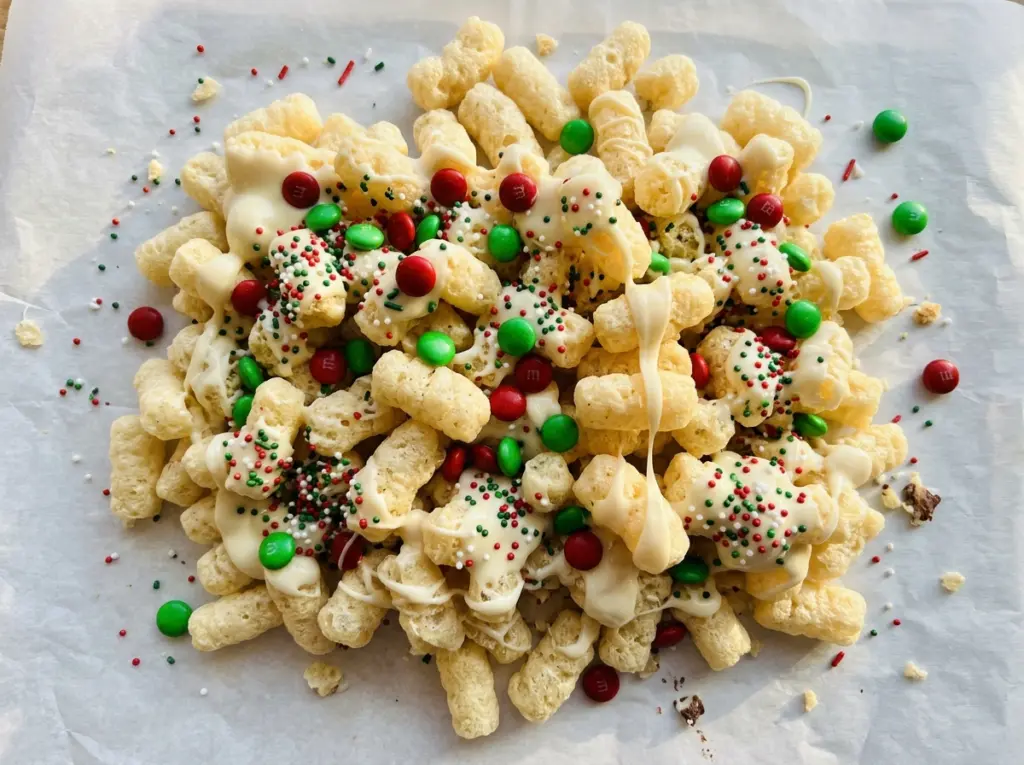
Puffcorn Christmas Munch
When the melted white chocolate first hits the puffcorn, it gathers in the airy ridges and turns each piece into a little crunchy bite. Fold too forcefully and those light…

By Ava
•
•
Reading time: 8 min
Tip: save now, make later.
When the melted white chocolate first hits the puffcorn, it gathers in the airy ridges and turns each piece into a little crunchy bite. Fold too forcefully and those light pieces break apart, leaving you with more crumbs than munch. I learned to use a broad, gentle motion and let the chocolate do the coating. That’s what makes this Puffcorn Christmas Munch feel generous and snackable instead of dense.
The method is simple, but the timing matters once the candy and sprinkles go in. I spread the mixture on the parchment-lined pan soon after folding, while the coating is still easy to move. Then it gets to set undisturbed at room temperature until the chocolate firms up. You end up with a cheerful, crisp treat that breaks into easy-to-grab pieces.
With just a few ingredients and no oven time, this makes a nice batch for a holiday snack table or a homemade treat tin. The white chocolate gives the puffcorn a sweet shell, while the red and green candies add pops of color and a little extra crunch.
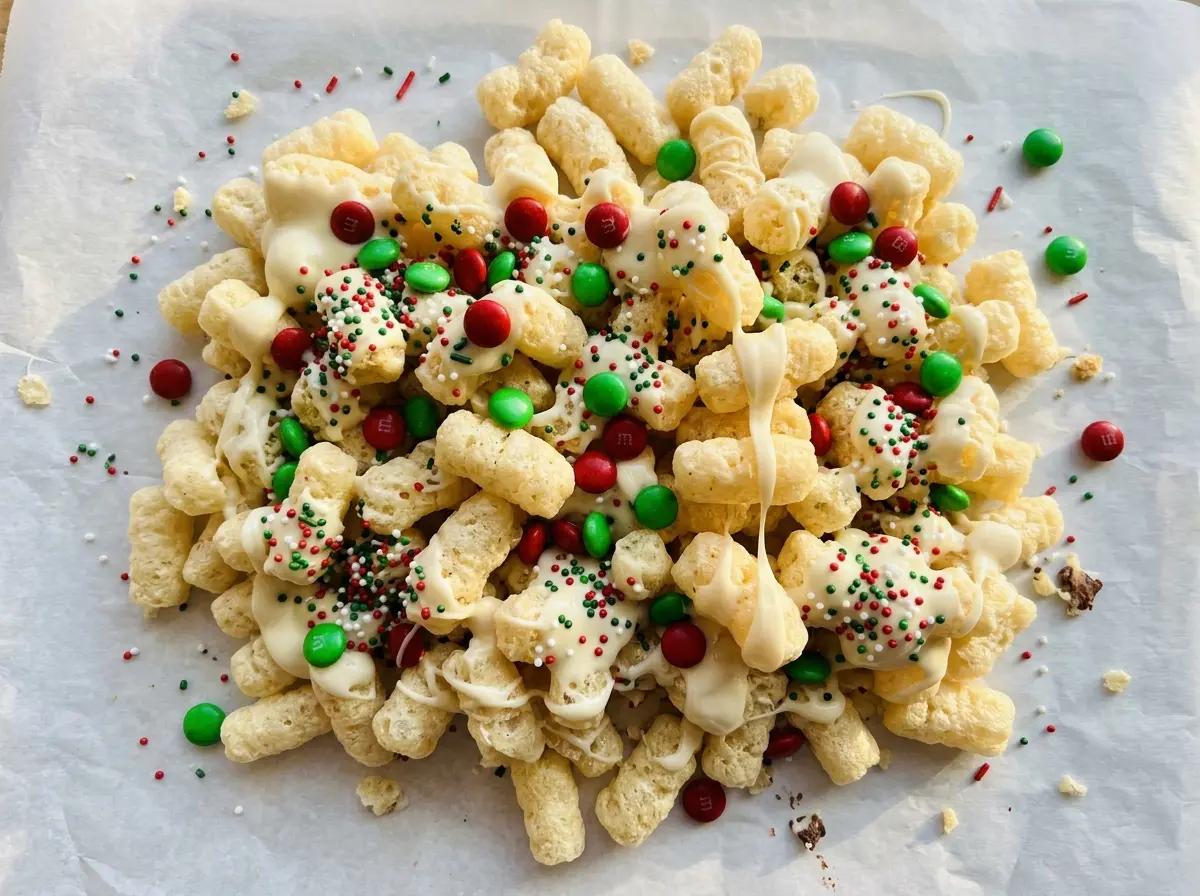
Kitchen Note
Once the candies and sprinkles are folded in, spread the mixture on the pan while the coating is still loose. If it sits in the bowl, the chocolate starts to firm around the puffcorn and makes spreading harder.
Save Puffcorn Christmas Munch for a no-bake holiday snack with sweet white chocolate, colorful candies, and a crisp, airy bite.
Why Puffcorn Needs a Gentler Fold Than Popcorn
Puffcorn is light and airy, so it doesn’t take much pressure to crush it. That matters more here than it does with a sturdy snack mix: every broken piece adds crumbs that can collect at the bottom of the bowl and leave the larger pieces less evenly coated. A slow fold keeps the puffcorn recognizable and gives the melted wafers a chance to cling to its ridges.
Use a large mixing bowl so there’s room to lift the mixture from the bottom instead of stirring in tight circles. Once the chocolate is poured over the puffcorn, turn it over gently until most pieces look coated. It’s fine if a few small areas remain less covered; pushing harder to chase every bare spot can break the puffcorn. The candies and sprinkles go in after the first coating, so they stay visible instead of disappearing beneath a long mixing session.
That airy structure is also why the mixture spreads best in a loose layer. The pieces don’t need to be arranged perfectly; separating them across the baking sheet gives the coating room to firm around the snack instead of setting as one solid mound.
What the Wafers, Puffcorn, and Candy Each Bring
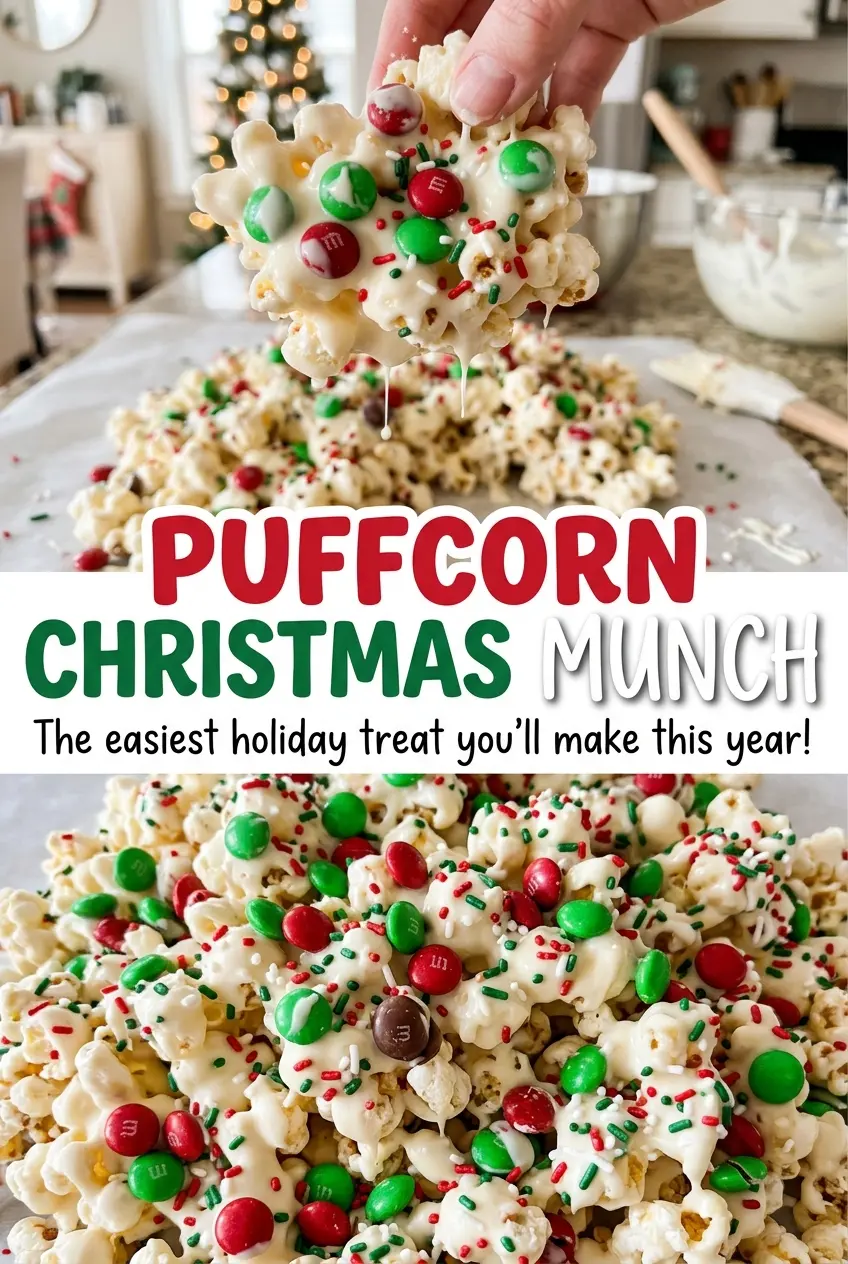
- Puffcorn — Its light, crisp texture is what keeps this snack from eating like a solid candy cluster. Choose a fresh bag so the pieces start crisp; another brand of puffcorn works as long as it’s the same style and amount. Regular popcorn isn’t a close swap because its shape and texture make the coating behave differently.
- White chocolate melting wafers — Wafers are made to melt smoothly for coating, which is useful when you’re covering a delicate snack. A different brand of white chocolate melting wafers is the simplest swap. White chocolate chips aren’t as dependable for a smooth coating, so I stick with wafers here rather than changing the chocolate.
- Red and green candy-coated chocolates — The crisp shell gives the soft-set chocolate coating a contrasting bite and keeps the holiday colors bright. Store-brand candy-coated chocolates are fine; choose the same red and green colors if you want the classic look.
- Holiday sprinkles — Sprinkles add color across the coating, including the spaces between the larger candies. Any red and green holiday sprinkle mix works; smaller shapes tend to distribute more evenly than large decorations.
Melting and Folding Without Crushing the Puffcorn
Set Up the Pan Before You Melt
Line an 18×13-inch rimmed baking sheet with parchment paper, then put the puffcorn in a large mixing bowl. Having the pan ready means the coated mixture can be spread while the chocolate is still workable. Keep the bowl roomy enough to fold without pressing the puffcorn against the sides. The parchment also makes it easier to lift and break apart the set pieces later.
Melt the Wafers Slowly
Put the white chocolate melting wafers in a microwave-safe bowl and heat them at 50% power in 30-second intervals. Stir after every interval, even if the wafers still look partly solid; the warmth in the melted chocolate helps soften the remaining pieces. They should turn smooth after about 1 to 2 minutes total. If you keep heating without stirring, the chocolate can overheat before the bowl looks fully melted.
Coat First, Then Add the Color
Pour the melted chocolate over the puffcorn and fold gently until the pieces are coated. Lift from the bottom of the bowl and turn the mixture over rather than stirring quickly. When most of the puffcorn has a light coating, fold in the candy-coated chocolates and sprinkles. A few lighter patches are better than crushing the snack to make every piece uniformly covered.
Spread It Out and Let It Firm
Transfer the mixture to the prepared baking sheet and spread it into a loose layer. Separate any large clumps gently so the pieces can set without sticking together in one thick mass. Let it stand at room temperature for about 30 minutes, until the chocolate is firm. It’s ready to break into snackable pieces when the coating no longer feels soft.
Easy Ways to Change the Look Without Changing the Crunch
Match the Candy Colors to Another Celebration
Keep the candy-coated chocolate and sprinkle amounts the same, but choose another color combination for a birthday, school event, or team gathering. The snack keeps its same sweet crunch; only the appearance changes. For the classic Christmas version, use red and green candies and holiday sprinkles.
Make Smaller Pieces for Treat Bags
After the chocolate firms, break the mixture into smaller clusters rather than larger pieces. The snack still has the same puffcorn, coating, and candy, but smaller pieces are easier to portion into treat bags or set out in a bowl for grazing. Handle the clusters gently so the puffcorn stays intact.
Storage and Reheating
- Room temperature: Keep the fully set munch in an airtight container in a cool, dry spot. For the best crisp texture, enjoy it within 3 days.
- Freezer: Freezing isn’t recommended; condensation as it thaws can soften the puffcorn and affect the chocolate coating.
- Reheating: No reheating is needed. Avoid warming the finished mixture, which can soften the coating and make the puffcorn lose its crisp bite.
Questions That Come Up When Making Puffcorn Christmas Munch
Puffcorn Christmas Munch
Ingredients
Equipment
Method
- Line an 18x13-inch rimmed baking sheet with parchment paper.
- Put the puffcorn in a large mixing bowl.
- Microwave the white chocolate wafers at 50% power in 30-second intervals, stirring after each, until smooth, about 1 to 2 minutes.
- Pour the melted chocolate over the puffcorn and gently fold until coated.
- Fold in the candy-coated chocolates and sprinkles, then spread the mixture on the prepared baking sheet.
- Let stand at room temperature for about 30 minutes, until the chocolate is firm.