
No Bake Oreo Icebox Cake
No Bake Oreo Icebox Cake is a cool, creamy treat that's super easy to make and perfect for those warm days when you want something sweet but don't want to…
By Ava
•
•
Reading time: 5 min
Tip: save now, make later.
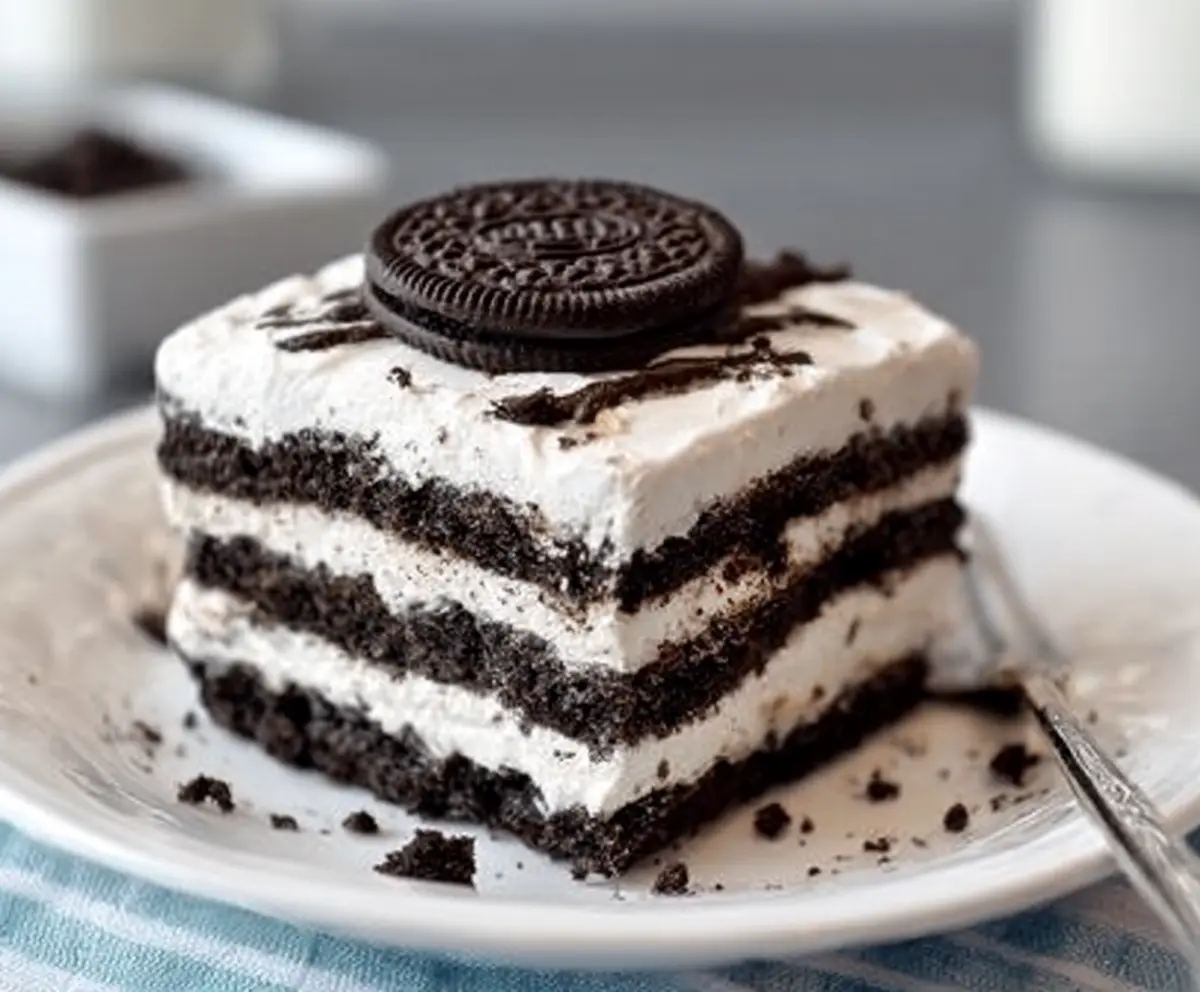
No Bake Oreo Icebox Cake is a cool, creamy treat that’s super easy to make and perfect for those warm days when you want something sweet but don’t want to turn on the oven. It’s made with layers of crunchy Oreo cookies and smooth whipped cream that soften together overnight into a dessert that’s both chunky and silky at the same time.
I love making this cake because it comes together so fast, and the best part is waiting patiently as the cookies soak up the cream and turn soft and cake-like. It feels like such a fun magic trick in the fridge. Plus, it’s a real crowd-pleaser—everyone loves the familiar Oreo flavor with the light sweetness of whipped cream.
My favorite way to serve this is straight from the fridge on a warm afternoon, maybe with a glass of cold milk. It’s great for parties, family gatherings, or any time you want a simple but impressive dessert. If you like, you can even add a sprinkle of crushed Oreos or a drizzle of chocolate on top for an extra touch!
Key Ingredients & Substitutions
Oreos: These cookies are the star here, giving the cake its chocolate crunch and creamy filling. If Oreos aren’t available, you could use any chocolate sandwich cookie or even chocolate wafers for a similar effect.
Heavy whipping cream: This makes the dessert rich and fluffy when whipped. For a lighter option, try using whipped coconut cream, which works great if you want a dairy-free version.
Powdered sugar: It sweetens and stabilizes the whipped cream nicely. If you prefer less sugar, reduce the amount or try a sugar substitute like powdered erythritol.
Vanilla extract: Just a little adds warmth and depth to the cream. You can skip it if you want a more neutral flavor or add a few drops of almond extract for a twist.
How Do You Whip Cream Perfectly for this Icebox Cake?
Whipping the cream is key for the cake’s fluffy texture. Here’s how to get it right:
- Start with very cold heavy cream. Chill your bowl and beaters too, if possible.
- Beat the cream on medium-high speed until soft peaks form, then add powdered sugar and vanilla.
- Keep whipping until stiff peaks form—when you lift the whisk, peaks should stand straight without folding.
- Be careful not to overwhip, or it will turn into butter! Stop as soon as stiff peaks appear.
This whipped cream holds the layers together and softens the cookies for that smooth, cake-like texture after chilling. Patience during chilling makes all the difference!
Equipment You’ll Need
- Mixing bowl – big enough to whip your cream comfortably without spills.
- Electric hand mixer or stand mixer – makes whipping cream quick and easy.
- Rubber spatula – perfect for folding and spreading whipped cream smoothly.
- 8×8-inch baking dish or similar – great size for layering and chilling the cake.
- Plastic wrap – to cover and keep your cake fresh in the fridge.
Flavor Variations & Add-Ins
- Add a layer of sliced strawberries or banana for a fresh fruity twist that pairs well with Oreo.
- Swap Oreos for mint-flavored cookies for a cool, refreshing version.
- Mix a few tablespoons of instant coffee into the whipped cream for a mocha taste.
- Sprinkle crushed nuts like pecans or walnuts between layers for crunch and nuttiness.
No Bake Oreo Icebox Cake
Ingredients You’ll Need:
- 3 cups heavy whipping cream, cold
- ½ cup powdered sugar
- 1 tsp vanilla extract
- 36 Oreo cookies (about 3 sleeves)
- Optional: Chocolate syrup for drizzling
- Optional: Additional Oreos for garnish
How Much Time Will You Need?
This dessert takes about 15 minutes to prepare. However, you’ll need to refrigerate it for at least 4 hours, preferably overnight, so the cookies soften and the flavors blend together beautifully.
Step-by-Step Instructions:
1. Whip the Cream:
In a large bowl, combine the cold heavy whipping cream, powdered sugar, and vanilla extract. Use an electric mixer to whip the mixture until stiff peaks form, which means the cream holds its shape when you lift the beaters.
2. Assemble the Layers:
Spread a thin layer of whipped cream on the bottom of an 8×8-inch dish. Arrange a single layer of Oreo cookies so the surface is fully covered. Next, spread a thick layer of whipped cream evenly on top of the cookies. Repeat this process, alternating layers of Oreos and whipped cream, until you have about 3-4 layers and finish with a layer of whipped cream.
3. Chill and Serve:
Smooth the top layer of whipped cream with a spatula. Optionally, drizzle chocolate syrup and garnish with extra Oreo cookies. Cover the dish with plastic wrap and place it in the refrigerator for at least 4 hours, or overnight. When ready, cut into squares and enjoy the creamy, cookie-rich dessert chilled!
Can I Use Frozen Whipping Cream?
It’s best to use fresh, cold heavy whipping cream for this recipe. If you freeze it, the texture may change and it might not whip properly. Chill the cream in the fridge before whipping for best results.
How Long Can I Store Leftovers?
Store leftover icebox cake in an airtight container in the refrigerator for up to 3 days. After that, the cookies might become too soft and lose their texture.
Can I Substitute Oreos with Another Cookie?
Yes! You can use any chocolate sandwich cookies or even chocolate wafers. Just keep in mind the flavor and texture will vary slightly.
How Do I Prevent the Cake from Becoming Too Soggy?
Make sure not to add extra liquid to the whipped cream and don’t leave the cake out at room temperature too long. Chilling it properly helps the cookies soften just enough without turning mushy.