
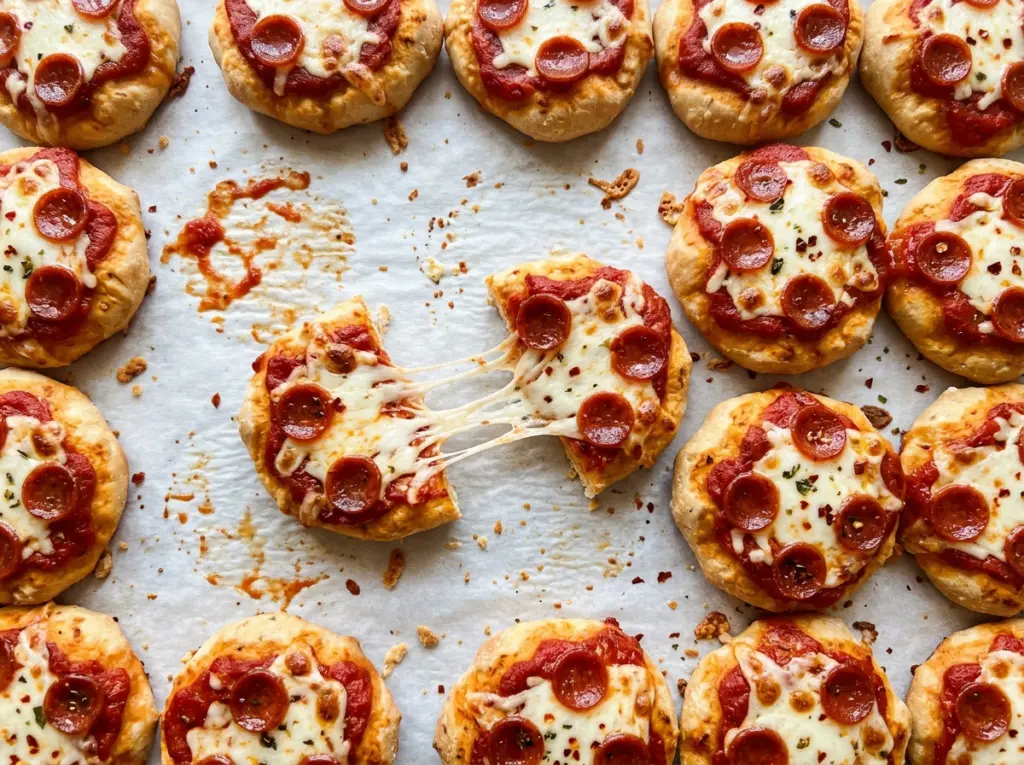
New Year’s Eve Mini Pizza Bites
The dough edges turn golden while the cheese bubbles in the little wells of the pan, and suddenly a tray of pizza bites feels much easier to serve than a…

By Ava
•
•
Reading time: 10 min
Tip: save now, make later.
The dough edges turn golden while the cheese bubbles in the little wells of the pan, and suddenly a tray of pizza bites feels much easier to serve than a stack of slices. These New Year’s Eve Mini Pizza Bites have the familiar pizza flavors tucked into a two-bite crust, so they’re simple to pick up and easy to portion.
I like how the mini muffin pan gives each piece a defined shape without any folding or special equipment. The dough gets pressed across the bottom and sides of each well, then a small amount of sauce and the toppings go inside. That close fit keeps the filling centered as the dough bakes into crisp, browned edges around melty mozzarella.
Since the portions are small, a little restraint with the filling matters. Measure the sauce into each dough cup rather than eyeballing a generous spoonful; too much liquid can leave the bottom soft before the crust has a chance to brown. The result is a tidy, cheesy bite with a golden edge and a clear hit of pepperoni.
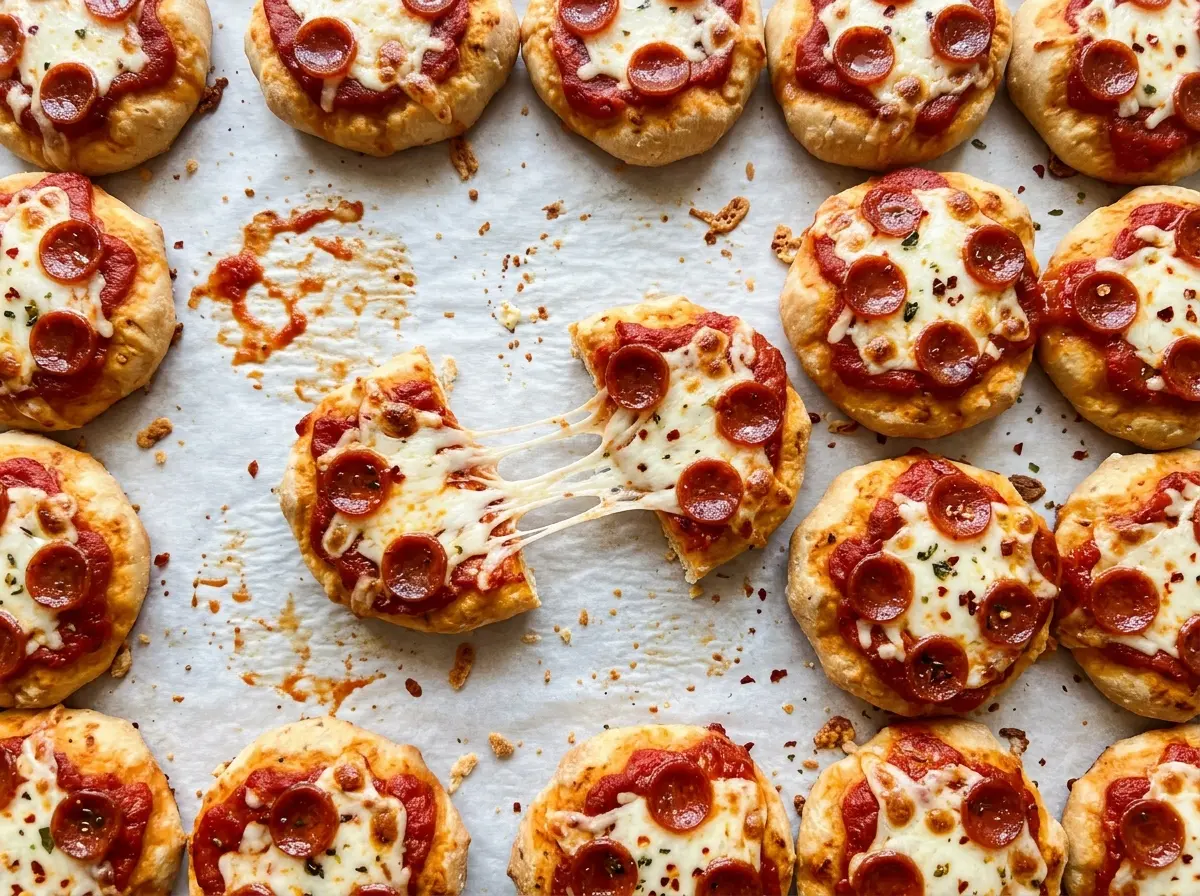
Kitchen Note
Give the bites their full five minutes in the pan before you loosen them. The crust firms as it rests, so a small knife can release the sides cleanly instead of tearing the warm dough.
Save these New Year’s Eve Mini Pizza Bites for an easy party tray: golden dough cups, bubbling mozzarella, and pepperoni in every little bite.
Why One Extra Spoonful of Sauce Can Leave the Centers Soft
A mini pizza cup has far less room than a full slice, and its dough is wrapped around the filling instead of lying flat. Sauce adds moisture right against the bottom of that dough. When there’s too much, the center can stay soft even as the exposed edges brown. That’s why the small measured amount matters more here than it would on a larger pizza.
Use one teaspoon in each cup and spread it over the base without letting it run up the dough sides. You want enough sauce for a bright tomato layer, not a pool underneath the cheese. The mozzarella and pepperoni add plenty of savory richness, so the sauce doesn’t need to dominate. If you’re tempted to add another spoon because a cup looks bare, remember that the toppings will settle as the cheese melts.
This is also why the mini muffin format is useful: the raised dough edges help contain the topping, while the open center lets the cheese melt and bubble. A neat, shallow layer cooks more evenly than a heaped filling. Keep the portions level with the dough cup and let the crust—not a mound of toppings—define the shape.
How the Dough, Cheese, and Toppings Make These Bite-Sized Pizzas Work

- Refrigerated pizza dough — The package size is matched to the mini muffin pan and the number of cups in this batch. Roll it to the specified rectangle so you can cut even pieces that reach across each well. Dough that’s rolled too thin is more likely to leave gaps or tear when pressed into the sides.
- Pizza sauce — Pizza sauce gives the filling its familiar tomato-and-herb base without requiring a separate sauce-making step. A thick, spoonable sauce sits neatly in the dough cups; a runny sauce is more likely to spread onto the pan or soften the crust underneath.
- Low-moisture mozzarella — This cheese melts into stretchy, bubbling pockets without releasing as much moisture as fresh mozzarella. The shredded form is ready to divide among the cups and melts quickly in the short bake. Low-moisture mozzarella is the part that gives these bites their classic pizza-cheese finish.
- Mini pepperoni — The small pieces fit into the narrow cups and spread their savory flavor through the cheese. Finely chopped pieces are easier to portion evenly than large slices, which can sit awkwardly on top of the filling.
- Italian seasoning — A little dried herb seasoning gives the cheese and sauce a more rounded pizza-shop aroma. Divide it over the filling so it doesn’t land in one concentrated patch. The olive oil has a practical job, too: brushing it into the wells helps the baked dough release from the pan.
From Dough Rectangle to Golden Pizza Cups
Oil the Wells Before the Dough Goes In
Heat the oven to 400°F and brush the wells of a 24-cup mini muffin pan with olive oil. Coat the bottom and sides of each well so the dough has a slick surface to release from after baking. Set the prepared pan nearby before you start cutting the dough; the pieces are easier to handle when you can move straight from the work surface to the pan.
Cut the Dough to Fit the Mini Pan
Roll the refrigerated dough into a 10-by-15-inch rectangle, then cut it into 24 squares about 2½ inches each. Press one square into every muffin cup, easing it across the base and up the sides. Aim for an even thickness rather than pulling the corners until they’re paper-thin. The dough should form a little open cup with enough room in the middle for sauce and toppings.
Fill Each Cup Without Mounding It
Spoon one teaspoon of pizza sauce into each dough cup. Divide the shredded mozzarella, finely chopped mini pepperoni, and Italian seasoning among the cups. Keep the filling tucked inside the dough edges so the cheese stays in the cup as it melts. A level layer gives the dough space to brown around the top instead of being buried under toppings.
Bake Until the Edges Are Golden
Bake for 12 to 15 minutes, until the dough edges are golden brown and the cheese is melted and bubbling. Start checking at the shorter end of the range; the edge color is the clearest cue that the dough has baked through. Let the pan rest for five minutes, then loosen each bite with a small knife and lift it out to serve. The crust will be delicate while hot, so work around the edge rather than tugging on the top.
Easy Ways to Change the Balance of Each Bite
Make a pepperoni-forward half
Keep the listed ingredients and total amounts, but concentrate the chopped pepperoni in half the cups instead of spreading it evenly across the tray. The remaining cups will taste more like cheese pizza, giving you two distinct bite styles from one batch.
Set up a cheese-forward row
Use the same mozzarella and pepperoni amounts, but put a larger share of the cheese in one row and a larger share of pepperoni in another. The cheese-forward bites have a softer, milder center; the pepperoni-forward ones bring a stronger savory hit. Keep the sauce and seasoning in the cups so both styles still read as pizza.
Give a few bites more herb flavor
Divide the Italian seasoning unevenly, using a little more over some cups and less over the rest while keeping the full listed amount in the batch. The herbier bites smell more aromatic as they bake, while the lightly seasoned ones let the mozzarella and pepperoni stand out. This changes the balance without adding another ingredient.
Storage and Reheating
- Refrigerator: Refrigerate leftovers within two hours and keep them in an airtight container for three to four days. The crust softens as it sits, but the bites are still easy to reheat.
- Freezer: They freeze well. Cool completely, freeze in a single layer until firm, then transfer to an airtight freezer container for up to two months for the best texture.
- Reheating: Warm them in a 350°F oven until the centers reach 165°F. Avoid a long microwave reheat if you want to keep some crispness in the dough.
Questions That Come Up When Making Mini Pizza Bites
New Year's Eve Mini Pizza Bites
Ingredients
Equipment
Method
- Heat the oven to 400°F.
- Brush the wells of a 24-cup mini muffin pan with the olive oil.
- Roll the pizza dough into a 10x15-inch rectangle.
- Cut the dough into 24 squares, about 2 1/2 inches each.
- Press one square into each muffin cup, covering the bottom and sides.
- Spoon 1 teaspoon pizza sauce into each dough cup.
- Divide the mozzarella, pepperoni, and Italian seasoning among the cups.
- Bake for 12 to 15 minutes, until the dough edges are golden brown and the cheese is melted and bubbling.
- Let the bites rest in the pan for 5 minutes.
- Loosen the bites with a small knife and lift them out to serve.