
Mini Apple Crisp Cheesecakes with Oat Crumble
The oat topping starts to turn golden before the little cheesecakes look fully set, which can make the pan feel like it needs to stay in the oven longer. It…

By Ava
•
•
Reading time: 9 min
Tip: save now, make later.
The oat topping starts to turn golden before the little cheesecakes look fully set, which can make the pan feel like it needs to stay in the oven longer. It doesn’t. These mini apple crisp cheesecakes are at their best when the edges look firm and the centers still have a slight wobble; the chill finishes the job without drying out the filling.
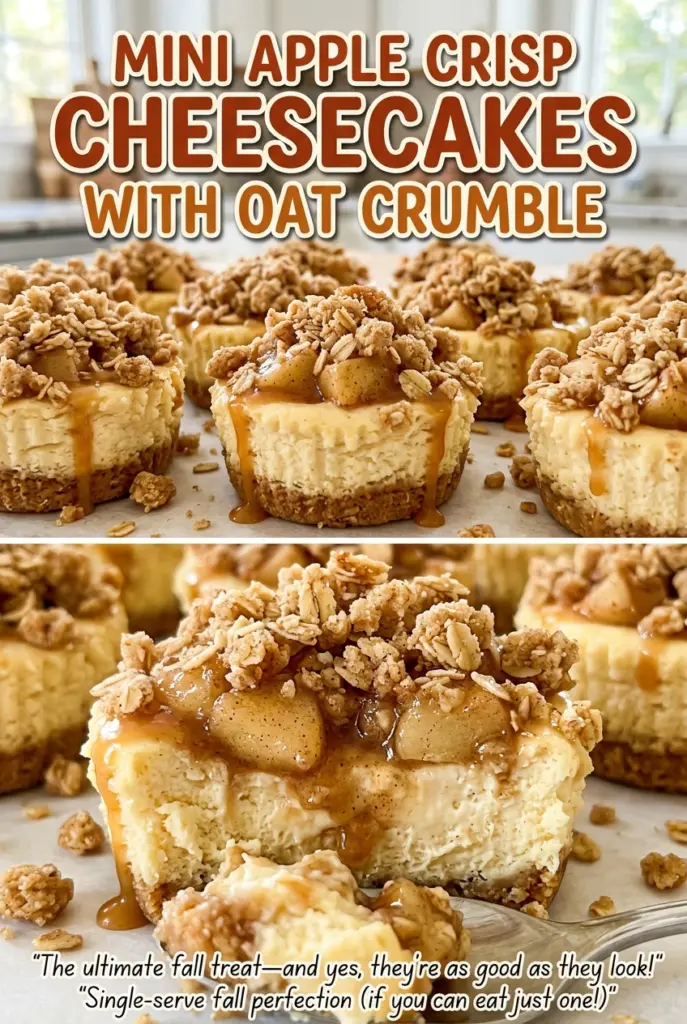
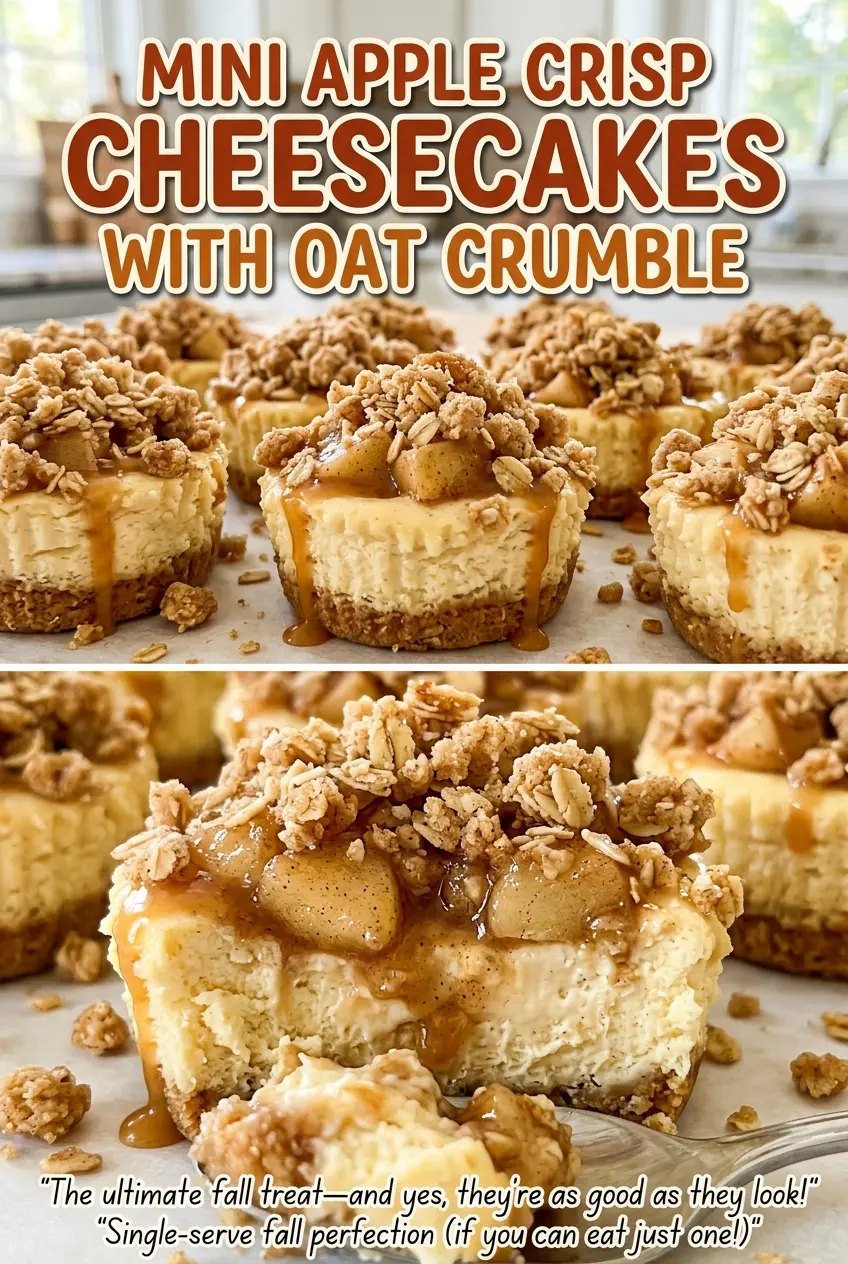
I like that each bite gets a crisp graham cracker base, a creamy middle, and a cinnamon-coated apple layer under the crumble. The apples are diced small and tossed with cornstarch, so their juices stay tucked into the topping instead of running across the cheesecake. Once chilled, the oat crumble gives each mini cheesecake a little crunch against the smooth filling.
Kitchen Note
Beat the cream cheese until it’s completely smooth before adding anything else, and keep the mixer on low once the eggs go in. I stop as soon as the filling looks even; extra beating can add air you don’t need in these small cheesecakes.
Save these mini apple crisp cheesecakes for a bake with a crisp graham base, tender cinnamon apples, and a buttery oat crumble.
Why These Apple Toppings Need to Stay Small and Starchy
Apple pieces that are too large stay firm while the cheesecake bakes, and big chunks also make it harder to get a little apple in each bite. Cutting the apple into small, even pieces gives the fruit time to soften in the oven without turning the topping into a layer of applesauce.
The cornstarch has a job beyond thickening: it catches the juice that comes out of the apple as it heats. Lemon juice and cinnamon coat the pieces along with it, so the topping has a bright, gently spiced taste instead of a plain sweet one. Keep the apple mixture on top of the filling rather than stirring it through; that way you get distinct creamy and fruity layers in every cheesecake.
This matters even more in a muffin pan than it does in a large crisp. Each cheesecake is small, and a puddle of loose juice could soften the crumble and make the top look wet. A light, even coating is all the fruit needs before you divide it among the cups.
The Ingredients That Give These Minis Their Layers
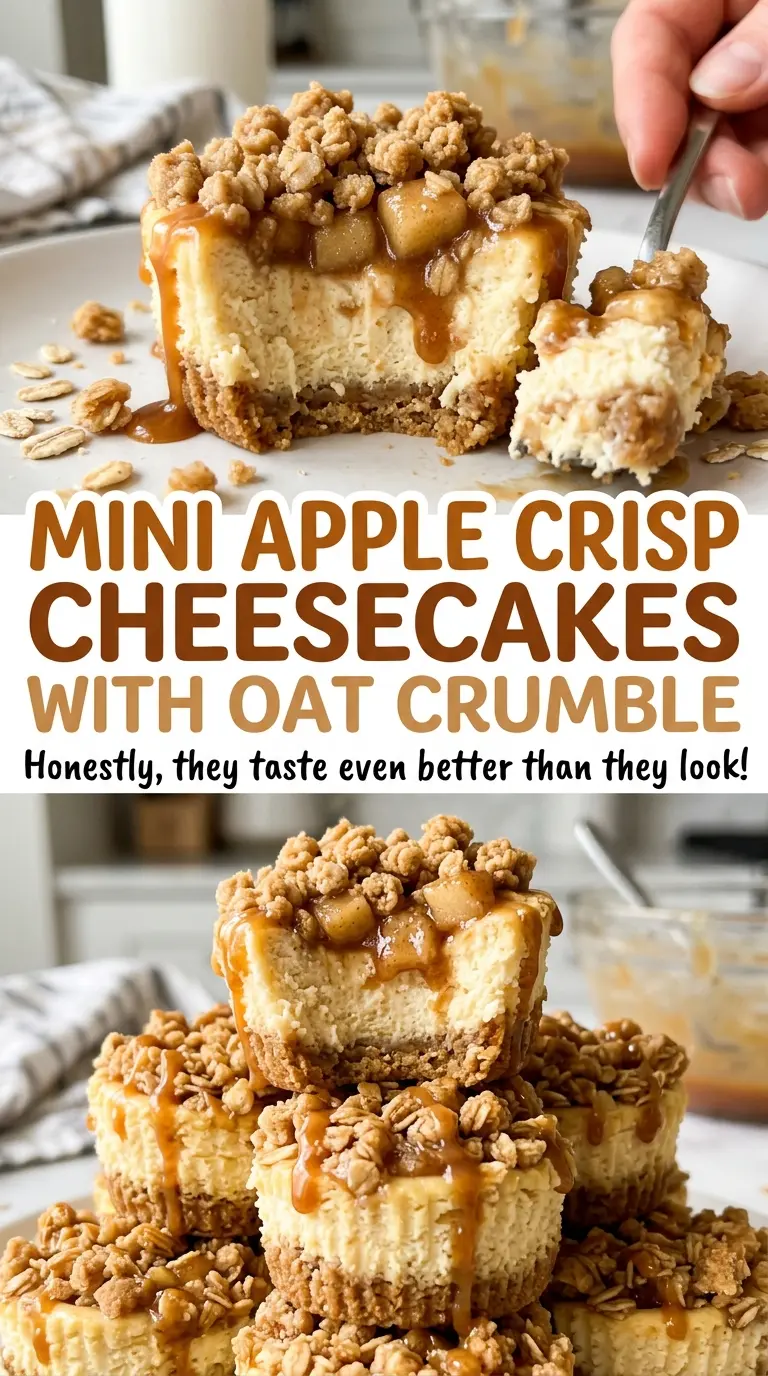
- Graham cracker crumbs — Fine crumbs pack into a more even base than roughly crushed pieces. Store-bought crumbs are convenient, while graham crackers crushed finely at home work just as well. The melted butter binds them so the crust holds together under the filling.
- Block cream cheese — This gives the filling its rich, firm structure. Let it soften before mixing so it blends smoothly; quality matters less than using plain cream cheese in block form rather than a whipped spread.
- Eggs and sour cream — The eggs help the filling set, while sour cream keeps it tender and gives it a slight tang. Room-temperature eggs blend more evenly into the cheese mixture. Plain, full-fat Greek yogurt can replace sour cream one-for-one, with a slightly tangier result.
- A firm apple — Choose an apple that feels crisp and holds its shape rather than one that’s already soft. A crisp, tart variety gives the sweet filling a welcome contrast. Peel and core it before cutting so the topping stays tender.
- Old-fashioned rolled oats — Their broad flakes make the crumble more distinct and hearty than quick oats would. Quick oats can be used in the same amount, but the topping will be finer and less textured. Unsalted butter lets the sweetness of the brown sugar and the cinnamon come through cleanly.
From Graham Base to Barely-Jiggling Centers
Set the Cracker Crusts
Heat the oven to 325°F and line a standard 12-cup muffin pan with paper liners. Stir the graham cracker crumbs with 3 tablespoons of the melted butter until they’re evenly moistened, then divide them among the liners and press firmly into the bottoms. Bake for 5 minutes. Leave the oven on and let the pan cool while you prepare the other layers.
Coat the Apples and Form the Crumble
Toss the peeled, cored, diced apple with the lemon juice, cornstarch, and cinnamon until all the pieces are coated. In a separate bowl, stir the oats, flour, and brown sugar together. Mix in the remaining 3 tablespoons of melted butter until you have clumps throughout, rather than a bowl of dry flour at the bottom. Keep the apple mixture and crumble separate until assembly.
Mix a Smooth Filling
Beat the softened cream cheese until smooth, scraping down the bowl as needed so no firm patches are left around the sides. Beat in the granulated sugar, then add the eggs one at a time on low speed. Mix in the sour cream, vanilla, and salt just until the filling looks smooth and uniform; stop there rather than continuing to beat it.
Layer and Bake Until Just Set
Divide the filling evenly among the cooled crusts, then top each one with apple pieces and oat crumble. Bake for 22–28 minutes. The edges should look set, the centers should barely jiggle, and the crumble should be lightly browned; check that a thermometer inserted into the center of a cheesecake reads 160°F. If the crumble is browned and the centers still move just a little, use the temperature and set cues rather than waiting for the middle to look completely firm.
Cool Before Chilling
Let the cheesecakes cool in the pan for 30 minutes before moving the pan to the refrigerator. Chill them in the pan for at least 3 hours before serving so the centers have time to set. The paper liners make it easy to lift each one out once the cheesecakes are cold.
Two Useful Ways to Adapt the Apple-and-Oat Topping
Make the Crust and Crumble Gluten-Free
Replace the graham crumbs with gluten-free graham crumbs, the all-purpose flour with a cup-for-cup gluten-free flour blend, and the rolled oats with certified gluten-free oats. The layers still give you the same crisp base and crumbly top, though the texture may be a little more delicate.
Trade the Apple for a Firm Pear
Use a firm pear in place of the apple, peeling, coring, and dicing it the same way, then coat it with the lemon juice, cornstarch, and cinnamon. Pear makes the topping milder and softer, so choose fruit that still feels firm to the touch rather than very ripe.
Storage and Reheating
- Refrigerator: Keep the cheesecakes covered for up to 4 days. The oat topping softens gradually as it sits.
- Freezer: Freeze the chilled cheesecakes individually in airtight wrapping for up to 2 months. Thaw them overnight in the refrigerator; the crumble may be softer after thawing.
- Reheating: These are best served chilled, so skip reheating. Heat softens the filling and takes away the topping’s texture.
Questions That Come Up With Mini Apple Crisp Cheesecakes
Mini Apple Crisp Cheesecakes with Oat Crumble
Ingredients
Equipment
Method
- Heat the oven to 325°F.
- Line a standard 12-cup muffin pan with paper liners.
- Stir the graham cracker crumbs with 3 tablespoons of the melted butter until evenly moistened.
- Divide the crumb mixture among the liners.
- Press the crumbs firmly into the bottoms.
- Bake the crusts for 5 minutes.
- Leave the oven on and let the pan cool while you prepare the toppings and filling.
- Toss the diced apple with the lemon juice, cornstarch, and cinnamon until evenly coated.
- Stir the oats, flour, and brown sugar together.
- Mix in the remaining 3 tablespoons melted butter until clumps form.
- Beat the cream cheese until smooth, scraping down the bowl as needed.
- Beat in the granulated sugar.
- Mix in the eggs one at a time on low speed, followed by the sour cream, vanilla, and salt, mixing just until smooth.
- Divide the filling evenly among the cooled crusts.
- Top each with apple pieces and oat crumble.
- Bake for 22–28 minutes, until the edges are set, the centers barely jiggle, the crumble is lightly browned, and a thermometer inserted into the center of a cheesecake reads 160°F.
- Cool the cheesecakes in the pan for 30 minutes.
- Refrigerate in the pan for at least 3 hours before serving.