
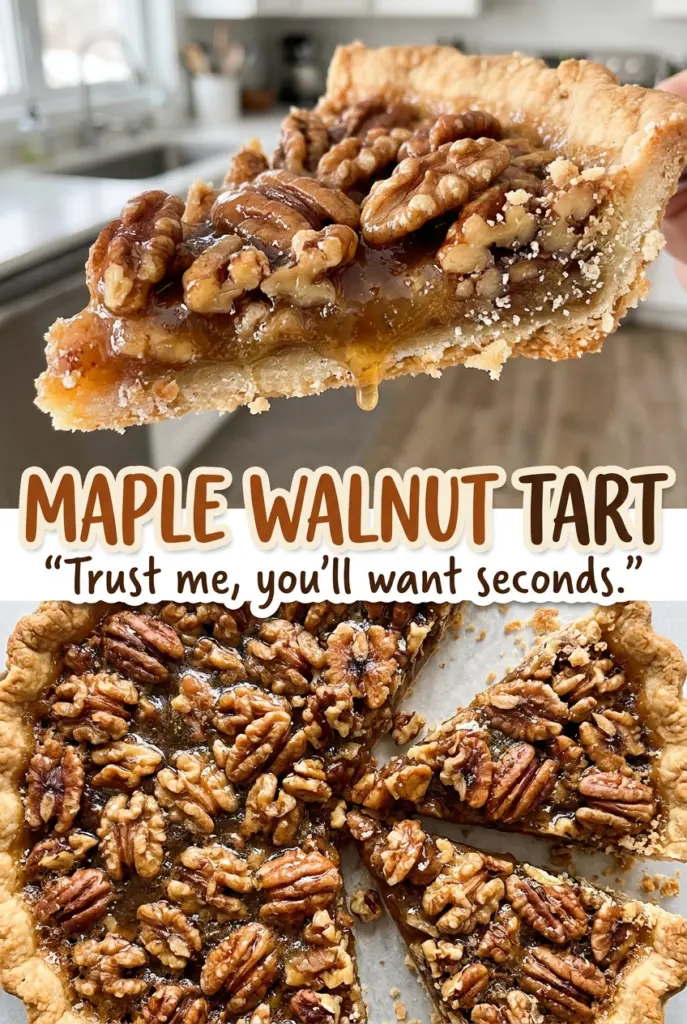
Maple Walnut Tart
The first time I made this tart, I watched the center wobble and had to stop myself from leaving it in the oven until it looked completely firm. That slight…

By Ava
•
•
Reading time: 10 min
Tip: save now, make later.
The first time I made this tart, I watched the center wobble and had to stop myself from leaving it in the oven until it looked completely firm. That slight jiggle is exactly what you want: the custard continues to set as the tart cools, while the walnuts stay nestled in a glossy maple filling. These maple walnut tart slices have a crisp, buttery shell and a sweet filling that doesn’t bury the nutty flavor.
I bake the crust before adding the filling, which gives the base a head start and keeps it from turning soft under the custard. The dough is tender, so rolling it between parchment makes it much easier to move into the tart pan without tugging or tearing. A little patience at the end matters, too; the tart needs to cool completely before you remove the ring and slice it.
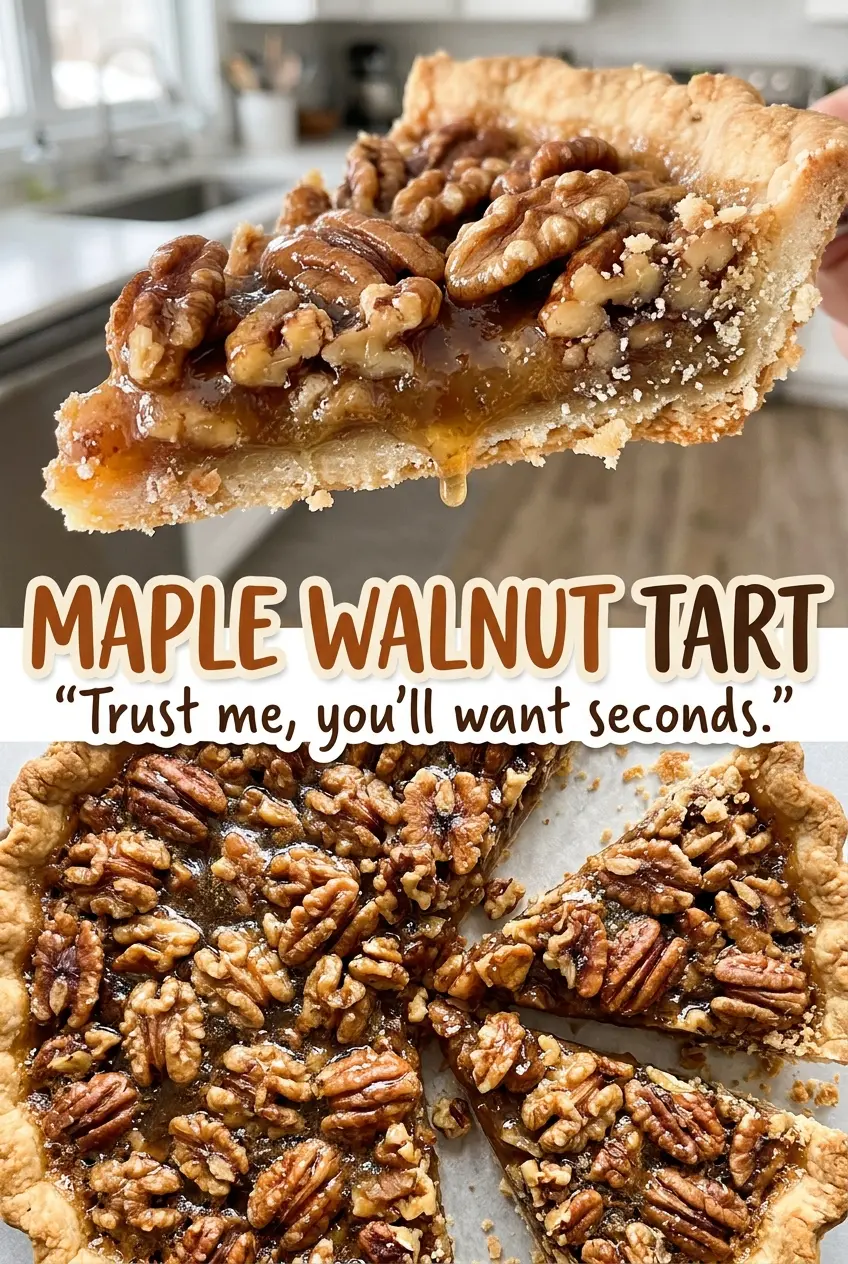
Once it’s cooled, each slice holds together around the walnuts, with a firm edge and a soft, gently set center.
Kitchen Note
Roll the dough between parchment rather than adding extra flour to the counter. It stays tender, and the parchment makes an 11-inch round much easier to lift into the tart pan without stretching it.
Save this maple walnut tart for its crisp shell, whole walnut halves, and smooth maple custard filling.
Why the Center Should Still Jiggle When the Edges Look Set
Maple syrup and eggs make a custard-style filling, so it won’t behave like a cake that needs to look dry all the way through. The edges puff and set first; the middle should still move slightly when you gently shift the pan. Waiting for the center to become completely firm in the oven can push the custard past its best texture. It firms as it cools, which is why the full cooling time is part of the bake, not an optional pause.
The crust also gets two rounds of baking for a reason. First, pie weights hold the pastry in place while the edges turn pale golden. Then the weights come out so the base can bake until it looks dry. That extra time gives the shell a sturdier surface before the liquid filling goes in. Skip that dry-looking base cue and the bottom is more likely to feel soft beneath the custard. The two stages aren’t fussy extras; they help the tart slice cleanly and keep its pastry distinct from the filling.
What Maple Syrup, Butter, and Walnuts Each Bring to the Tart

- Pure maple syrup — It gives the filling its distinct maple taste and supplies the liquid that becomes part of the custard. Use pure maple syrup rather than pancake syrup, which is usually a different blend and won’t give the same maple flavor. Darker pure maple syrup makes the maple note more pronounced; any grade of pure syrup works.
- Walnut halves — The halves provide the broad, pleasantly firm bites that make this tart feel generous. Fresh walnuts taste sweeter and less stale or bitter, so quality matters here. Pecans can stand in at the same volume for a sweeter, softer nut flavor, but the tart will no longer have the walnut’s slight bitterness.
- Unsalted butter — Cold butter rubbed into the flour makes the pastry tender, while melted butter enriches the filling. Keep the crust butter cold and cubed; the filling butter should be melted and cooled before it joins the eggs. Unsalted butter lets the measured salt stay in control.
- All-purpose flour and powdered sugar — Flour gives the shell its structure, and powdered sugar makes the pastry more delicate than a savory tart crust. Measure the flour without packing it down. A one-for-one gluten-free flour swap can behave differently in a pastry that needs to roll and lift, so I stick with all-purpose flour for this version.
- Eggs and heavy cream — The eggs set the maple filling, and the cream softens the texture. Use large eggs as listed so the filling sets as intended. Heavy cream gives the custard a richer feel; a thinner milk won’t give precisely the same result.
- Light brown sugar and vanilla — Brown sugar adds a deeper, molasses-like sweetness alongside the maple, while vanilla rounds out the filling. Dark brown sugar works in the same amount if you want a more pronounced molasses note. Use vanilla extract rather than leaving it out if you want the filling’s sweetness to taste balanced.
How to Bake a Dry Shell Before the Maple Filling Goes In
Bring the Pastry Together and Let It Chill
Whisk the flour, powdered sugar, and part of the salt, then work in the cold, cubed butter with your fingertips until the mixture looks like coarse crumbs. Stir in the egg yolk and ice water with a fork, then gently gather the dough into a ball; stop as soon as it holds together. Flatten it into a disk, wrap it in plastic, and refrigerate for 1 hour. If you knead it hard, the crust can turn tough instead of tender.
Roll, Fit, and Firm Up the Shell
Roll the chilled dough between two sheets of parchment into an 11-inch circle. Fit it into an ungreased 9-inch tart pan with a removable bottom, trim the edges, and prick the base with a fork. Freeze the lined shell for 20 minutes so it holds its shape in the oven. Set the tart pan on a rimmed baking sheet before you line it with parchment and add the pie weights.
Bake Until the Pastry Base Looks Dry
Bake the weighted shell at 375°F for 18 to 20 minutes, until the edges are pale golden. Carefully lift out the parchment and pie weights, then return the shell to the oven for 6 to 8 minutes. Look for a base that appears dry rather than shiny or damp. Set the shell aside and lower the oven to 350°F before preparing the filling.
Fill the Shell and Let the Custard Finish Setting
Arrange the walnut halves in the baked shell. Whisk the maple syrup, brown sugar, eggs, heavy cream, melted and cooled butter, vanilla, and remaining salt until combined, then pour the mixture evenly over the walnuts. Bake at 350°F for 35 to 45 minutes, until the edges are puffed and set, the center jiggles slightly, and the custard near the center registers at least 160°F on an instant-read thermometer. Cool the tart completely on a wire rack for at least 3 hours before removing the tart ring and slicing.
Three Small Changes That Put a Different Spin on This Tart
Make It with Pecans
Replace the walnut halves with the same volume of pecan halves. Pecans make the filling taste sweeter and a little more buttery, while keeping the same whole-nut look in each slice.
Use Dark Brown Sugar for a Deeper Filling
Swap the light brown sugar for the same amount of packed dark brown sugar. The stronger molasses flavor makes the filling taste richer and less purely maple-sweet without changing the method.
Scatter Chopped Walnuts for More Even Bites
Chop the walnuts instead of arranging them as halves, then spread them across the shell before pouring in the filling. You’ll get smaller pieces in each forkful rather than the dramatic whole-walnut pattern.
Storage and Reheating
- Refrigerator: Cover the cooled tart and refrigerate it for 3 to 4 days. The crust softens a little as it sits beneath the custard.
- Freezer: Freeze individual slices, wrapped tightly, for up to 1 month. Thaw them overnight in the refrigerator; the pastry may be softer than when freshly baked.
- Reheating: This tart is best served chilled or brought out briefly before serving; it doesn’t need reheating. Avoid microwaving slices, which can make the egg custard hot and rubbery in spots.
Questions I Get Asked About Maple Walnut Tart
Maple Walnut Tart
Ingredients
Equipment
Method
- Preheat the oven to 375°F with a rack in the middle position.
- Whisk the flour, powdered sugar, and 1/4 teaspoon of the salt in a mixing bowl.
- Cut in the cold butter with your fingertips until the mixture resembles coarse crumbs.
- Stir in the egg yolk and ice water with a fork, then gently gather the dough into a ball.
- Flatten the dough into a disk, wrap it in plastic wrap, and refrigerate for 1 hour.
- Roll the dough between two sheets of parchment paper into an 11-inch circle and fit it into an ungreased 9-inch tart pan with a removable bottom.
- Trim the edges and prick the base with a fork, then freeze for 20 minutes.
- Set the tart pan on a rimmed baking sheet, line the shell with parchment paper, and fill it with pie weights.
- Bake at 375°F for 18-20 minutes, until the edges are pale golden.
- Remove the weights and parchment and bake for 6-8 minutes more, until the base looks dry.
- Set aside the crust and lower the oven to 350°F.
- Arrange the walnut halves in the tart shell.
- Whisk together the maple syrup, brown sugar, eggs, heavy cream, the remaining 2 tablespoons melted and cooled butter, vanilla extract, and the remaining 1/4 teaspoon salt until combined.
- Pour the filling evenly over the walnuts.
- Bake at 350°F for 35-45 minutes, until the edges are puffed and set, the center jiggles slightly, and the custard near the center registers at least 160°F on an instant-read thermometer.
- Cool completely on a wire rack for at least 3 hours before removing the tart ring and slicing.