
Homemade Eggnog without Alcohol
The mixture starts out looking like milk, and it stays that way for most of the cooking. Then, near the end, it begins to leave a light coating on the…

By Ava
•
•
Reading time: 7 min
Tip: save now, make later.
The mixture starts out looking like milk, and it stays that way for most of the cooking. Then, near the end, it begins to leave a light coating on the spoon. That small change is what I watch for when I make homemade eggnog without alcohol; rushing the heat can turn a smooth drink into a lumpy one.
Eggs thicken the milk and cream as they warm, so the pan needs steady attention rather than a high flame. I stir constantly over medium-low heat and use a thermometer alongside the spoon cue. The mixture should reach 160°F without boiling.
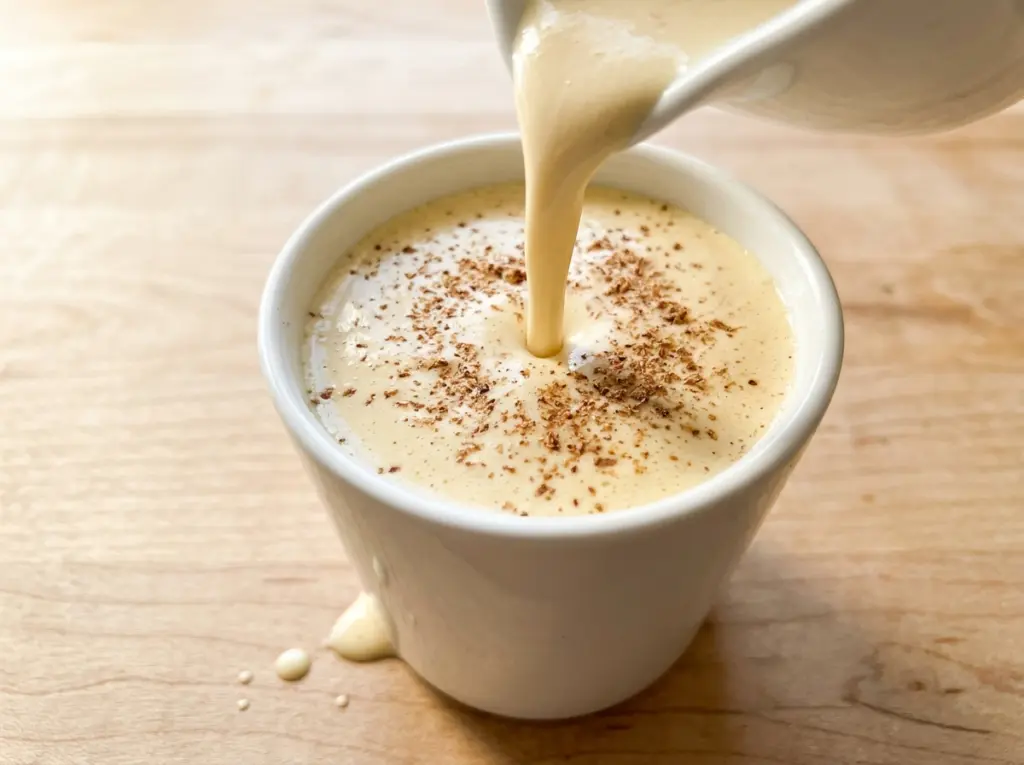
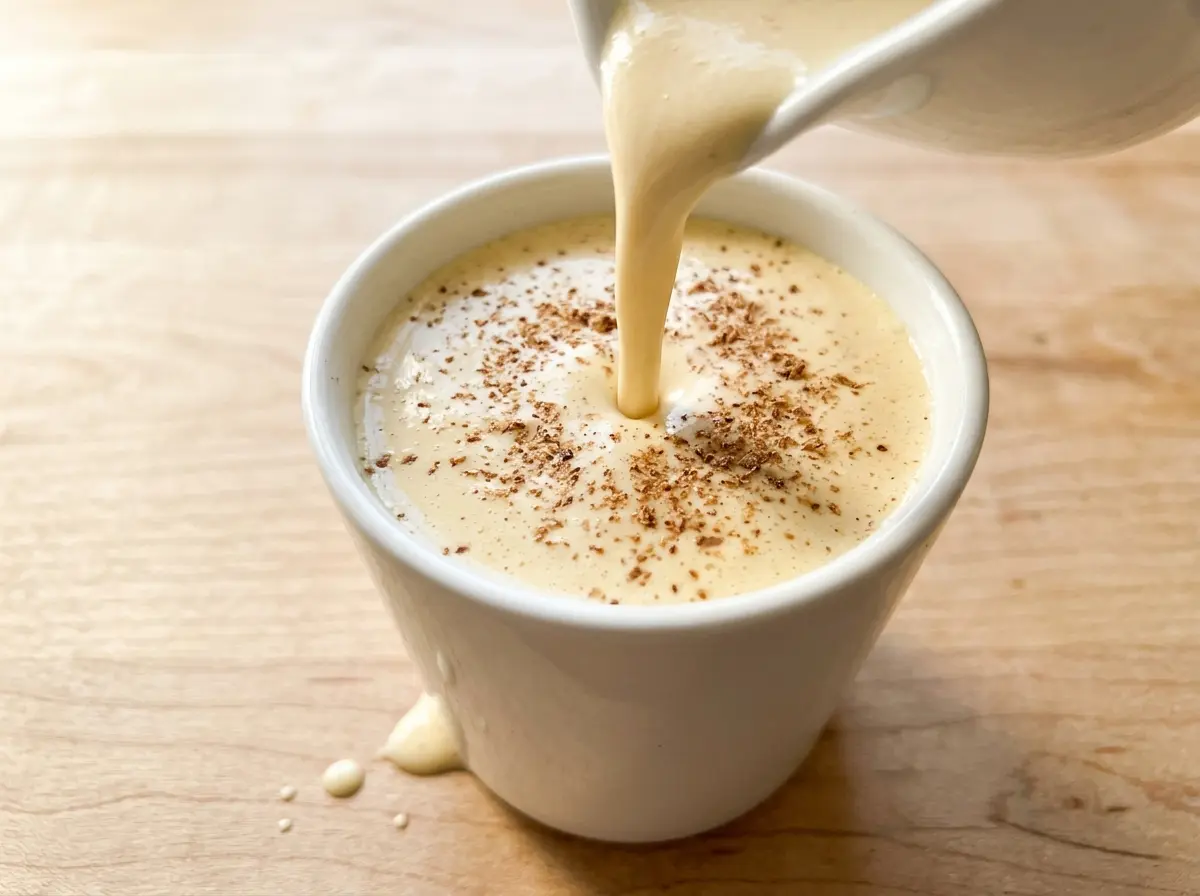
Once it’s cold, a quick whisk brings the eggnog back to a smooth, creamy pour. Nutmeg gives it that familiar warm finish, while vanilla rounds out the custard-like taste. Serve it cold in small glasses, with a little extra nutmeg only if you already have some on hand.
Kitchen Note
I don’t rush the chill. Give the covered eggnog at least four hours in the refrigerator, then whisk it until smooth just before serving; that last whisk makes the cold mixture pour evenly.
Save this homemade eggnog without alcohol for a smooth, nutmeg-scented drink you can chill ahead and serve cold.
Why This Eggnog Needs a Thermometer More Than a Thicker Finish
Eggnog can look too thin to be ready right up until it reaches the right temperature. That’s because this isn’t a pudding: the goal is a lightly thickened drink that coats a spoon, not a mixture that stands in peaks. Cooking it longer to chase a custard-thick texture pushes the eggs past the point this recipe needs.
There’s a useful balance here. Gentle, constant stirring warms the eggs gradually while the milk and cream heat around them. Reaching 160°F gives the mixture its cooked, lightly thickened finish; letting it boil risks unevenly setting the eggs. A thermometer removes the guesswork, and the spoon gives you a second, visible cue that the liquid has changed from plain dairy to a silky custard base.
- Too much heat: eggs can set in little bits before the whole pan thickens evenly.
- Too little cooking: the mixture stays thin and doesn’t coat the spoon.
- The right finish: it reaches 160°F, coats the spoon lightly, and hasn’t boiled.
Why Whole Milk and Heavy Cream Both Belong in the Pot
- Large eggs thicken the drink as they cook. Use large eggs so the balance of egg to dairy stays where it should; changing the size can make the final texture thinner or heavier.
- Whole milk provides most of the liquid and keeps the eggnog pourable. Skim milk would make a noticeably leaner drink, while whole milk gives it a fuller, rounder base.
- Heavy cream adds richness that milk alone can’t quite match. It’s what gives each cold sip a soft, creamy feel instead of tasting like sweetened milk.
- Granulated sugar and kosher salt balance the dairy and eggs. Granulated sugar dissolves as the mixture warms; kosher salt brings the sweetness into focus without making the drink taste salty.
- Ground nutmeg and vanilla extract provide the recognizable eggnog aroma. Choose nutmeg that smells fresh when you open the jar, and use vanilla extract rather than a sweetened vanilla syrup, which would alter the drink’s sweetness.
How to Cook the Eggs Without Letting the Milk Boil
Whisk the eggs into the dairy while everything is still cool
In a 3-quart saucepan, whisk the eggs, sugar, and kosher salt until combined. Whisk in the whole milk, heavy cream, and ground nutmeg before setting the pan over heat. Starting with the ingredients together gives you an even mixture to warm, rather than pockets of egg sitting against a hot pan.
Stir steadily as the mixture thickens
Set the saucepan over medium-low heat and stir constantly with a wooden spoon. This takes about 10 to 15 minutes, but the temperature and texture matter more than the clock. Check for 160°F and look for a light coating on the spoon; don’t let the mixture boil or leave it unattended while it heats.
Stir in the vanilla off the heat
As soon as the eggnog reaches 160°F and lightly coats the spoon, remove the saucepan from the heat. Stir in the vanilla extract until it’s evenly distributed. Taking the pan off the burner first also stops the mixture from continuing to cook while you finish this step.
Chill until cold, then whisk smooth
Pour the eggnog into a covered container and refrigerate it until thoroughly chilled, at least four hours. It will feel much thicker and colder after chilling than it did in the saucepan. Whisk the chilled eggnog until smooth, then serve it cold.
Lactose-Free and Smaller-Batch Ways to Make This Eggnog
Use lactose-free dairy without changing the texture
Replace the whole milk and heavy cream with lactose-free versions of those same dairy products, keeping their amounts the same. The eggnog keeps its familiar creamy character; lactose-free dairy is still dairy, so this won’t make the drink suitable for someone avoiding milk proteins.
Make a half batch for a smaller gathering
Halve every ingredient, including the eggs, and use the same method. A smaller volume heats faster, so start checking the temperature before the usual 10-to-15-minute window is up. You’ll get the same style of eggnog without making a full container.
Storage and Reheating
- Refrigerator: Keep it covered and refrigerated for 3 to 4 days. It may settle as it sits; whisk it smooth before serving.
- Freezer: I don’t recommend freezing it. The egg and dairy mixture can separate as it thaws and lose its smooth texture.
- Reheating: This eggnog is served cold, so reheating isn’t needed. Warming it on the stove can cook the eggs further and make the texture thicker or grainy.
Questions That Come Up Before the First Chill
Homemade Eggnog without Alcohol
Ingredients
Equipment
Method
- In a 3-quart saucepan, whisk the eggs, sugar, and salt until combined.
- Whisk in the milk, heavy cream, and nutmeg.
- Cook over medium-low heat, stirring constantly with a wooden spoon, until the mixture reaches 160°F and lightly coats the spoon, about 10 to 15 minutes; do not let it boil.
- Remove the saucepan from the heat and stir in the vanilla extract.
- Pour the eggnog into a covered container.
- Refrigerate until thoroughly chilled, at least 4 hours.
- Whisk the chilled eggnog until smooth.
- Serve cold.