
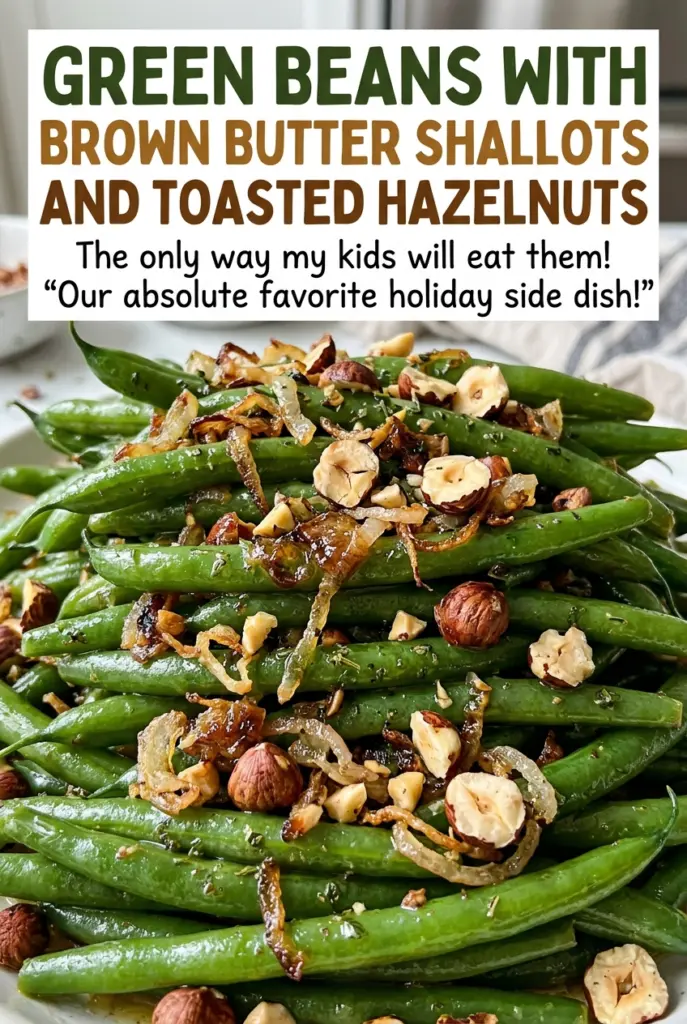
Green Beans with Brown Butter Shallots and Toasted Hazelnuts
The butter starts foaming, then the kitchen smells faintly like toasted nuts, and suddenly this simple green-bean side feels worth slowing down for. I used to add the nuts while…

By Ava
•
•
Reading time: 8 min
Tip: save now, make later.
The butter starts foaming, then the kitchen smells faintly like toasted nuts, and suddenly this simple green-bean side feels worth slowing down for. I used to add the nuts while everything was still sizzling; they softened before the beans reached the table. Now I toast the hazelnuts separately and fold them in at the very end, where they keep their crunch against the tender beans and silky shallots.
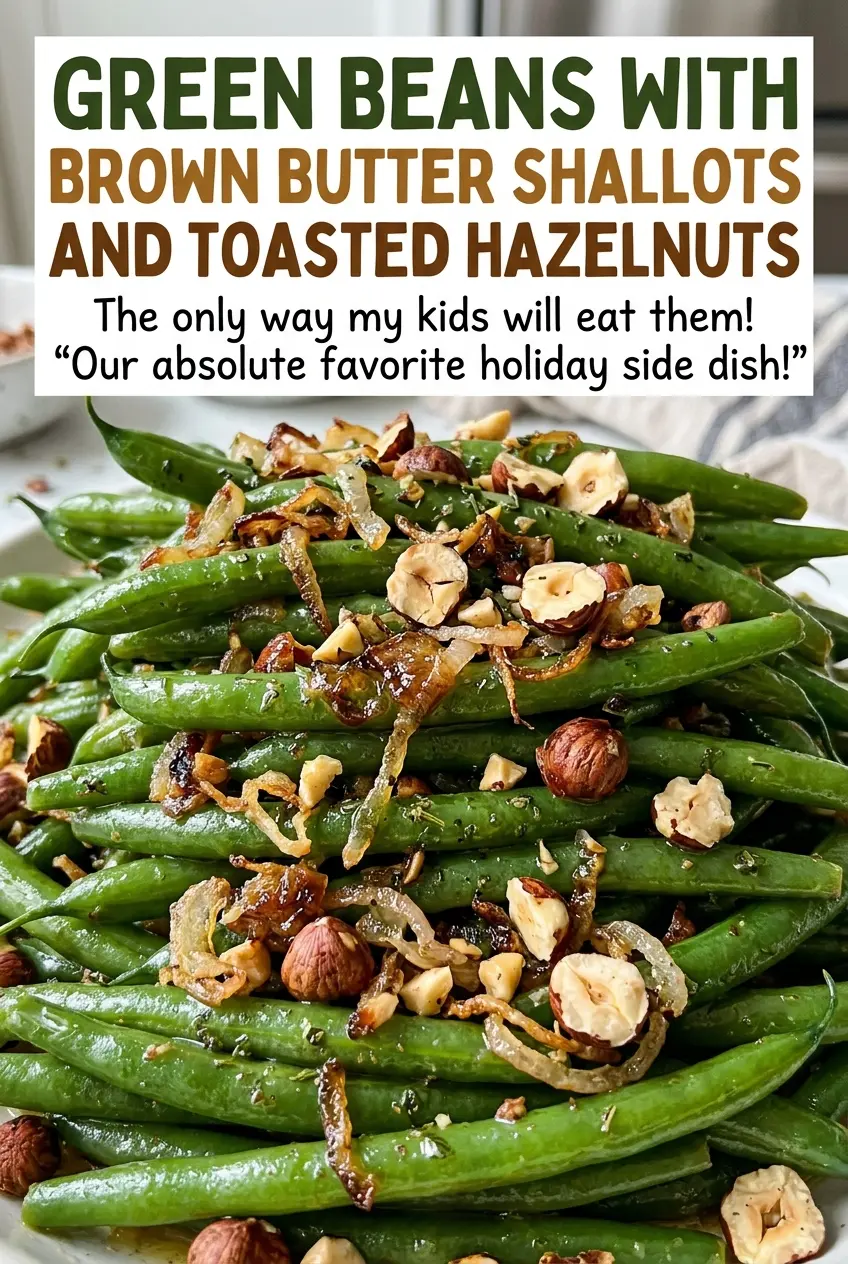
For these green beans with brown butter shallots and toasted hazelnuts, the order matters as much as the ingredients. The beans cook briefly in salted boiling water, then finish in a skillet with shallots softened in amber butter. That quick final toss warms everything together without asking the green beans to cook much longer. Each bite has a little sweetness from the shallots, a nutty butter coating, and a crisp hazelnut finish.
Kitchen Note
Watch the butter closely near the end of its cooking time. When it turns amber and smells nutty, move right on to the shallots; browned butter can go from fragrant to scorched quickly.
Save these green beans with brown butter shallots and toasted hazelnuts for a crisp, nutty side that feels special without a complicated finish.
Why the Hazelnuts Go In After the Beans Come Off the Heat
Hazelnuts bring more than a toasted flavor here: their crunch gives the tender beans a clear contrast. If they simmer or sit in the buttery skillet for too long, that texture fades. I toast them separately, rub away only the loose skins, and chop them while they’re still easy to handle. They stay out of the pan until the beans are hot and the skillet is off the heat.
That last-minute addition also keeps the nuts tasting distinct instead of soaking up all the butter. The beans get their coating from the skillet toss, while the hazelnuts stay crisp enough to notice. Roughly chopping them helps, too: smaller pieces settle between the beans, but a few larger bits give you a satisfying crunch. Don’t worry about removing every fleck of hazelnut skin after toasting. Focus on the loose pieces, then chop and save the nuts for the finish.
This timing is useful when you’re cooking several components for one side dish. The hazelnuts can be toasted while you get the pot of water ready, then set aside until everything else is finished. Keep them off the hot skillet until the final toss, and their texture stays part of every forkful.
What Each Ingredient Brings to the Brown-Butter Finish
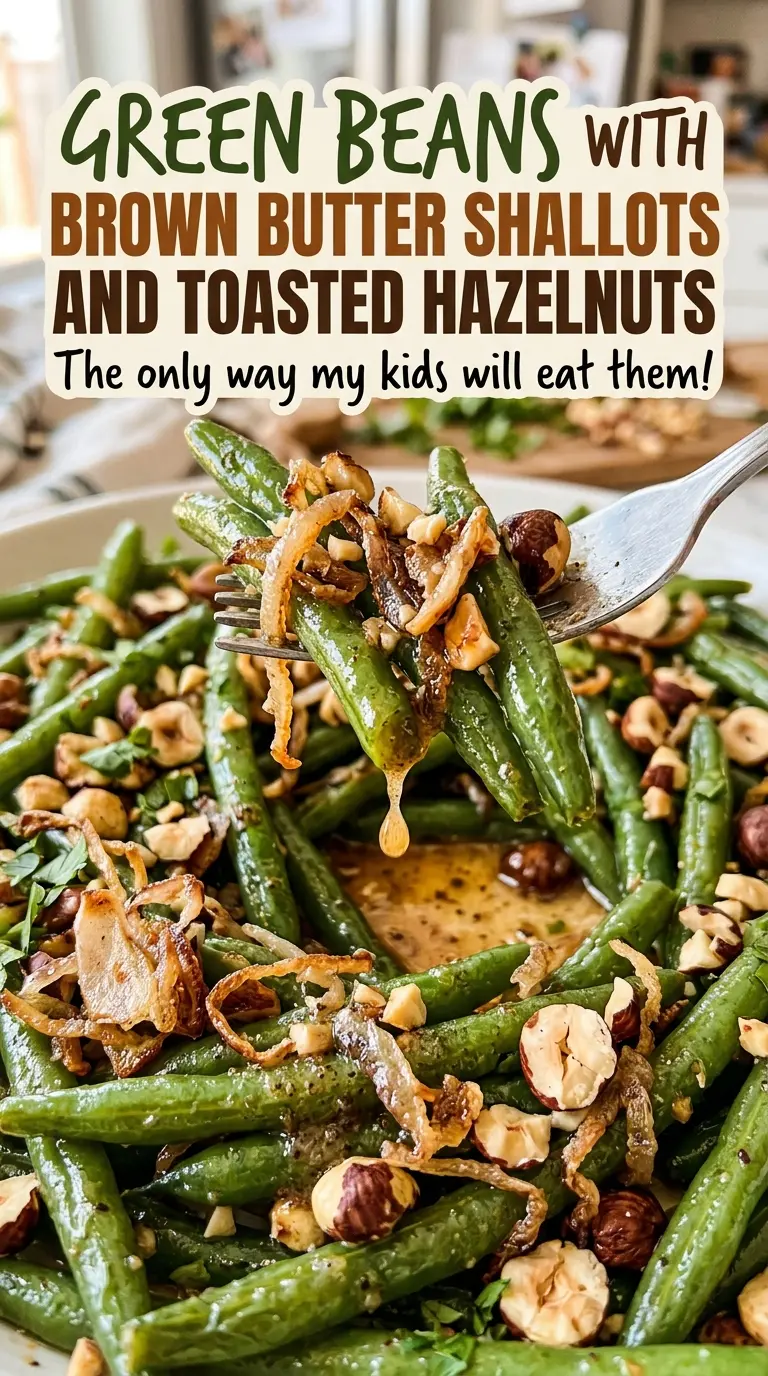
- Green beans — Fresh beans are what give this dish its crisp-tender bite after a short boil. Choose firm beans without limp or wrinkled spots, and trim the ends before cooking. Beans of similar thickness cook more evenly; very thin ones may become tender sooner than thick ones.
- Hazelnuts — Whole hazelnuts toast into a fragrant, crunchy topping, and toasting them yourself gives you a fresher nutty flavor than using pre-chopped nuts. The skins can taste a little bitter, so rub off the loose ones with a clean towel after they cool briefly. A few remaining flecks are fine.
- Unsalted butter — Butter supplies the milk solids that turn amber and give the finish its characteristic nutty aroma. Unsalted butter also lets the measured kosher salt season the beans without the extra saltiness that varies between brands of salted butter.
- Shallots — Thin slices soften quickly and bring a gentle, sweet onion flavor without overpowering the brown butter. Slice them evenly so the pieces soften at about the same pace. Their edges should be lightly golden, not dark and crisp.
- Black pepper — Freshly ground pepper gives the buttery coating a little warmth. Use the amount you prefer within the listed measure; adding a much heavier hand can cover the delicate hazelnut flavor.
Building the Skillet Finish Without Losing the Beans’ Bite
Toast and chop the hazelnuts
Heat the oven to 350°F and spread the hazelnuts on a rimmed baking sheet. Toast them for 8–10 minutes, until fragrant and lightly golden; start checking near the end because nuts can darken quickly. Let them cool briefly, then rub off loose skins with a clean towel. Roughly chop them and set them aside for the final toss.
Boil the beans just until crisp-tender
Bring a large pot of water to a boil and add 1 tablespoon of kosher salt. Add the trimmed green beans and cook for 4–5 minutes, until they look bright green and yield when bitten but still have a little snap. Drain them well so excess water doesn’t dilute the butter coating. They’ll get a brief turn in the skillet, so don’t leave them in the pot until completely soft.
Brown the butter in the skillet
Melt the unsalted butter in a 12-inch skillet over medium heat. Swirl the pan as it cooks for 3–4 minutes, watching for the color to deepen to amber and the smell to turn nutty. The butter will move from pale and foamy to browned; don’t walk away during this stretch. Once it reaches that amber stage, add the shallots.
Soften the shallots, then toss everything together
Cook the thinly sliced shallots for 2–3 minutes, stirring, until softened with lightly golden edges. Add the drained beans, the remaining 1/2 teaspoon kosher salt, and the black pepper. Toss for 1–2 minutes, just until the beans are hot and coated in the butter. Take the skillet off the heat before adding the chopped hazelnuts, then toss once more to distribute them.
Simple Swaps That Keep the Green Beans’ Crunch
Use sliced almonds for a milder crunch
Replace the hazelnuts with the same volume of sliced almonds. Spread them on the baking sheet and toast at 350°F until fragrant and lightly golden, checking early because thin slices brown faster than whole nuts. They bring a gentler, less distinctly hazelnut flavor and still give the beans a crisp finish.
Make the skillet finish dairy-free
Use 4 tablespoons of olive oil in place of the butter, then cook the shallots in the warm oil until softened and lightly golden. Olive oil won’t brown like butter, so you’ll lose that toasted, nutty butter flavor, but the shallots still coat the beans and the hazelnuts keep the dish’s crunch.
Storage and Reheating
- Refrigerator: Store leftovers covered for up to 3 days. The beans soften as they sit, and the hazelnuts lose some of their crunch.
- Freezer: Freezing isn’t recommended for the finished dish. The beans turn softer after thawing, and the toasted nuts won’t keep their crisp texture.
- Reheating: Warm leftovers in a skillet over medium-low heat, tossing until hot throughout. Avoid high heat, which can scorch the butter coating before the beans warm through.
Questions That Come Up When Cooking These Green Beans
Green Beans with Brown Butter Shallots and Toasted Hazelnuts
Ingredients
Equipment
Method
- Preheat the oven to 350°F.
- Spread the hazelnuts on a rimmed baking sheet and toast for 8–10 minutes, until fragrant and lightly golden.
- Cool the hazelnuts briefly.
- Rub off any loose skins with a clean towel.
- Roughly chop the hazelnuts.
- Bring a large pot of water to a boil and add 1 tablespoon of the salt.
- Add the green beans and cook for 4–5 minutes, until bright green and crisp-tender.
- Drain the green beans.
- Melt the butter in a 12-inch skillet over medium heat, swirling for 3–4 minutes, until amber and nutty-smelling.
- Add the shallots and cook for 2–3 minutes, stirring, until softened and lightly golden at the edges.
- Add the drained green beans, the remaining 1/2 teaspoon salt, and the pepper; toss for 1–2 minutes, until hot.
- Remove from the heat.
- Add the chopped hazelnuts and toss to combine.