
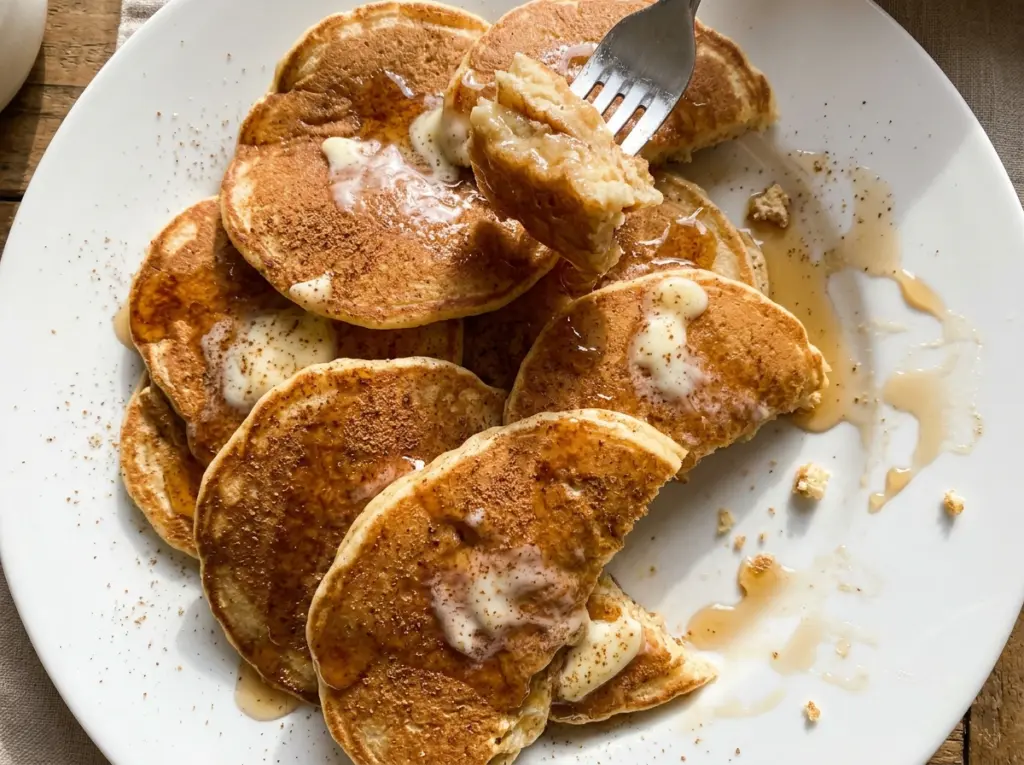
Eggnog Pancakes with Nutmeg
The first pancake is where I watch the skillet more than the batter. If the outside colors before the top starts bubbling, the heat is too high; eggnog pancakes need…

By Ava
•
•
Reading time: 8 min
Tip: save now, make later.
The first pancake is where I watch the skillet more than the batter. If the outside colors before the top starts bubbling, the heat is too high; eggnog pancakes need a little patience to cook through without turning dark at the edges. Once the bubbles appear and the edges look set, the flip is straightforward, and the second side takes only a little longer.
These eggnog pancakes with nutmeg get their tender, rich texture from eggnog and melted butter, while baking powder gives the batter its lift. I whisk the wet and dry ingredients separately, then stir them together only until combined. A few small lumps are welcome. After a short rest, the batter settles into pancakes that are soft in the middle, golden underneath, and warmly scented with nutmeg.
The batch makes breakfast for four, and the method stays simple: one bowl for each mixture and a 12-inch nonstick skillet on the stove. You’ll get the best result by giving the pan time to heat gently and letting each pancake tell you when it’s ready to turn.
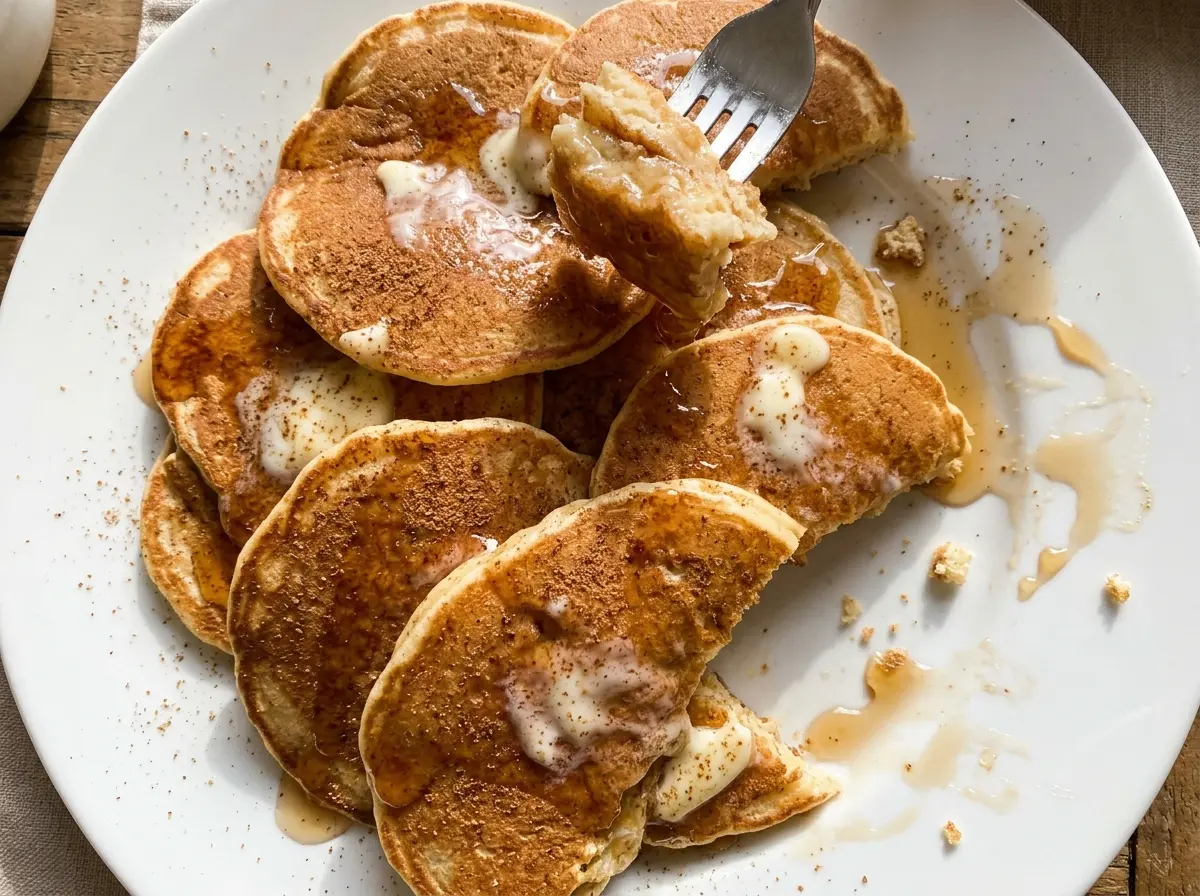
Kitchen Note
Don’t chase a perfectly smooth batter. A few small lumps are fine, and stirring until they disappear is what can leave the pancakes dense instead of tender.
Save these eggnog pancakes with nutmeg for a cozy breakfast with tender centers and golden edges.
Why These Pancakes Need a Gentler Skillet Than You’d Expect
Pancake batter can look ready to cook while the skillet is still warming unevenly. With this eggnog batter, starting at medium-low gives the middle time to set before the surface gets too dark. Turning the burner up to hurry the first batch is the common trap: the outside may brown quickly, but that color alone doesn’t tell you the center has cooked through.
Use the first pancake as a quiet check on the pan. If the edges set and bubbles break through the top after about 2 to 3 minutes, the pace is right. If it colors too fast before those cues appear, lower the heat and give the skillet a moment to settle before the next pour. Pancakes also need a little room around them; crowding makes flipping awkward and keeps you from seeing the edges clearly. That gentle pace is what gives the eggnog and nutmeg time to come through without a scorched surface.
Why Eggnog and Nutmeg Need to Share the Batter, Not Compete
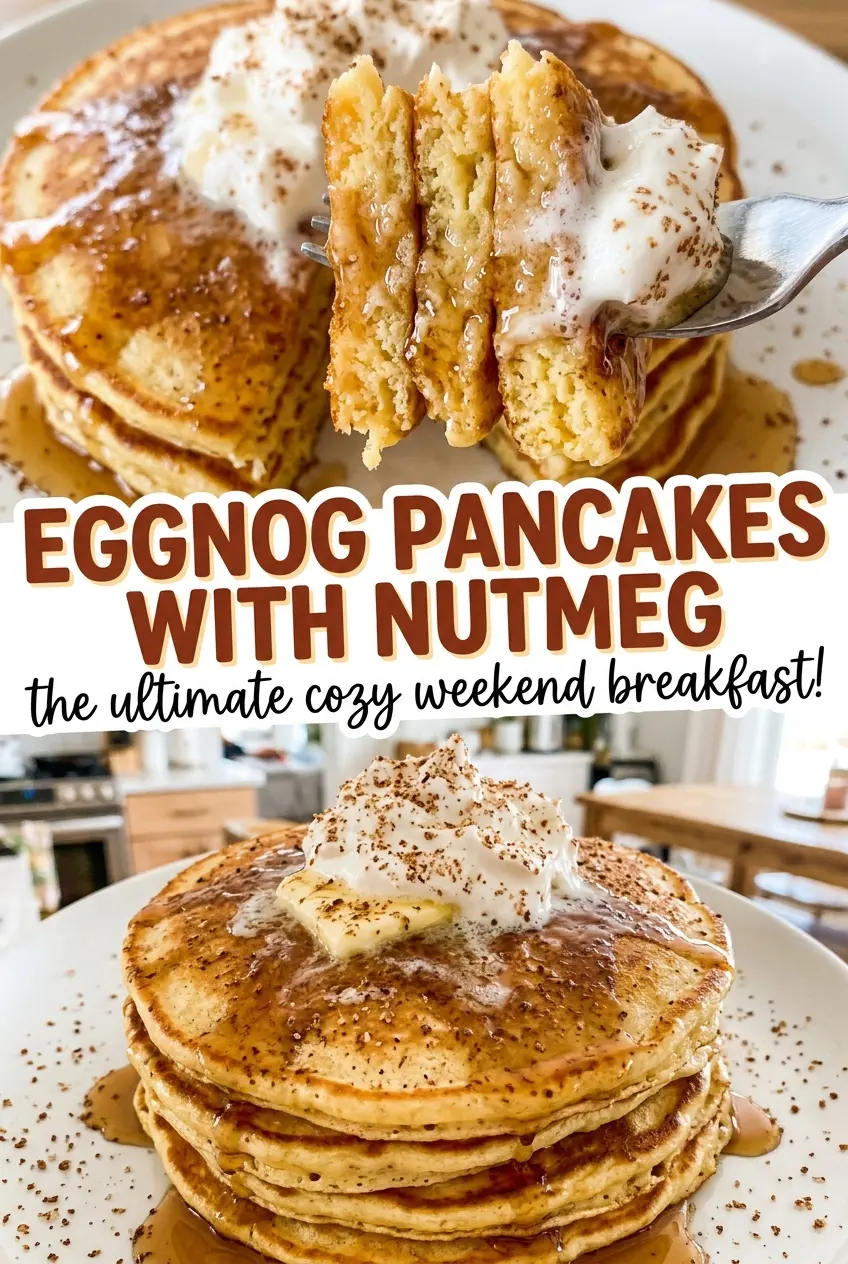
- Eggnog — It supplies the liquid and brings a richer, sweeter character than a plain pancake batter. Use an eggnog you enjoy drinking; its taste is prominent here, and a different product can shift the sweetness and spice. There isn’t a direct swap that keeps the same eggnog flavor and batter balance.
- Ground nutmeg — Nutmeg gives the pancakes their defining aroma. Freshly ground nutmeg tends to smell more vivid than a jar that has been open for a long time, though ordinary ground nutmeg still works. Keep it finely ground so it disperses through the dry mixture instead of leaving concentrated spicy bites.
- All-purpose flour and baking powder — Flour builds the pancake structure, while baking powder provides lift. Standard all-purpose flour is the right choice for the texture here; a different flour can absorb liquid differently. Baking powder that has been open for a long time may not lift as well, so use a fresh container for the tallest, lightest result.
- Egg and cooled melted butter — The egg helps bind the batter, and butter adds richness. Let the melted butter cool before whisking it into the eggnog mixture; hot butter can interfere with the egg and is harder to blend smoothly.
- Vegetable oil — This is for greasing the skillet between batches, not for flavoring the batter. A basic bottle is fine, since only a light coating is needed to help the pancakes release from the nonstick surface.
The Five-Minute Rest and the Medium-Low Skillet
Whisk the dry ingredients evenly
In a medium bowl, whisk together the flour, sugar, baking powder, salt, and ground nutmeg. Take a moment to break up any pockets of baking powder or nutmeg so they don’t land in just one pancake. The mixture should look uniform, with the spice spread throughout. Set this bowl aside while you prepare the wet ingredients.
Blend the eggnog mixture
In a second bowl, whisk the egg with the eggnog, then whisk in the melted butter after it has cooled. The mixture should look blended rather than streaked with butter. If the butter is still hot, give it more time to cool before adding it. Keeping the wet ingredients together first makes it easier to distribute them through the flour with minimal stirring.
Combine, then let the batter rest
Pour the eggnog mixture into the dry ingredients and stir just until combined. Small lumps are fine; stop when there are no large pockets of dry flour rather than trying to make the batter silky. Let it rest for 5 minutes before cooking. This short pause gives the flour time to hydrate while you heat the skillet.
Cook until the edges tell you to flip
Heat a 12-inch nonstick skillet over medium-low heat and lightly grease it with some of the vegetable oil. Pour about 1/4 cup batter per pancake, leaving space between them. Cook until bubbles appear on top and the edges look set, about 2 to 3 minutes; flipping before those signs show can leave the pancakes fragile. Cook the second side until golden, about 1 to 2 minutes, and lightly grease the skillet with the remaining oil between batches as needed.
Two Small Changes for a Different Eggnog Pancake
Use freshly ground nutmeg
Replace the pre-ground nutmeg with freshly ground nutmeg, keeping the same recipe measurement. The spice comes through more brightly, so the pancakes smell especially fragrant as they cook without changing the batter method.
Let spiced eggnog bring its own character
A spiced variety of eggnog shifts the flavor toward a fuller blend of warm spices, while the ground nutmeg still gives each pancake its signature note. Keep the nutmeg in the batter; it helps the pancakes retain their distinct aroma even when the eggnog has its own spice mix.
Storage and Reheating
- Refrigerator: Store cooled pancakes in an airtight container for 3 to 4 days. They soften as they sit, but a short reheat brings back a warm, tender texture.
- Freezer: Freeze cooled pancakes in a single layer until firm, then transfer them to a freezer-safe container for up to 2 months. Separate layers with parchment if you want to take out a few at a time.
- Reheating: Warm them in a skillet over low heat or in the microwave in short bursts until hot. Avoid high heat, which can dry the edges before the centers warm.
Questions That Come Up While Making Eggnog Pancakes
Eggnog Pancakes with Nutmeg
Ingredients
Equipment
Method
- Whisk the flour, sugar, baking powder, salt, and nutmeg together in a medium bowl.
- In a second bowl, whisk the egg and eggnog, then whisk in the melted butter.
- Pour the eggnog mixture into the dry ingredients and stir just until combined; a few small lumps are fine.
- Let the batter rest for 5 minutes.
- Heat a 12-inch nonstick skillet over medium-low heat.
- Lightly grease the skillet with some of the vegetable oil.
- Pour about 1/4 cup batter per pancake into the skillet, leaving space between pancakes.
- Cook until bubbles appear on top and the edges look set, about 2 to 3 minutes.
- Flip the pancakes and cook until golden on the second side, about 1 to 2 minutes.
- Lightly grease the skillet with the remaining oil between batches as needed.