
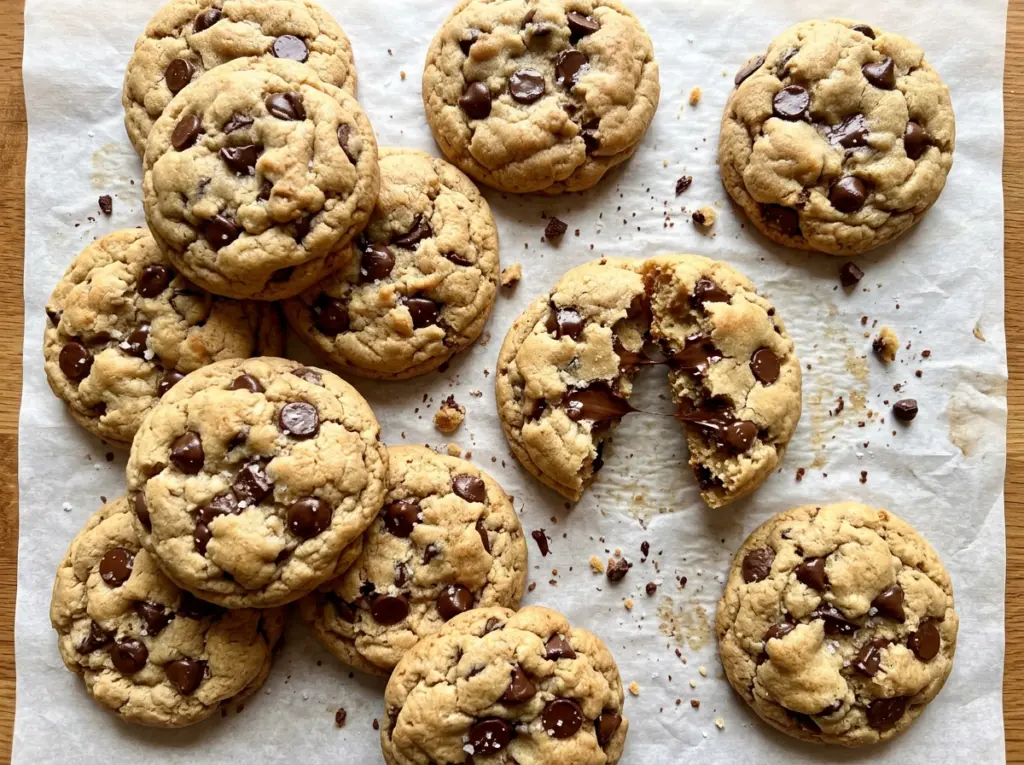
Crumbl Copycat Chocolate Chip Cookies
The butter and sugars turn pale and fluffy before the flour ever goes in, and that’s the first sign these cookies are headed in the right direction. I wanted a…

By Ava
•
•
Reading time: 9 min
Tip: save now, make later.
The butter and sugars turn pale and fluffy before the flour ever goes in, and that’s the first sign these cookies are headed in the right direction. I wanted a copycat chocolate chip cookie with the tall, bakery-style shape and a soft center, not a thin cookie that spreads across the pan. These Crumbl Copycat Chocolate Chip Cookies start with eight generous portions, so each one has room for a puffed middle and plenty of semisweet chocolate.
The dough gets a short rest in the refrigerator, then each portion is shaped into a tall mound rather than flattened into a disk. That shape matters: it gives the edges time to set while the centers stay thick and soft. I bake one sheet at a time and look for lightly golden edges, not fully firm centers. The cookies continue to settle as they rest on the hot baking sheet, with chocolate in every bite and a tender middle.
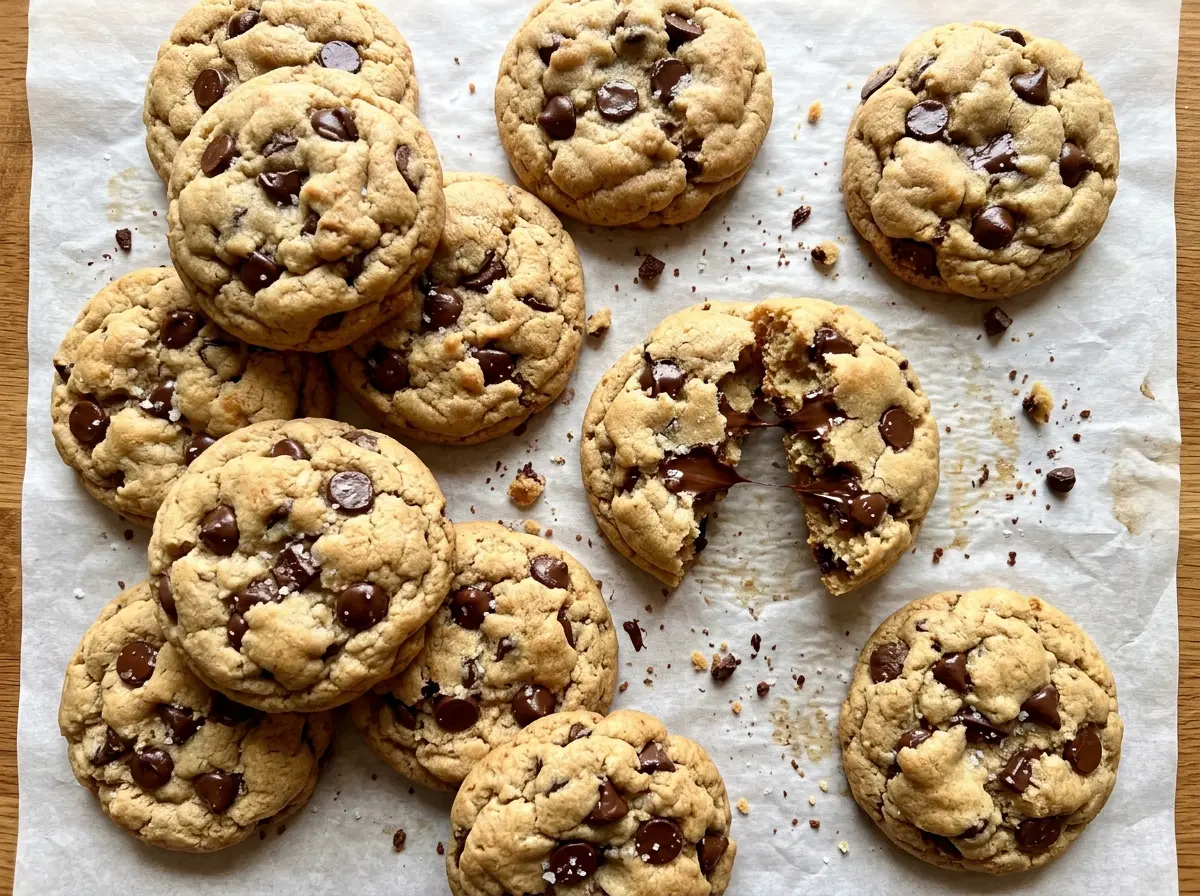
Kitchen Note
Give the cookies the full 15 minutes on the baking sheet before moving them. Their centers are soft when they come out, and that short rest lets them settle without breaking when you lift them.
Save these Crumbl Copycat Chocolate Chip Cookies for the next time you want a thick cookie with a soft middle and semisweet chocolate in every bite.
Why These Oversized Cookies Need a Tall Starting Shape
A large cookie can turn dry at the edges before the middle has a chance to bake if it’s shaped too flat. Starting with a tall mound gives the dough more height, so the center stays puffed as the outside sets. That’s how you get the contrast this style of cookie is known for: a lightly golden edge around a soft, thick center.
Keep all eight portions about the same size so they bake at a similar rate, and leave space between them on the baking sheets. Four mounds per sheet with about 3 inches between them gives each cookie room to spread. Resist the urge to press the dough down before baking. If the mounds look unusually tall compared with a standard drop cookie, that’s intentional; the oven will soften their shape while keeping the centers substantial.
What the Butter, Sugars, and Chocolate Bring to the Dough

- Unsalted butter — Softened butter creams smoothly with the sugars and gives the dough its rich base. It should yield when pressed but shouldn’t look melted or oily; melted butter won’t create the same light, fluffy mixture.
- Light brown and granulated sugars — Packed light brown sugar brings moisture and a deeper sweetness, while granulated sugar balances it. Pack the brown sugar into the cup so the amount is consistent from batch to batch.
- Room-temperature eggs — They blend more evenly into the creamed butter than cold eggs. Add them one at a time, which gives each egg a chance to incorporate before the next goes in.
- All-purpose flour and the two leaveners — Flour gives these large cookies structure, while baking soda and baking powder help them rise. Whisk them together with the salt before adding so the leaveners don’t collect in one spot in the dough.
- Semisweet chocolate chips — Semisweet chips balance the sweet dough and hold their shape through baking. Use chips you like eating on their own; since they’re folded throughout the dough, their flavor shows up in every portion.
Mix, Chill, Shape, and Bake Without Losing the Soft Centers
Cream the Butter and Sugars Until Fluffy
Beat the softened butter with both sugars using an electric mixer for 2 to 3 minutes. The mixture should look lighter and fluffier than it did at the start, with no large streaks of plain butter. If the butter is too firm, it won’t cream evenly; if it’s melted, the mixture won’t build the same airy texture. Scrape down the bowl if needed so the butter and sugar mix together evenly.
Add the Eggs, Then Work in the Dry Mixture
Beat in the eggs one at a time, then mix in the vanilla. In a separate bowl, whisk the flour, baking soda, baking powder, and kosher salt before adding them to the butter mixture in batches. Keep the mixer on low and stop as soon as the dry ingredients are combined. Mixing longer than needed can make the finished cookies tougher.
Fold in the Chips and Chill the Dough
Fold the semisweet chocolate chips through the dough so they’re spread from edge to edge. Cover the bowl and refrigerate the dough for 30 minutes. Chilling firms it up, making the portions easier to handle and shape into tall mounds. Don’t skip covering the bowl; it keeps the dough from drying out in the refrigerator.
Space the Mounds and Watch the Edges
Heat the oven to 375°F and line two rimmed baking sheets with parchment paper. Divide the dough into 8 equal portions, shape each into a tall mound, and place 4 on each sheet with about 3 inches between them. Bake one sheet at a time for 13 to 16 minutes, until the edges are lightly golden and set while the centers remain puffed and soft. Let each batch rest on its baking sheet for 15 minutes, then transfer the cookies to a rack to cool.
Easy Ways to Change the Chocolate or Adapt the Flour
Give the tops a chocolate-chip finish
For cookies with visible chips on top, reserve a small portion of the measured semisweet chips before folding the rest into the dough. Press the reserved chips onto the shaped mounds before baking. The ingredient list stays the same, but the cookies come out with a more pronounced chocolate-studded appearance.
Use mini semisweet chips for smaller pockets of chocolate
Mini semisweet chocolate chips can replace standard semisweet chips in the same measure. They spread more evenly through the dough and give each bite a finer chocolate texture, though you’ll lose some of the larger pockets that standard chips create.
Make a gluten-free version
Replace the all-purpose flour with a cup-for-cup gluten-free baking flour blend designed to substitute for wheat flour. The cookies may have a slightly different texture, so shape the dough carefully and use the same visual cues for doneness rather than waiting for the centers to look firm.
Storage and Reheating
- Refrigerator: Keep cooled cookies in an airtight container for up to 5 days. They’ll firm up when chilled; let one sit at room temperature before eating if you prefer a softer texture.
- Freezer: Freeze fully cooled cookies in an airtight freezer container for up to 2 months. Separate layers with parchment so the cookies don’t stick together, then thaw at room temperature.
- Reheating: Warm an individual cookie briefly in the microwave, using a short burst so the chocolate softens without turning the cookie hot and overly soft. Long heating can dry the edges before the center warms.
Questions That Come Up When Baking These Big Cookies
Crumbl Copycat Chocolate Chip Cookies
Ingredients
Equipment
Method
- Preheat the oven to 375°F.
- Line two rimmed baking sheets with parchment paper.
- In a large bowl, beat the butter, brown sugar, and granulated sugar with an electric mixer until light and fluffy, 2 to 3 minutes.
- Beat in the eggs one at a time.
- Mix in the vanilla.
- In a separate bowl, whisk together the flour, baking soda, baking powder, and salt.
- Add the flour mixture to the butter mixture in batches and mix on low just until combined.
- Fold in the chocolate chips.
- Cover the bowl and refrigerate the dough for 30 minutes.
- Divide the dough into 8 equal portions and shape each into a tall mound.
- Arrange 4 mounds on each prepared baking sheet, leaving about 3 inches between them.
- Bake one sheet at a time for 13 to 16 minutes, until the edges are lightly golden and set while the centers remain puffed and soft.
- Let the cookies rest on the baking sheet for 15 minutes before transferring them to a rack to cool.