
Crispy Sheet Pan Hash Browns
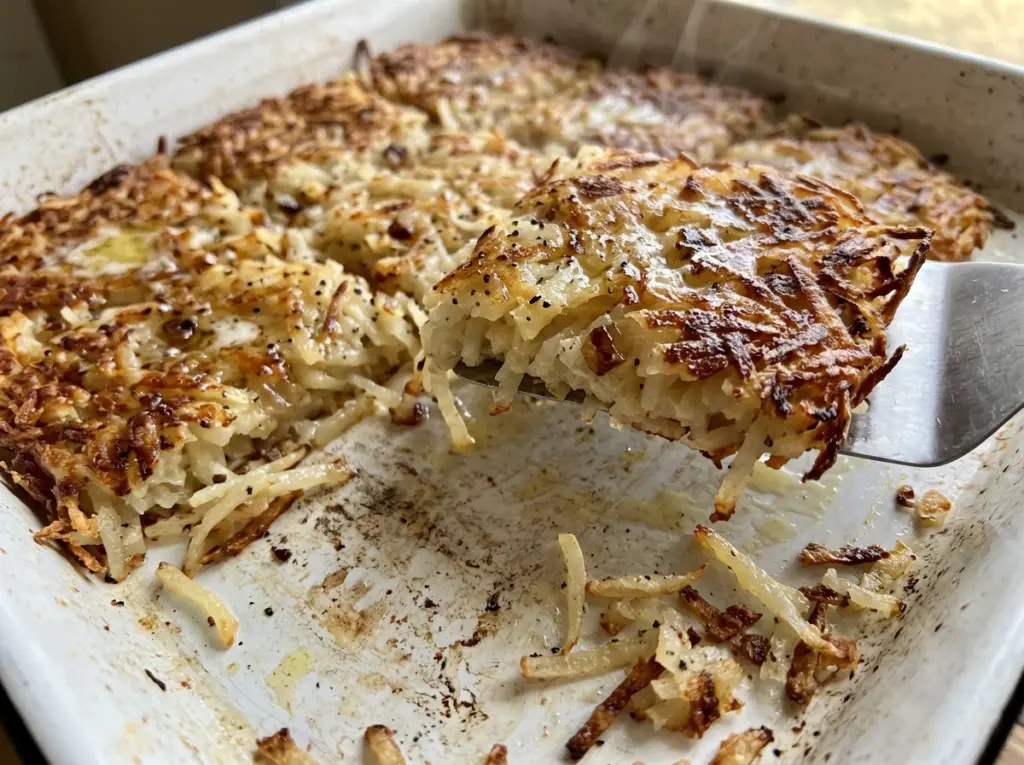
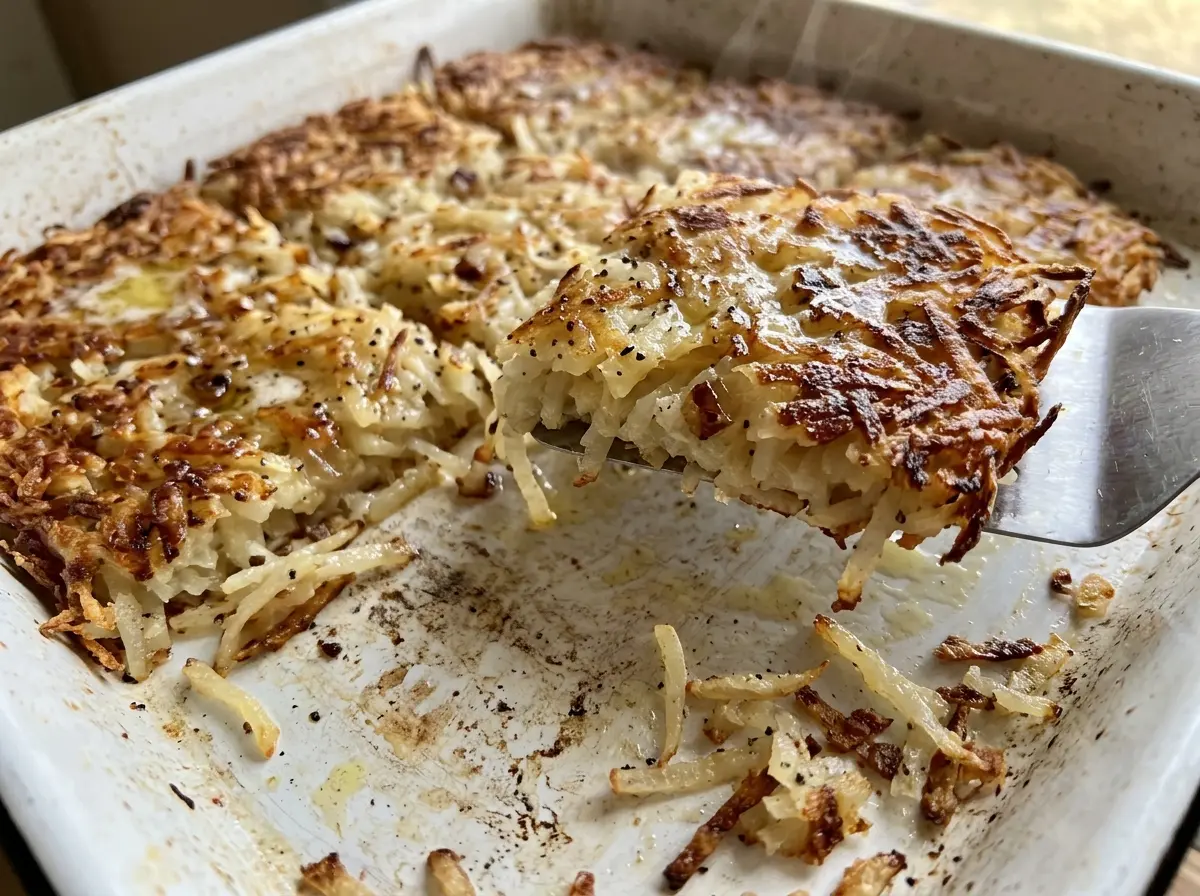
When the spatula slides under the first section, the potatoes should lift with a browned underside instead of collapsing into damp shreds. That first turn is a good sign that…

By Ava
•
•
Reading time: 8 min
Tip: save now, make later.
When the spatula slides under the first section, the potatoes should lift with a browned underside instead of collapsing into damp shreds. That first turn is a good sign that the sheet pan is doing its job: giving a full batch plenty of room to crisp without standing over a skillet. Crispy Sheet Pan Hash Browns are my answer when I want those golden edges but don’t want to cook potatoes in several small batches.
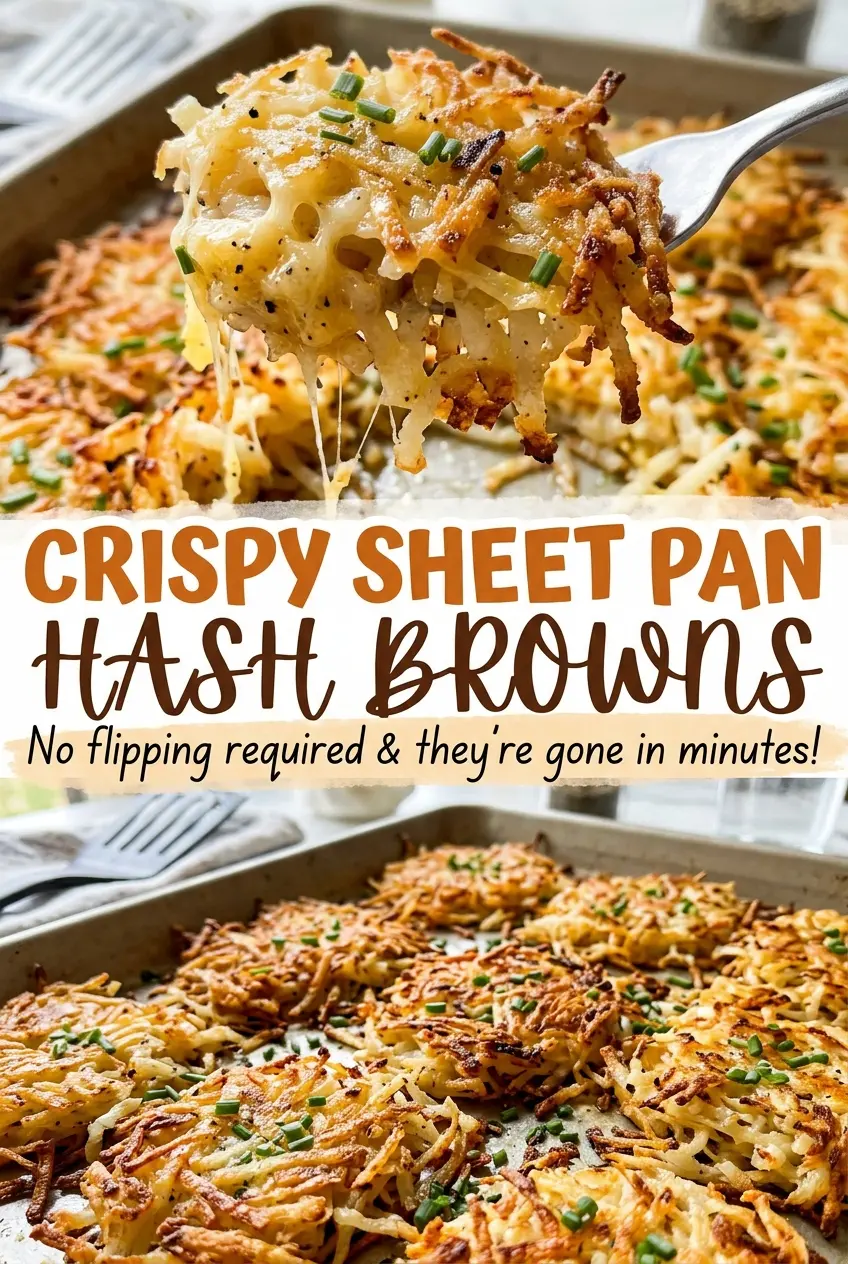
I keep the shreds in an even layer so they brown across the pan, not just around the edges. The oven takes care of most of the work, and turning the potatoes once gives the other side its chance to crisp. You end up with tender centers, crisp bits throughout, and the kind of savory potato crunch that belongs on a breakfast plate.
Kitchen Note
Give the potatoes their full 5-minute rest on the pan before serving. They settle into a sturdier layer, which makes it easier to lift crisp portions without scattering the shreds.
Save these Crispy Sheet Pan Hash Browns for a breakfast with golden edges and crisp shreds in every bite.
Why Wet Potato Shreds Turn Soft Instead of Crisp
Grated potatoes carry two things that work against a crisp finish: loose surface starch and water. Rinsing the shreds in cold water washes away some of that starch, which helps keep them from sticking together in a pasty layer. The rinse is only half the job, though. If the potatoes go onto the pan wet, that water has to evaporate before the shreds can brown, and the potatoes are more likely to steam first.
Squeeze them firmly in a clean kitchen towel until they feel dry rather than damp when you open it. A little moisture inside the potato is fine; water clinging to the outside is what slows browning. This is one of those small prep details that pays off across the whole pan, because the potatoes can start crisping sooner instead of waiting for excess water to cook away.
Why Russets Give This Pan Its Crisp, Shredded Texture
- Russet potatoes — Their starchy texture helps the grated shreds brown and crisp while the inside stays tender. Choose firm potatoes without green patches or soft spots. Yukon Gold potatoes are the closest swap; they work, but their waxier texture gives you a denser, less crisp result.
- Neutral oil — The oil coats the shreds and helps them brown at the oven temperature without adding a strong flavor. Canola or grapeseed oil fits the same role if that’s what you keep on hand. Use an oil with a mild taste rather than one that would dominate the potatoes.
- Black pepper — Pepper gives the potatoes a gentle savory warmth, and freshly ground pepper has a more noticeable aroma. Pre-ground black pepper works fine here; there’s no need to buy a special variety for this simple seasoning.
From Grated Potatoes to a Crisp, Golden Pan
Prepare the Hot, Greased Pan
Heat the oven to 425°F and lightly grease an 18×13-inch rimmed baking sheet with 1 tablespoon of the oil. Spread the oil in a thin film so the potatoes have contact with the pan rather than sitting in puddles. The rim helps keep the shreds in place when you turn them. Have the pan ready before you grate so the potatoes can move straight from prep to baking.
Grate, Rinse, and Dry the Shreds
Peel the russets and coarsely grate them. Rinse the shreds in cold water, then gather them in a clean kitchen towel and squeeze firmly until they’re very dry. Don’t rush the squeeze; a damp handful is harder to brown evenly. Keep the shreds coarse rather than finely grated so they hold some texture through baking.
Season and Spread in One Layer
Toss the potatoes with the remaining 3 tablespoons oil, kosher salt, and black pepper until the shreds are lightly coated. Scatter them across the prepared pan and spread them into an even layer. A thick pile in the middle browns unevenly, so move shreds toward open spots rather than pressing everything into a mound. Aim for a broad layer that covers the pan without being packed down.
Brown the Underside, Then Turn in Sections
Bake for 20 to 25 minutes, until the underside is golden and crisp. Slide a spatula under the potatoes to check the color before turning; pale, soft shreds need more time in this first bake. Turn the potatoes in sections with the spatula, then spread them out again. Working in sections keeps the shreds manageable instead of turning the whole pan into one loose pile.
Finish Until Crisp Throughout
Bake for 15 to 20 minutes more, until the potatoes are crisp and golden throughout. Look for browned edges and crisp shreds across the pan, not only around the perimeter. If a few areas are paler, spread the potatoes back into an even layer so they can finish together. Let them rest on the pan for 5 minutes before serving.
Two Easy Ways to Change the Potato Pan
A Sweeter Sweet Potato Version
Swap the russets for sweet potatoes if you want a sweeter, less classic hash brown. Grate them coarsely and squeeze them dry just as you would the russets. They’ll have a softer texture and a more pronounced sweetness, so judge the finish by the golden, crisp cues rather than expecting the same taste as the original.
A More Distinctly Peppery Batch
For a sharper pepper note, use freshly cracked black pepper in place of pre-ground pepper. The flavor comes through more clearly against the mild potato, while the basic texture and baking method stay the same. Keep the pepper evenly tossed through the shreds so one bite doesn’t get all the seasoning.
Storage and Reheating
- Refrigerator: Store in a covered container for 3 to 4 days. The shreds soften in the fridge, but the oven brings back some crispness.
- Freezer: Freeze in a single layer, then transfer to an airtight container for up to 2 months. They’ll be less delicate after thawing, so reheat from frozen when you can.
- Reheating: Spread leftovers on a baking sheet and heat at 425°F until crisp and hot throughout, reaching 165°F. Avoid the microwave if you want to keep the edges crisp; it softens the shreds.
Questions That Come Up While Making Sheet Pan Hash Browns
Crispy Sheet Pan Hash Browns
Ingredients
Equipment
Method
- Heat the oven to 425°F.
- Lightly grease an 18x13-inch rimmed baking sheet with 1 tablespoon of the oil.
- Coarsely grate the potatoes.
- Rinse them in cold water.
- Squeeze them very dry in a clean kitchen towel.
- Toss the potatoes with the remaining 3 tablespoons oil, the salt, and pepper.
- Spread them in an even layer on the prepared baking sheet.
- Bake for 20 to 25 minutes, until the underside is golden and crisp.
- Turn the potatoes in sections with a spatula.
- Spread them out again.
- Bake for 15 to 20 minutes more, until crisp and golden throughout.
- Let rest on the pan for 5 minutes before serving.