
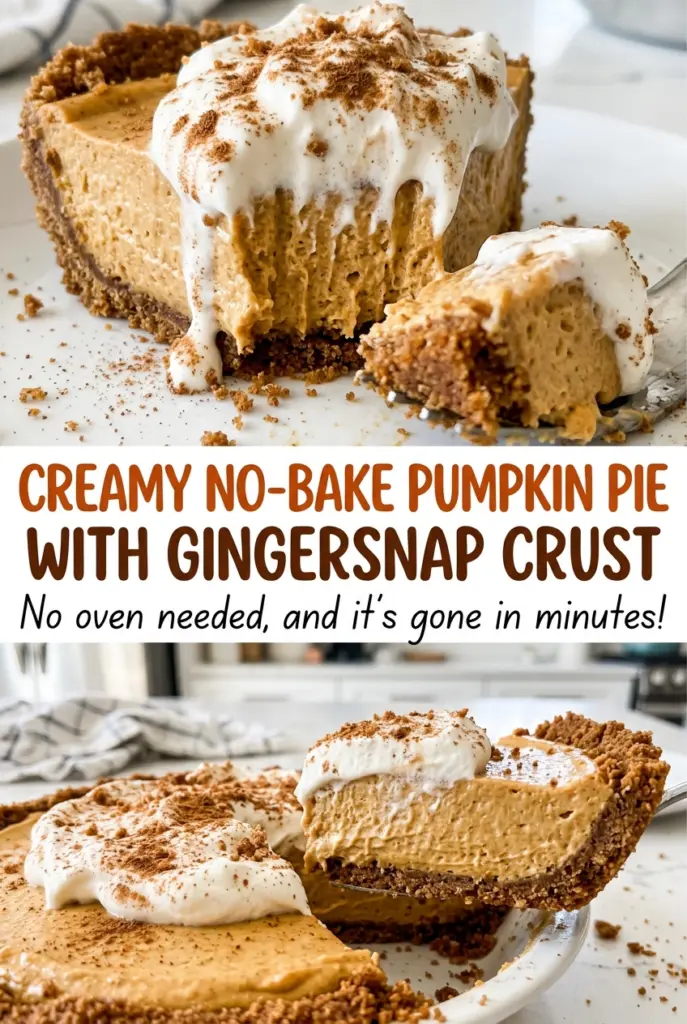
Creamy No-Bake Pumpkin Pie with Gingersnap Crust
The crumbs should hold together when you press them, but they shouldn't feel greasy or packed into a hard shell. That’s the little balance I watch when making a no-bake…

By Ava
•
•
Reading time: 9 min
Tip: save now, make later.
The crumbs should hold together when you press them, but they shouldn’t feel greasy or packed into a hard shell. That’s the little balance I watch when making a no-bake gingersnap crust: the cookies bring their own sweetness and spice, while melted butter helps the crumbs set into a sliceable base. This creamy no-bake pumpkin pie keeps the oven off and gives you a cool, soft filling with a crisp-edged cookie crust.
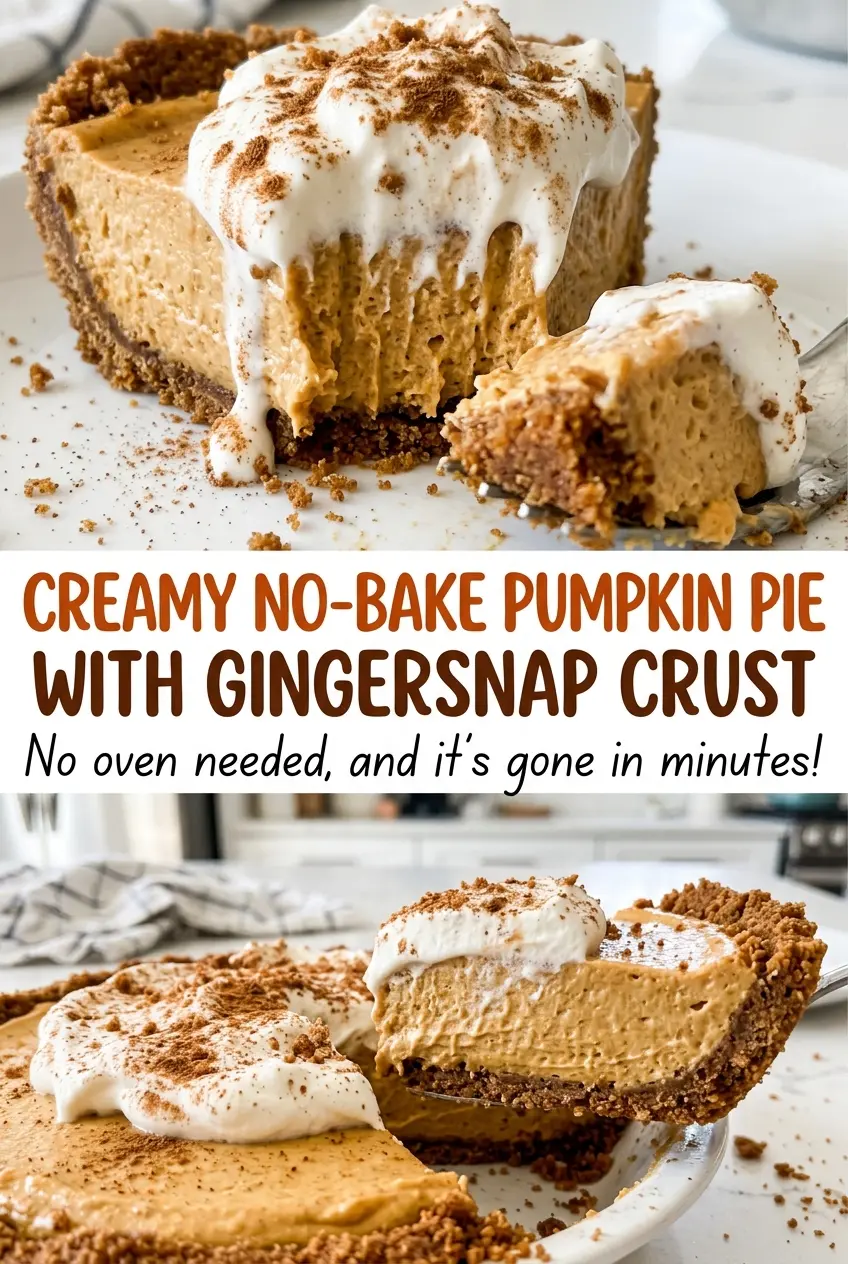
The filling gets its structure from unflavored gelatin, not from baking eggs or reducing pumpkin on the stove. I blend the gelatin into a little of the pumpkin mixture first, then fold in whipped cream once the pumpkin base is smooth. That order helps the filling stay airy while it chills into clean slices. After a long rest in the refrigerator, each piece has the warm cinnamon-and-ginger flavor of pumpkin pie with a texture closer to a light cream filling.
Kitchen Note
Press the crumbs firmly where the bottom of the crust meets the sides of the pie plate. That corner is an easy place to leave loose crumbs, and it’s often where a slice starts to break.
Save this creamy no-bake pumpkin pie with its warmly spiced gingersnap crust for a make-ahead dessert that chills until it’s ready to slice.
Why Gelatin Lets This Pumpkin Pie Set Without Baking
Pumpkin puree and cream cheese make a fairly substantial base. Whipped cream lightens it, but air alone won’t hold that mixture in a pie-shaped slice after it’s spooned into a crust. The gelatin gives the filling enough structure to firm in the refrigerator without changing the smooth, creamy texture into something stiff or rubbery.
It helps to think of gelatin as a setting ingredient that needs to be distributed evenly. If it goes into the filling in one concentrated spot, it can cool before it blends through the pumpkin mixture. I soften it in cold water, melt it until clear, then whisk in a small amount of pumpkin filling before adding it gradually to the bowl. Once the whipped cream is folded in, the pie needs a full chill; cutting too early is the difference between a neat wedge and a soft scoop.
This balance is what makes the pie feel creamy rather than dense. The gelatin supports the pumpkin base, and the whipped cream keeps each bite light. Neither one can do the other’s job by itself.
What Keeps the Gingersnap Crust Crisp and the Filling Light
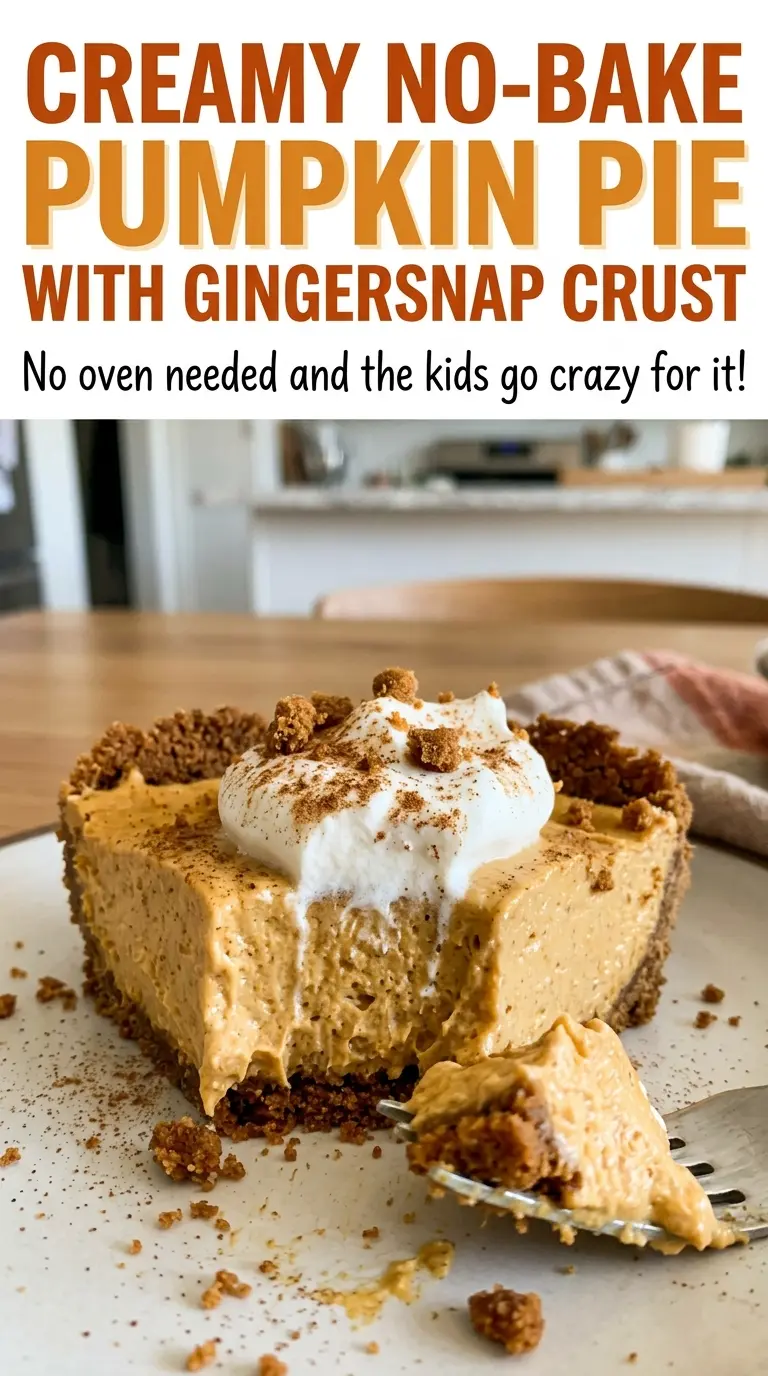
- Gingersnap crumbs and brown sugar — Finely crushed cookies pack into a close, even crust, while the brown sugar adds a little caramel-like sweetness. The gingersnaps already carry spice, so a more ginger-forward cookie will make the crust taste bolder without changing the filling. For a gluten-free crust, use gluten-free gingersnap cookies and crush them finely to make the same amount of crumbs; the texture and sweetness may vary a bit by brand.
- Melted unsalted butter — Butter binds the crumbs as the crust chills. Unsalted butter keeps the salt level in the filling separate from the crust, and it’s worth melting it fully so it coats the crumbs evenly rather than leaving dry pockets.
- Unflavored gelatin — This is the ingredient that lets the filling set without heat. Flavored gelatin isn’t a direct stand-in; it would add sweetness and a different flavor, so keep the unflavored kind for the pumpkin and spice balance to stay intact.
- Canned pumpkin puree — Plain pumpkin gives the filling its color and earthy pumpkin taste without bringing extra sugar or spice. Pumpkin pie filling is a different product, so it won’t give you the same control over sweetness and seasoning.
- Cream cheese and heavy cream — Softened cream cheese makes the pumpkin base creamy and stable, while cold heavy cream whips into the airy part of the filling. Use regular cream cheese rather than whipped cream cheese, and don’t replace the heavy cream with a thinner dairy product that can’t hold stiff peaks.
- Cinnamon, ginger, nutmeg, vanilla, and salt — These season the pumpkin without overwhelming it. Fresh, aromatic spices make a noticeable difference here; if the jars in your pantry have lost their scent, the filling will taste flatter even after it chills.
Building the Pie in the Right Order, From Crust to Chill
Pack and Chill the Gingersnap Shell
Stir the finely crushed gingersnap crumbs with the brown sugar and melted butter until the crumbs look evenly moistened. Press the mixture over the bottom and up the sides of a 9-inch pie plate, working firmly so the shell holds together. Refrigerate it for at least 30 minutes before filling. If the crumbs look dry or loose, keep pressing rather than leaving a thin, crumbly layer around the sides.
Soften the Gelatin Before You Melt It
Sprinkle the unflavored gelatin over the cold water in a small heatproof bowl and let it stand for 5 minutes. This gives the granules time to soften before they’re heated. Microwave in 5-second bursts, stirring between each one, until the mixture is liquid and clear. Don’t let it boil.
Beat the Pumpkin Base Until Smooth
Beat the softened cream cheese with the granulated sugar until the mixture is smooth, scraping the bowl if cream cheese is clinging to the sides. Add the pumpkin puree, vanilla, cinnamon, ginger, nutmeg, and salt, then beat until the spices are evenly mixed in. Small lumps at this point usually mean the cream cheese wasn’t soft enough before beating. A smooth base now makes it easier to fold in the cream later.
Blend in the Gelatin Gradually
Whisk 2 tablespoons of the pumpkin mixture into the melted gelatin first. With the mixer running on low, slowly drizzle that gelatin mixture into the bowl of pumpkin filling. Take your time rather than pouring it in all at once; gradual mixing helps the gelatin spread through the filling instead of forming concentrated streaks.
Fold in the Cream and Give It Time to Set
In a separate bowl, beat the cold heavy cream until stiff peaks form. Fold it gently into the pumpkin mixture until no white streaks remain, using broad strokes so the filling keeps its airy texture. Spoon the filling into the chilled crust and smooth the top. Cover the pie and refrigerate it for at least 6 hours, until it’s firm enough to slice.
Two Useful Ways to Adapt the Gingersnap Crust
Use gluten-free gingersnaps
For a gluten-free crust, replace the regular gingersnap cookies with gluten-free gingersnap cookies and crush them finely to the same 2 cups of crumbs. Keep the brown sugar and butter amounts unchanged. Depending on the cookies, the crust may be a little more delicate or a touch sweeter.
Choose a more ginger-forward crust
Some gingersnaps have a sharper ginger bite than others. Using that style of cookie for the crust gives each slice a spicier edge while leaving the smooth pumpkin filling unchanged; keep the crumbs finely crushed so they still press into an even shell.
Storage and Serving
- Make ahead: Prepare the pie a day before serving, cover it, and keep it refrigerated so the filling has time to set.
- Refrigerator: Keep leftovers covered and refrigerated for up to 3 days. The crust gradually softens as it sits beneath the filling.
- Freezer: Freezing isn’t my first choice for this pie; the gelatin-set whipped filling may lose its smooth texture when thawed.
- Serving: Serve it cold, straight from the refrigerator. It doesn’t need reheating, and warming it would soften the filling.
Questions That Come Up Before the First Slice
Creamy No-Bake Pumpkin Pie with Gingersnap Crust
Ingredients
Equipment
Method
- Stir the gingersnap cookie crumbs, packed light brown sugar, and melted unsalted butter together until evenly moistened.
- Press the crumb mixture firmly over the bottom and up the sides of a 9-inch pie plate.
- Refrigerate the crust for at least 30 minutes.
- Sprinkle the unflavored gelatin over the cold water in a small heatproof bowl and let stand for 5 minutes to soften.
- Beat the softened cream cheese and granulated sugar in a large bowl until smooth.
- Beat in the canned pumpkin puree, vanilla extract, ground cinnamon, ground ginger, ground nutmeg, and salt.
- Microwave the softened gelatin in 5-second bursts, stirring between bursts, until liquid and clear; do not let it boil.
- Whisk 2 tablespoons of the pumpkin mixture into the gelatin.
- Slowly drizzle the gelatin mixture into the bowl while beating on low until evenly combined.
- Beat the cold heavy cream in a separate bowl until stiff peaks form.
- Gently fold the whipped cream into the pumpkin mixture until no white streaks remain.
- Spoon the filling into the chilled crust and smooth the top.
- Cover and refrigerate for at least 6 hours, until firm enough to slice.