
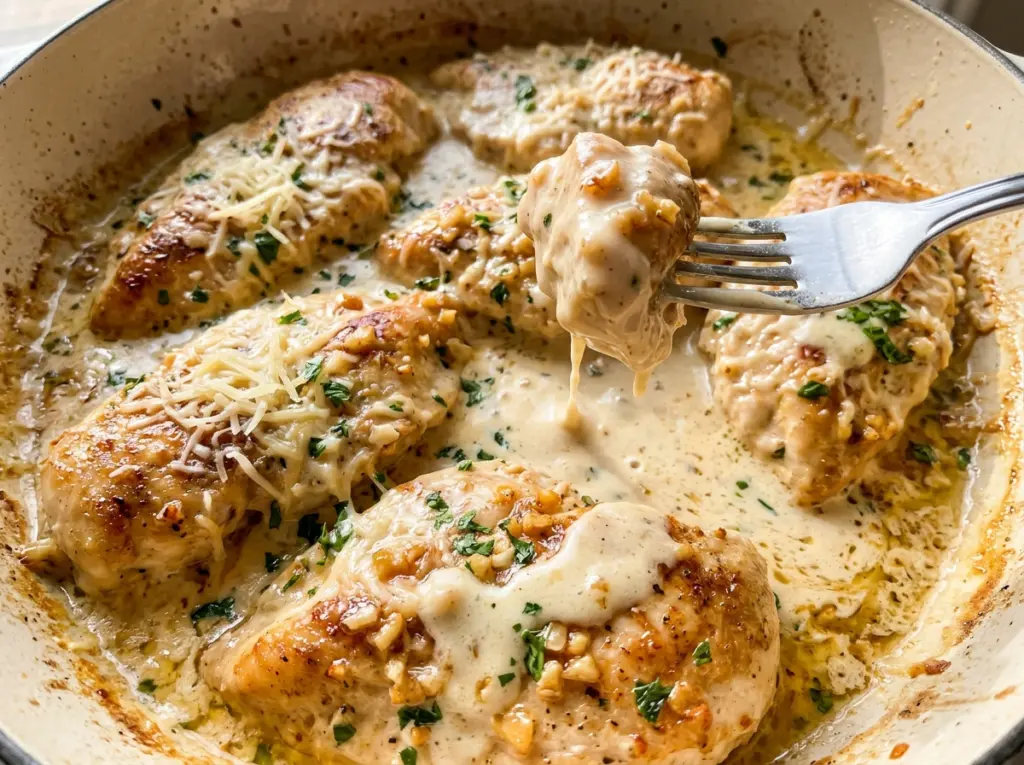
Creamy Garlic Parmesan Chicken Breast
The chicken should sizzle as soon as it hits the skillet, then turn a deep golden color without leaving a thick, bready coating behind. That balance is what I want…

By Ava
•
•
Reading time: 9 min
Tip: save now, make later.
The chicken should sizzle as soon as it hits the skillet, then turn a deep golden color without leaving a thick, bready coating behind. That balance is what I want in creamy garlic Parmesan chicken breast: browned chicken, plenty of flavor in the pan, and a sauce that clings instead of hiding the meat.
Pounding the breasts to an even thickness keeps the thinner ends from drying out before the centers are cooked. A light flour coat helps them brown and gives the sauce a little body later, while low heat lets the Parmesan melt smoothly into the cream. The finished chicken is tender, with a silky garlic sauce that’s rich but still easy to spoon over every bite.
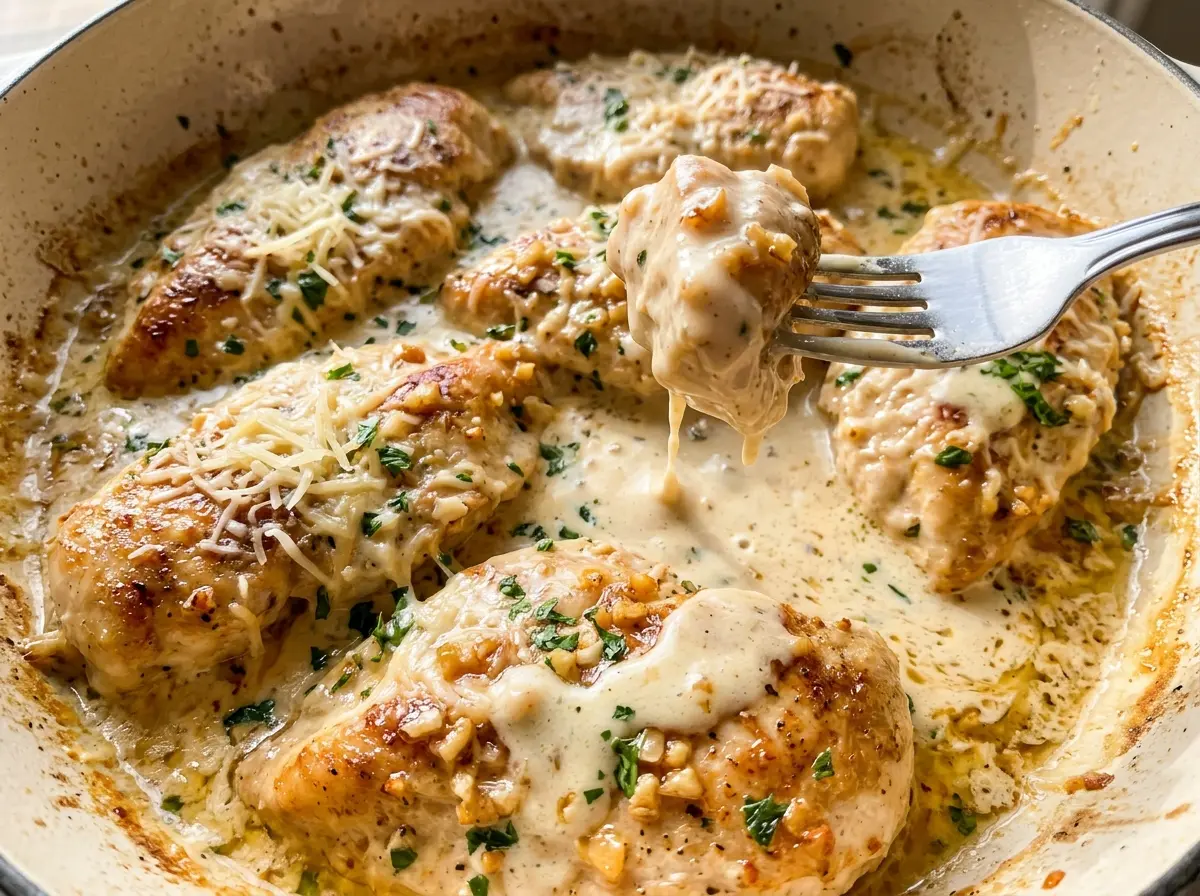
Kitchen Note
Watch the garlic closely once it hits the butter. It should smell fragrant, not turn brown; that short window is what keeps the sauce savory instead of bitter.
Save this creamy garlic Parmesan chicken breast for the nights you want golden chicken and a silky skillet sauce without breading or deep-frying.
The Flour Coat Is for the Sauce, Not a Breading
Flour on chicken can go wrong in two directions: too much and you get a pasty layer, too little and the meat doesn’t brown as well. Here, the coating should be thin enough that you can still see the chicken through it. Shake off the excess before the breasts go into the pan, and discard whatever flour remains in the dish rather than adding it to the sauce.
That light coating does useful work twice. It helps the chicken develop a golden surface in the skillet, and the small amount that stays on the meat contributes body when the cream and broth go in. This isn’t a crisp, crunchy crust; a heavy dredge would soften in the sauce and make the finished dish feel floury. The browned bits left in the skillet bring the deeper flavor, so take a moment to scrape them up with the broth before adding the cream.
Cooking in two batches matters here, too. If the chicken is crowded into the skillet, it releases moisture and steams instead of browning. Give each piece room, and the pan will have the browned fond this sauce needs.
Why Low-Sodium Broth and Finely Grated Parmesan Matter

- Chicken breasts — Even thickness matters more than perfect shape. Pounding the breasts between plastic wrap makes the thinner edges less likely to dry out before the middle cooks through. Fresh or frozen-and-thawed chicken both work; pat thawed chicken dry before seasoning so the flour coat doesn’t turn damp.
- All-purpose flour — It creates the light browning layer and gives the sauce a little more cling. For a gluten-free version, use a gluten-free all-purpose blend intended as a one-to-one replacement; the coating may brown a little differently, but it still works here.
- Olive oil and unsalted butter — Olive oil handles the chicken’s initial sear, while butter gives the garlic sauce a rounded, savory base. Unsalted butter lets you control the seasoning alongside the broth and Parmesan. No specialty oil is needed.
- Garlic — Fresh minced cloves give the sauce its defining aroma. Jarred minced garlic has a softer, less lively taste, so fresh is worth using when you can.
- Low-sodium chicken broth — It loosens the browned bits from the skillet without making the finished sauce too salty. The Parmesan adds salt as it melts, so low-sodium broth leaves more room to season the chicken itself.
- Heavy cream — Its fat gives the sauce a rich texture and helps it stay smooth through a gentle simmer. Milk won’t make the same thick, stable sauce, so I wouldn’t swap it here.
- Finely grated Parmesan — Fine shreds melt into the cream more evenly than thick shreds. A wedge grated just before cooking gives the smoothest result; packaged finely grated Parmesan is convenient, but coarser shreds take longer to melt.
- Fresh parsley — It brings a clean, green finish that cuts through the creamy sauce. Chop it shortly before serving for the brightest flavor.
Brown the Chicken First, Then Build the Sauce in Its Skillet
Even Out the Breasts and Coat Them Lightly
Place each chicken breast between two sheets of plastic wrap and pound it to an even 1/2-inch thickness. Season both sides with kosher salt and black pepper, then coat each piece in flour in a shallow dish. Shake off the excess so the coating stays light. Discard the remaining flour when you’re done.
Give Each Batch Room to Turn Golden
Heat the olive oil in a 12-inch skillet over medium heat. Cook the chicken in two batches for 4 to 6 minutes per side, adding the remaining oil for the second batch. Look for a golden surface and check the thickest part of each breast; it should reach 165°F. Transfer the cooked chicken to a plate while you make the sauce.
Scrape the Browned Bits into the Broth
Reduce the heat to medium-low and melt the butter in the same skillet. Add the minced garlic and cook for about 30 seconds, stirring, then pour in the chicken broth. Scrape the bottom of the pan to release the browned bits, and simmer the broth for 2 minutes. Keep the heat moderate so the garlic stays fragrant rather than darkening.
Finish the Cream Sauce Gently
Stir in the heavy cream and simmer gently for 3 to 5 minutes, until the sauce thickens slightly. Reduce the heat to low before stirring in the Parmesan; a gentle temperature helps it melt into the cream instead of clumping. Return the chicken and any juices on the plate to the skillet, turning each piece to coat. Simmer gently for 1 to 2 minutes while spooning sauce over the chicken, then finish with parsley and serve.
Small Changes That Keep the Garlic Parmesan Sauce in Balance
Make the Chicken Gluten-Free
Replace the all-purpose flour with a gluten-free one-to-one flour blend for coating. The crust may be a little less golden depending on the blend, but the chicken and cream sauce keep their familiar texture. Check that the broth and Parmesan you use are also labeled gluten-free.
Turn Up the Garlic
For a more pronounced garlic taste, use five cloves instead of four and keep the same brief cooking time in the butter. The sauce will taste sharper and more aromatic, so watch the garlic as it cooks; extra garlic can brown quickly if the pan is too hot.
Storage and Reheating
- Refrigerator: Store in an airtight container for 3 to 4 days. The sauce will thicken as it chills, and the coating will soften.
- Freezer: It can be frozen in an airtight container for up to 2 to 3 months, though the cream sauce may separate slightly after thawing. Thaw overnight in the refrigerator for the best texture.
- Reheating: Warm gently in a covered skillet over low heat, adding a small splash of chicken broth if the sauce is too thick. Avoid a hard boil, which can make the cream sauce separate and the chicken dry out.
Questions That Come Up While Making This Garlic Parmesan Chicken
Creamy Garlic Parmesan Chicken Breast
Ingredients
Equipment
Method
- Place each chicken breast between two sheets of plastic wrap and pound to an even 1/2-inch thickness.
- Season both sides of the chicken with the salt and pepper.
- Put the flour in a shallow dish and coat each chicken breast, shaking off the excess.
- Discard any remaining flour.
- Heat the olive oil in a 12-inch skillet over medium heat.
- Cook the chicken in two batches for 4 to 6 minutes per side, until golden and the thickest part reaches 165°F; add the remaining oil for the second batch.
- Transfer the chicken to a plate.
- Reduce the heat to medium-low and melt the butter in the skillet.
- Add the garlic and cook for about 30 seconds, stirring.
- Pour in the chicken broth and scrape up the browned bits; simmer for 2 minutes.
- Stir in the heavy cream and simmer gently for 3 to 5 minutes, until slightly thickened.
- Reduce the heat to low and stir in the Parmesan until melted.
- Return the chicken and any accumulated juices to the skillet and turn to coat.
- Simmer gently for 1 to 2 minutes, spooning sauce over the chicken.
- Sprinkle with the parsley and serve.