
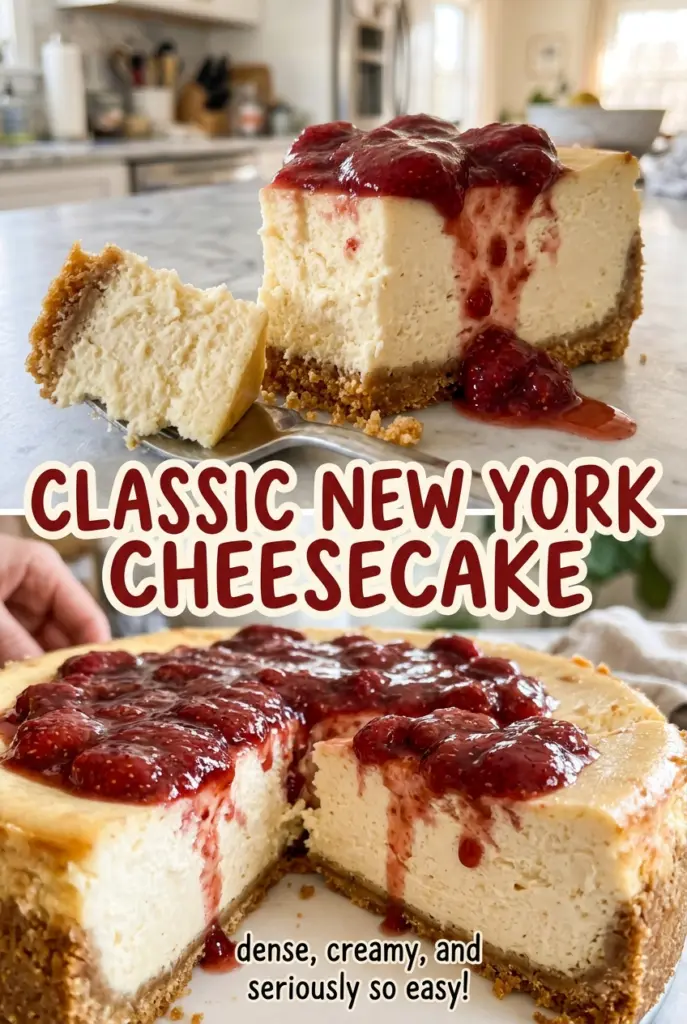
Classic New York Cheesecake
When the edges are set but the middle still gives a gentle wobble, it can look as if the cheesecake needs more time. Resist that urge. The center continues setting…

By Ava
•
•
Reading time: 10 min
Tip: save now, make later.
When the edges are set but the middle still gives a gentle wobble, it can look as if the cheesecake needs more time. Resist that urge. The center continues setting as it cools, and baking it until it looks completely firm is one of the easiest ways to end up with a dry, heavy slice. I watch for that little movement and trust the thermometer, too.
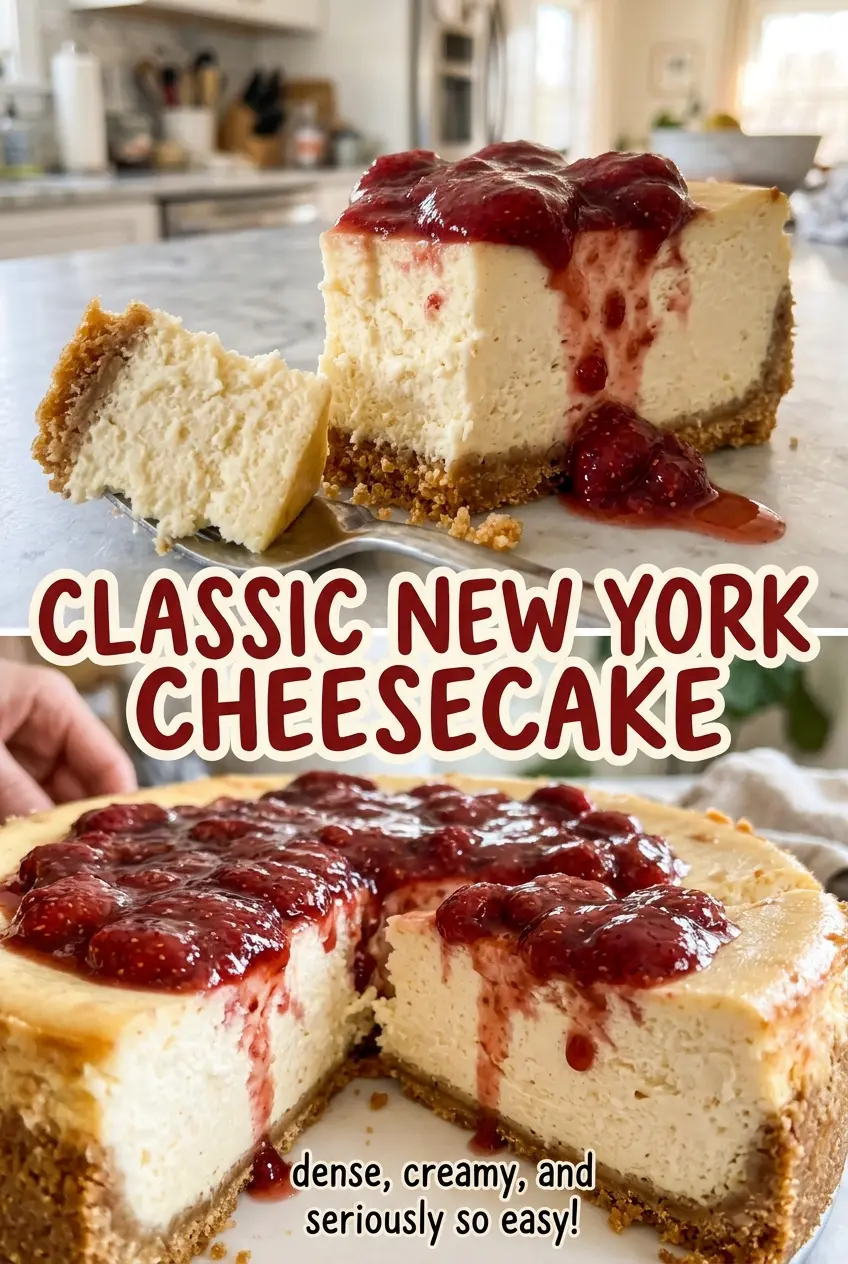
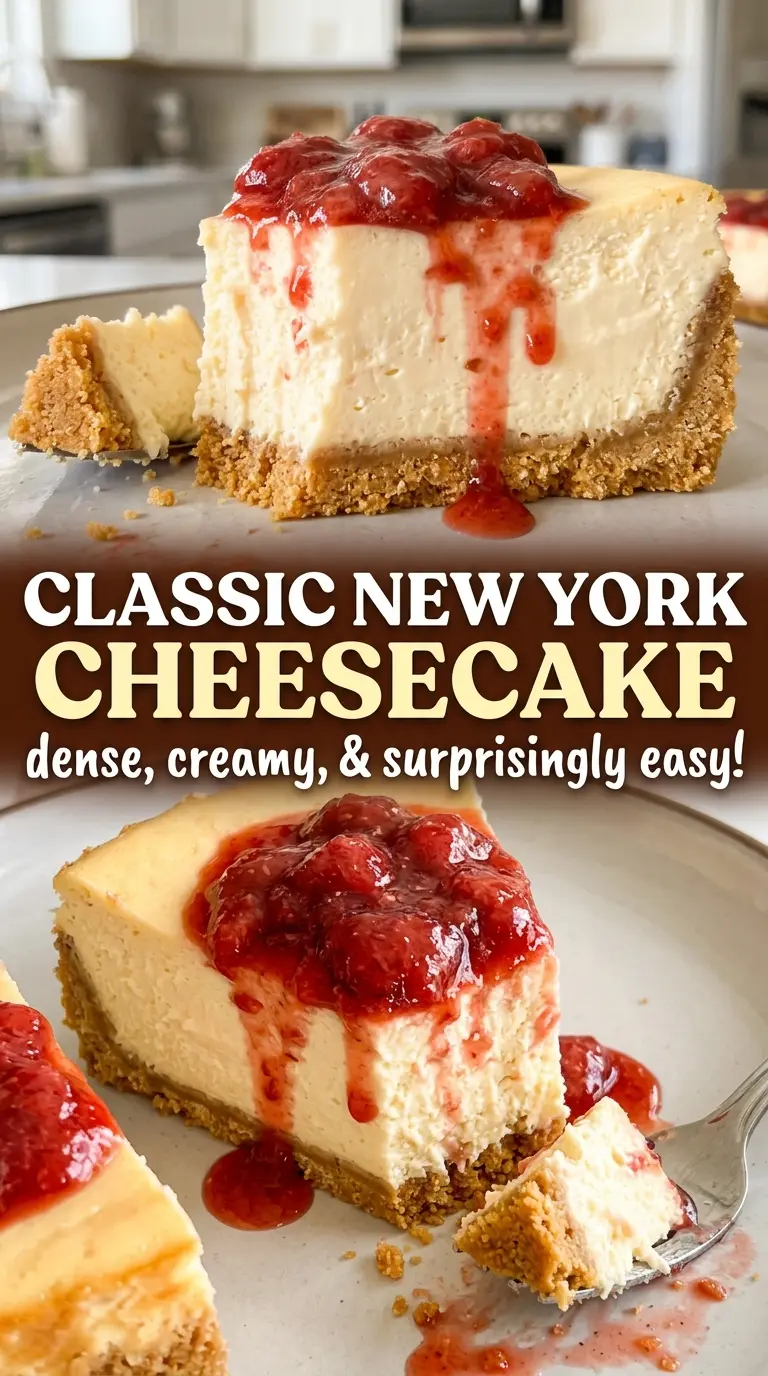
Classic New York cheesecake gets its dense, smooth texture from a filling built around cream cheese, with sour cream for a soft tang and a little lemon zest to brighten it. I keep the mixer on low once the eggs go in; beating extra air into the filling can leave it puffed in the oven and more likely to sink as it cools. A crisp graham cracker base and a slow, gentle bake make each chilled slice rich without feeling stodgy.
Kitchen Note
I wrap the springform pan in two layers of heavy-duty foil before it goes into the water bath. Press the foil snugly around the outside, then take your time pouring the water so none splashes over the rim into the filling.
Save this Classic New York Cheesecake for its creamy, dense filling, crisp graham crust, and slow-baked finish.
Why a Cheesecake Can Look Done at the Edge and Still Need the Oven
Cheesecake doesn’t bake like a cake where you want the whole center to feel firm before it comes out. The edge heats and sets first, while the middle should still move slightly when the pan is nudged. That gentle wobble isn’t raw batter; it’s the cue that the center is close to setting without being overbaked.
The water bath helps the filling heat more gently, so the outer ring doesn’t race ahead while the middle catches up. Then the gradual cool-down gives the cheesecake time to settle instead of meeting a sudden temperature change. Those two parts work together: a steady bake, followed by a slow rest, is what helps keep the texture even from edge to center. A crack doesn’t make a cheesecake taste bad, but avoiding a rushed bake and cool makes the top more likely to stay smooth.
This is also why I don’t judge doneness by color alone. A pale top is normal here, and waiting for browning can leave the filling firmer than the creamy New York-style slice you want.
What the Cream Cheese, Sour Cream, and Flour Each Bring
- Cream cheese — This is the filling’s structure and its signature dense texture. Choose blocks rather than whipped cream cheese from a tub; whipped varieties contain extra air and don’t give the same result. Let the blocks soften before mixing so they blend smoothly, and don’t expect a simple dairy-free swap to behave identically.
- Sour cream — It loosens the richness of the cream cheese with a gentle tang. Plain, full-fat Greek yogurt is the closest practical swap; use the same amount, knowing the filling will be a little tangier and thicker. Bring it to room temperature with the other filling ingredients.
- All-purpose flour — A small amount helps the filling hold together without turning it bready. For a gluten-free version, use a gluten-free 1:1 baking flour blend in the same quantity; blends vary, so choose one meant to replace wheat flour in baking, not a single-ingredient starch.
- Graham cracker crumbs and butter — The crumbs form a sturdy, slightly sweet base, and melted butter binds them when pressed into the pan. Store-brand crumbs work well; for a gluten-free crust, use gluten-free graham-style crumbs in the same quantity. Unsalted butter lets the small amount of kosher salt stay in balance.
- Eggs, vanilla, and lemon zest — Room-temperature eggs blend into the filling more evenly than cold ones. The vanilla rounds out the dairy, while finely grated fresh zest adds fragrance without thinning the mixture; lemon juice isn’t a direct replacement because it adds liquid rather than the zest’s aromatic oils.
Four Stages for a Smooth, Evenly Set Cheesecake
Bake the Crumb Base Until It Holds Together
Heat the oven to 350°F and grease the bottom and sides of a 9-inch springform pan with a little of the melted butter. Stir the graham cracker crumbs, sugar, and kosher salt together, then mix in the remaining butter and press the mixture firmly over the bottom of the pan. Bake the crust for 10 minutes, then set it on a rack to cool. Reduce the oven temperature to 325°F while the crust cools.
Mix the Filling Without Beating in Extra Air
Beat the softened cream cheese in a large bowl with an electric mixer on medium-low until smooth, scraping down the bowl as needed. Add the sugar and flour and beat just until combined, then add the eggs one at a time on low speed. Mix in the sour cream, vanilla, and finely grated lemon zest on low, stopping as soon as the filling looks smooth. Pour it over the cooled crust; prolonged mixing after the eggs go in can make the baked texture less even.
Set Up the Water Bath Carefully
Wrap the outside of the springform pan in two layers of heavy-duty foil, then set it in a large roasting pan. Place the roasting pan on the oven rack before adding the water, which avoids carrying a heavy pan of boiling water across the kitchen. Carefully pour 10 cups of boiling water into the roasting pan around the springform pan. Keep the stream low and steady so water doesn’t splash into the cheesecake.
Use the Wobble and Thermometer, Then Cool Slowly
Bake at 325°F for 1 hour 20 minutes to 1 hour 40 minutes, until the edges are set, the center still wobbles slightly, and an instant-read thermometer inserted in the center reads 160°F. Turn off the oven, prop the door open slightly, and leave the cheesecake inside for 1 hour. Remove the springform pan from the water bath, take off the foil, and cool it on a rack until room temperature, about 2 hours. Cover and refrigerate for at least 8 hours, then run a thin knife around the edge, release the springform, and slice.
Three Thoughtful Ways to Adapt This Cheesecake
Make It Gluten-Free
Use gluten-free graham-style crumbs for the crust and a gluten-free 1:1 baking flour blend for the filling, keeping each replacement at the same quantity as the ingredient it replaces. The filling stays close to the original, while the crust may have a slightly different crunch depending on the crumbs you choose.
Keep the Filling Plain and Cream-Forward
Leave out the lemon zest for a more straightforward cream cheese and vanilla flavor. The texture won’t change, but you’ll lose the light citrus lift that cuts through the richness.
Make the Crust Less Sweet
Reduce the granulated sugar in the crust to 2 tablespoons if you prefer the base less sweet. It will still bind with the melted butter, though the graham flavor will come through more clearly.
Storage and Reheating
- Refrigerator: Cover and refrigerate leftovers for 3 to 4 days. The crust softens gradually as it sits.
- Freezer: Freeze individual slices tightly wrapped for up to 2 months for best quality. Thaw them in the refrigerator before serving; the texture may be slightly softer after freezing.
- Reheating: This cheesecake is best served chilled, so skip the microwave or oven. Warming it can soften the filling and make neat slices harder to cut.
Questions That Come Up When Baking New York Cheesecake
Classic New York Cheesecake
Ingredients
Equipment
Method
- Heat the oven to 350°F.
- Grease the bottom and sides of a 9-inch springform pan with a little of the melted butter.
- Stir the graham cracker crumbs, sugar, and salt together.
- Mix in the remaining butter.
- Press the crumbs firmly over the bottom of the pan.
- Bake for 10 minutes.
- Set the pan on a rack to cool.
- Reduce the oven temperature to 325°F.
- Beat the cream cheese in a large bowl with an electric mixer on medium-low speed until smooth, scraping down the bowl as needed.
- Add the sugar and flour and beat until combined.
- Beat in the eggs one at a time on low speed.
- Mix in the sour cream, vanilla, and lemon zest on low speed just until smooth.
- Pour the filling over the cooled crust.
- Wrap the outside of the springform pan in two layers of heavy-duty foil.
- Set it in a large roasting pan.
- Place the roasting pan on the oven rack.
- Carefully pour the boiling water into the roasting pan around the springform pan, taking care not to splash water into the cheesecake.
- Bake for 1 hour 20 minutes to 1 hour 40 minutes, until the edges are set, the center still wobbles slightly, and an instant-read thermometer inserted in the center reads 160°F.
- Turn off the oven.
- Prop the door open slightly.
- Leave the cheesecake inside for 1 hour.
- Remove the springform pan from the water bath.
- Take off the foil.
- Cool on a rack until room temperature, about 2 hours.
- Cover and refrigerate for at least 8 hours.
- Run a thin knife around the edge.
- Release the springform and slice.