
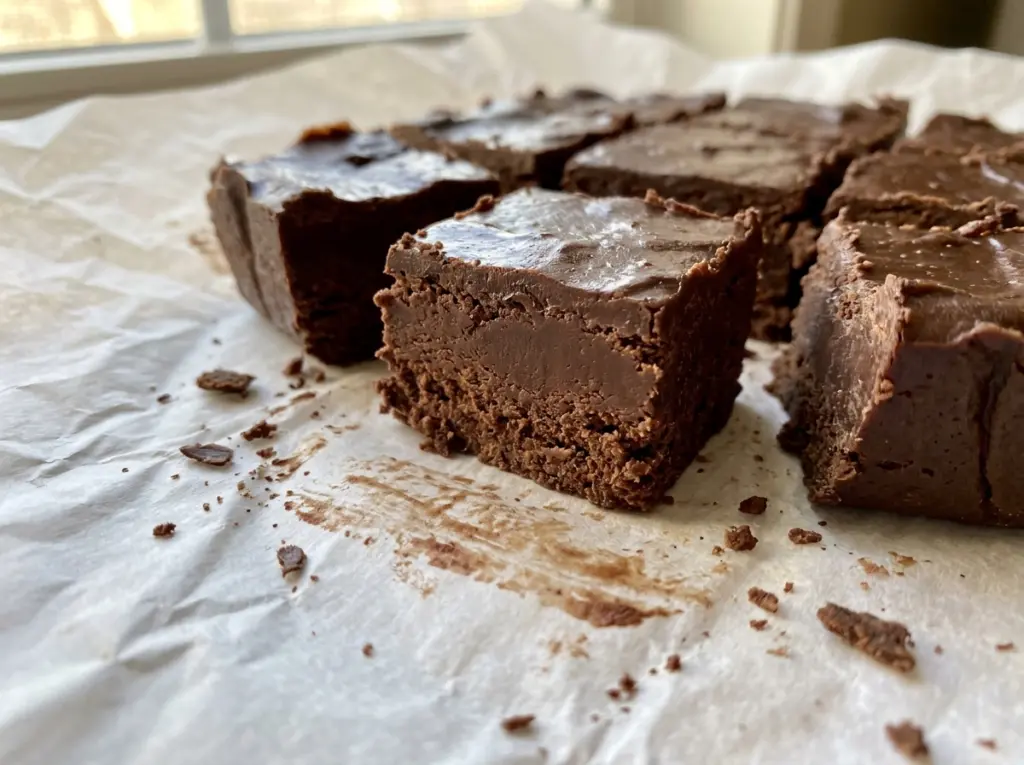
Classic Homemade Fudge with Condensed Milk
The chocolate mixture thickens as it melts, and there’s a small window when it’s smooth enough to pour but still easy to spread. I keep the heat low and stir…

By Ava
•
•
Reading time: 8 min
Tip: save now, make later.
The chocolate mixture thickens as it melts, and there’s a small window when it’s smooth enough to pour but still easy to spread. I keep the heat low and stir the whole time; rushing this part can leave you with scorched chocolate instead of the glossy base you want for classic homemade fudge with condensed milk.
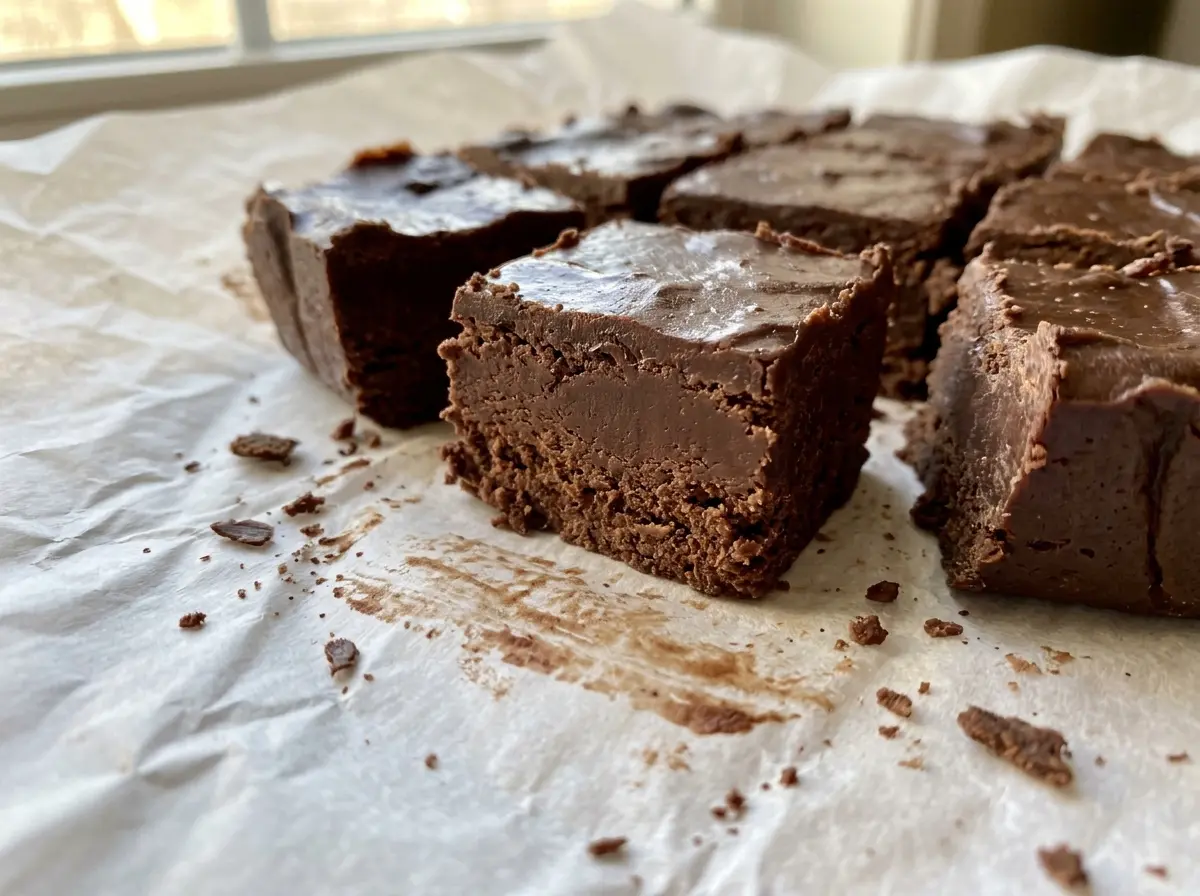
Sweetened condensed milk gives this fudge its rich, creamy texture without a candy-making stage or thermometer. Once the chocolate, milk, butter, and salt are smooth, the mixture goes into the pan and firms up in the refrigerator. The result is a neat square that cuts cleanly and tastes like chocolate from the first bite to the last.
Kitchen Note
Cover the pan before it goes into the refrigerator. The surface stays in better shape, and the fudge won’t pick up the smell of anything else in the fridge.
Save this classic condensed milk fudge for a chocolate treat with a smooth, creamy bite and no candy thermometer needed.
Why This Fudge Firms Up in the Refrigerator, Not the Saucepan
Traditional fudge depends on cooking sugar to a precise stage, then cooling and beating it so the sugar sets with the right texture. This version takes a different route: the chocolate and sweetened condensed milk make a smooth mixture that firms as it chills. There’s no need to judge a bubbling syrup or guess when it has reached the right temperature.
That changes what matters most. The saucepan is for melting everything together, not for cooking the mixture down until it thickens dramatically. Once the chocolate looks smooth, take the pan off the heat and finish the fudge in the refrigerator. If you keep cooking in hopes of making it set faster, you risk scorching the chocolate without improving the finished texture. Give the pan time to chill instead; the slab should feel firm before you lift it and cut it.
The Ingredients That Make This Fudge Smooth and Sliceable

- Semisweet chocolate chips — They bring chocolate flavor and help the chilled fudge hold its shape. A good-quality bag is worth choosing because chocolate is the main flavor; finely chopped semisweet chocolate can stand in for chips and melts readily. Avoid using a chocolate product meant for coating candy, since it won’t behave the same way.
- Sweetened condensed milk — This thick, sweet milk is essential to the recipe’s creamy texture and sweetness. Check that the can says sweetened condensed milk; evaporated milk is thinner and unsweetened, so it isn’t an interchangeable choice here.
- Unsalted butter — Butter rounds out the chocolate and helps the melted mixture feel smooth. Unsalted butter gives you control over the recipe’s salt; if you only have salted butter, use it and leave out the fine salt.
- Vanilla extract — Vanilla softens the chocolate’s sharper edges, so use an extract you enjoy tasting. Vanilla paste is a useful substitute in equal measure, while leaving the vanilla out won’t change the fudge’s ability to set.
How to Melt, Chill, and Cut the Fudge Without Fuss
Set Up the Pan for an Easy Lift
Lightly coat an 8-inch square baking pan with cooking spray, then line it with parchment paper, leaving an overhang on two sides. The spray helps the parchment stay put while you spread the mixture. Keep those two overhanging edges clear; they’ll give you a way to lift the firm slab out later.
Melt the Chocolate Mixture Slowly
Combine the chocolate chips, sweetened condensed milk, butter, and salt in a medium saucepan. Cook over low heat, stirring constantly, for 5 to 8 minutes. The mixture is ready when it looks smooth, with no obvious pieces of chocolate or butter remaining. If the bottom starts to feel sticky as you stir, keep the heat low and scrape across it rather than letting the chocolate sit in one spot.
Stir in Vanilla and Spread While Smooth
Take the saucepan off the heat before adding the vanilla, then stir until it’s incorporated. Scrape the mixture into the prepared pan while it’s still warm enough to spread easily. Work it toward the corners for an even layer; a thick mound in the middle will make the pieces uneven.
Chill Until Firm, Then Portion
Cover the pan and refrigerate it for at least 2 hours, until the fudge is firm. Don’t try to lift the slab while the middle still gives when gently pressed; it needs the full chill to hold together. Use the parchment overhang to lift the fudge from the pan, then cut it into 16 pieces.
Easy Ways to Change the Chocolate or Serving Style
A Deeper, Less-Sweet Chocolate Finish
Swap the semisweet chips for bittersweet chocolate chips, using the same amount. The finished fudge will taste more intensely chocolatey and less sweet, while keeping the same simple melt-and-chill method.
Dairy-Free Fudge
Use dairy-free semisweet chocolate chips, a 14-ounce can of sweetened condensed coconut milk, and dairy-free butter in place of the dairy ingredients. The coconut milk can add a light coconut note, and the texture may be a little softer, so chill the pan until the center is firm before cutting.
Small Squares for a Candy Tray
For smaller, snack-size pieces, cut the chilled slab into more than the usual 16 portions. The thinner pieces are easier to pick up from a candy tray, though they’ll soften more quickly in warm hands.
Storage and Reheating
- Refrigerator: Keep the fudge covered in an airtight container for up to 1 week. It stays firm and creamy when chilled.
- Freezer: It freezes well for up to 2 months. Wrap the pieces tightly, then place them in a freezer-safe container to protect them from drying out.
- Reheating: No reheating is needed. Let a piece sit out briefly before serving if you prefer a softer bite; heating it can make the chocolate greasy.
Questions About Homemade Condensed Milk Fudge
Classic Homemade Fudge with Condensed Milk
Ingredients
Equipment
Method
- Lightly coat an 8-inch square baking pan with cooking spray.
- Line the pan with parchment paper, leaving an overhang on two sides.
- Combine the chocolate chips, sweetened condensed milk, butter, and salt in a medium saucepan.
- Cook over low heat, stirring constantly, for 5 to 8 minutes, until smooth.
- Remove the saucepan from the heat.
- Stir in the vanilla extract.
- Scrape the mixture into the prepared pan.
- Spread the mixture evenly.
- Cover the pan.
- Refrigerate for at least 2 hours, until the fudge is firm.
- Lift the fudge out using the parchment overhang.
- Cut it into 16 pieces.