
Christmas Tree Marshmallow Pops
The green coating starts out glossy, then turns smooth and firm as it sets on the marshmallow. That gives these Christmas Tree Marshmallow Pops a clean surface for the piped…

By Ava
•
•
Reading time: 8 min
Tip: save now, make later.
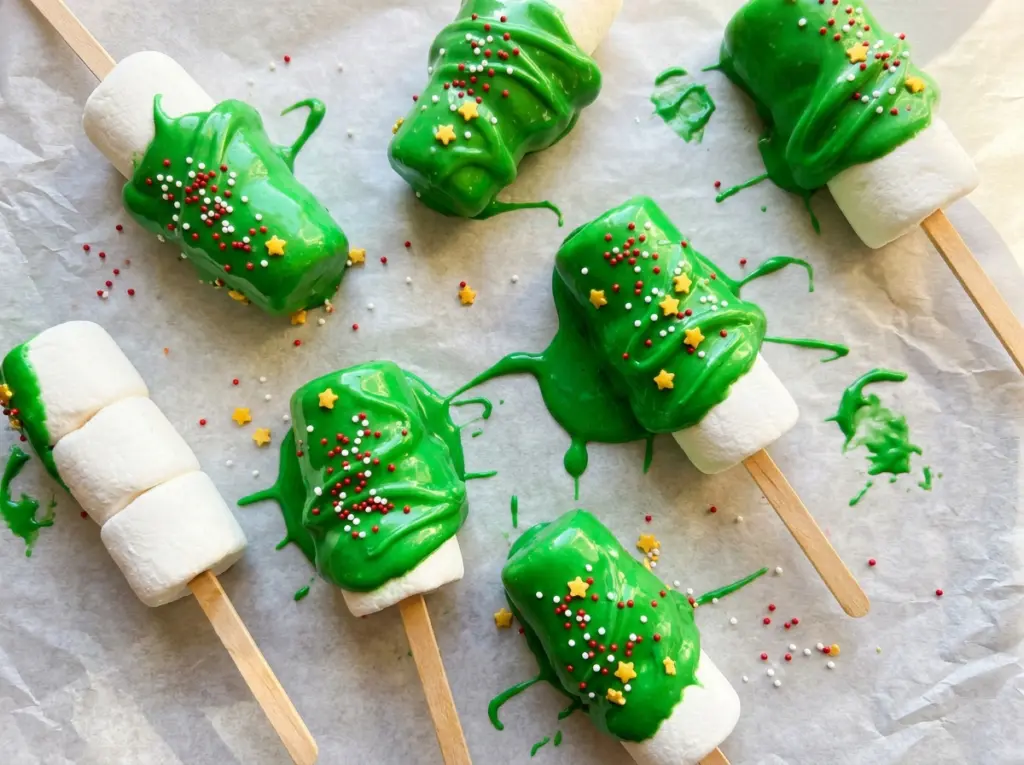
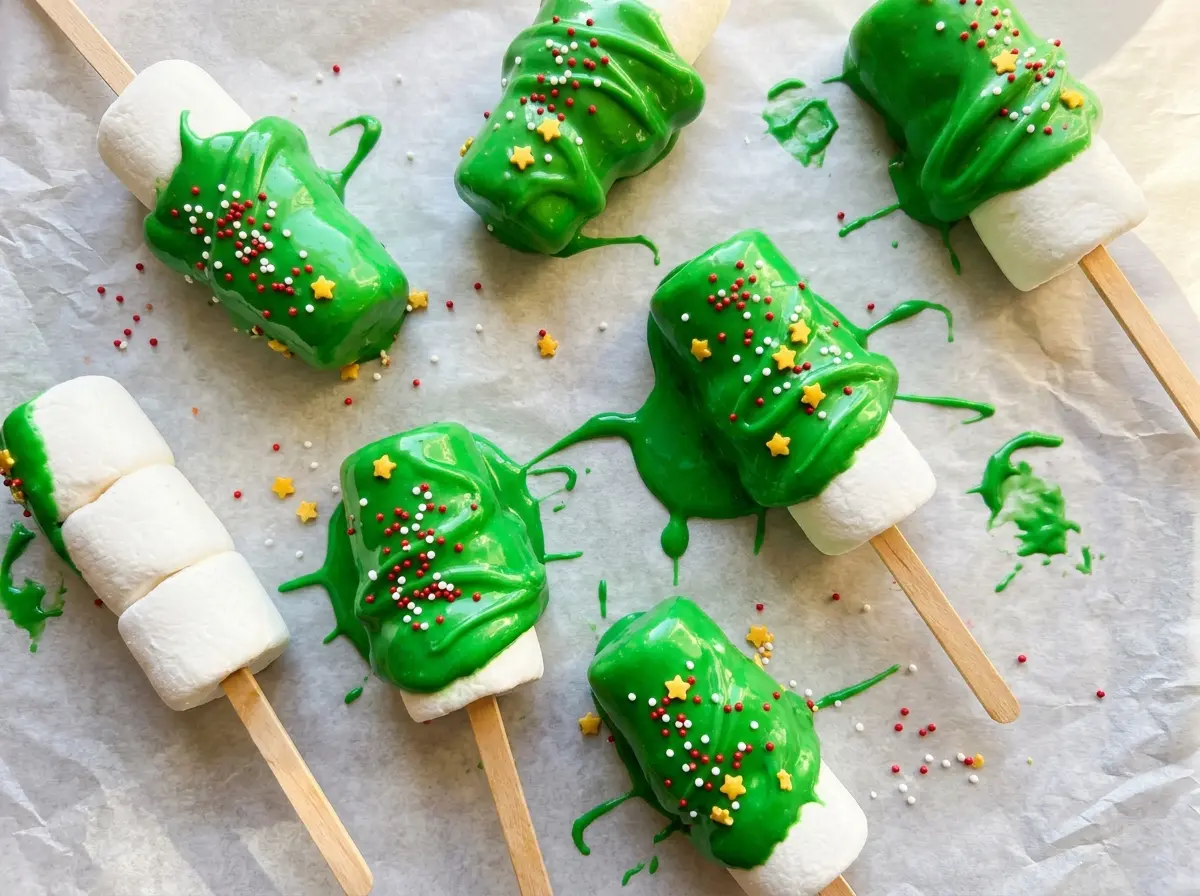
The green coating starts out glossy, then turns smooth and firm as it sets on the marshmallow. That gives these Christmas Tree Marshmallow Pops a clean surface for the piped branches, without needing an oven or a complicated decorating setup. Each one gets a lollipop stick, a green candy shell, a few bright sprinkles, and a little yellow star at the top.
I like splitting the candy melts into two portions: one for dipping and one for piping. The first portion needs to be easy to dip into, while the second becomes the detail work that makes each marshmallow read as a tree. Let the dipped coating set before adding the zigzags, and you’ll get crisp green branches instead of a blended stripe. They’re a cheerful little treat with a soft, pillowy center and a candy crunch on the outside.
Kitchen Note
Push each stick halfway into the flat end of the marshmallow. If you drive it in too far, the marshmallow can split and won’t hold as neatly while you dip it.
Save these Christmas Tree Marshmallow Pops for a no-bake holiday treat: glossy green trees, candy-coated marshmallows, and a star at every top.
Why Four Uneven Zigzags Make the Marshmallow Read as a Tree
A marshmallow is a rounded rectangle, not a cone, so the tree shape has to come from the piping rather than the base. Four horizontal zigzags give the eye separate branch levels to follow. Keeping each pass wider toward the bottom creates a clear silhouette, even when the marshmallow’s edges stay round.
Keep the zigzags centered on the front rather than wrapping them around the sides. The front-facing pattern stays easy to see when the pop is held by its stick, and the wide bottom line gives the yellow star a natural visual finish. If the branches are all the same width, they look more like stripes; let the bottom pass spread out and the tree shape becomes much clearer.
What the Candy Melts and Decorations Bring to Each Tree

- Jumbo marshmallows — Their broad fronts leave enough room for the tree pattern and its star. Choose marshmallows that feel soft rather than dry or stiff; they’re the center of each pop, so freshness matters more here than brand.
- Green candy melts — These provide both the green color and a coating that sets into a smooth shell. A standard, inexpensive bag works well; there’s no need to buy a premium brand. Ordinary chocolate isn’t a direct substitute because it won’t give the same ready-to-use green coating.
- Lollipop sticks — The six-inch length gives you a handle for dipping and decorating. Use clean, food-safe sticks, and keep the marshmallow centered on the flat end so it stays balanced as you work.
- Nonpareils and yellow stars — The tiny nonpareils add a little crunch and color, while the star gives each tree a clear topper. The star is the harder detail to replace; without one, the pop still looks festive, but the tree has no distinct top.
Building the Smooth Shell and Piped Branches
Set Up the Marshmallows
Line a rimmed baking sheet with parchment paper, then prepare the marshmallows on their sticks. Keep the flat end facing up as you insert each stick so the marshmallow sits straight on its handle. A crooked stick makes dipping less comfortable and can leave the pop leaning as it rests on the pan.
Dip in the First Portion of Green Coating
Put 12 ounces of green candy melts in a tall microwave-safe measuring cup. Heat at 50% power in 30-second bursts, stirring after each one, until the coating is smooth. Dip each marshmallow, then let the excess drip back into the cup before setting the pop on the parchment. A thick drip at the bottom can make an uneven puddle, so give each one a moment to drain.
Let the Shell Set Before Piping
Leave the dipped pops on the baking sheet until the coating sets, about 15 to 20 minutes. The surface should look firm rather than wet or glossy with moving coating. If you pipe while the shell is still soft, the lines can sink into it instead of sitting neatly on top.
Pipe Branches and Add the Decorations
Melt the remaining 6 ounces of candy melts in a microwave-safe bowl at 50% power in 20-second bursts, stirring after each burst until smooth. Transfer the melted coating to a piping bag or a small zip-top bag, then snip a small corner. Pipe four horizontal zigzags across the front of each marshmallow, making every line wider toward the bottom. Add the nonpareils and place a yellow star at the top, then leave the pops for 20 minutes so the decoration sets.
Small Changes That Give the Trees a Different Look
A More Minimal Tree
Leave off the nonpareils and keep the green zigzags and yellow star. The result is cleaner and less crunchy, with the branch shape doing all the decorating work.
A Two-Color Canopy
Dip the marshmallows in green as usual, then use a different color of candy melts for the piped zigzags. Keep the same piping pattern and finish with the multicolor nonpareils and yellow star; the contrasting branches stand out more clearly against the green shell.
Storage and Reheating
- Room temperature: Keep the finished pops in an airtight container in a cool, dry spot for up to 1 week.
- Refrigerator: Refrigeration isn’t needed; condensation can form on the candy coating as it warms back up.
- Freezer: Freezing isn’t recommended because thawing can make the coating damp and change the marshmallow’s texture.
- Reheating: Don’t reheat finished pops. Heat softens the coating and can smear the piped branches.
Questions About Making Christmas Tree Marshmallow Pops
Christmas Tree Marshmallow Pops
Ingredients
Equipment
Method
- Line a rimmed baking sheet with parchment paper.
- Push one lollipop stick halfway into the flat end of each marshmallow.
- Melt 12 ounces of the candy melts in a tall microwave-safe measuring cup at 50% power in 30-second bursts, stirring after each, until smooth.
- Dip each marshmallow in the melted candy, let the excess coating drip off, then place it on the baking sheet.
- Let the coating set for 15 to 20 minutes.
- Melt the remaining 6 ounces of candy melts in a microwave-safe bowl at 50% power in 20-second bursts, stirring after each, until smooth.
- Transfer the melted candy to a piping bag or a small zip-top bag and snip a small corner.
- Pipe four horizontal zigzags across the front of each marshmallow, making each one wider toward the bottom to create a tree shape.
- Sprinkle with the nonpareils.
- Place a star at the top of each tree.
- Let set for 20 minutes.