
Black-Eyed Pea and Collard Greens Skillet
The first handful of collard greens looks like far too much for a skillet. Then the leaves hit the warm pan, soften, and make room for the next handful. That…

By Ava
•
•
Reading time: 8 min
Tip: save now, make later.
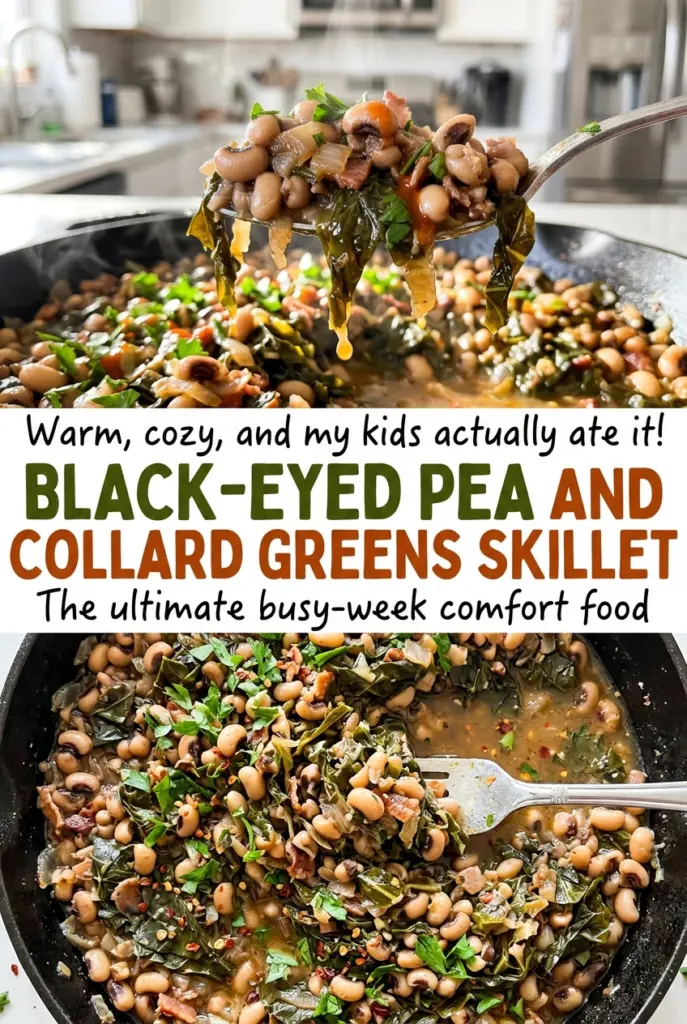
The first handful of collard greens looks like far too much for a skillet. Then the leaves hit the warm pan, soften, and make room for the next handful. That slow collapse is part of what makes this Black-Eyed Pea and Collard Greens Skillet feel generous without turning into a pile of greens floating in broth.
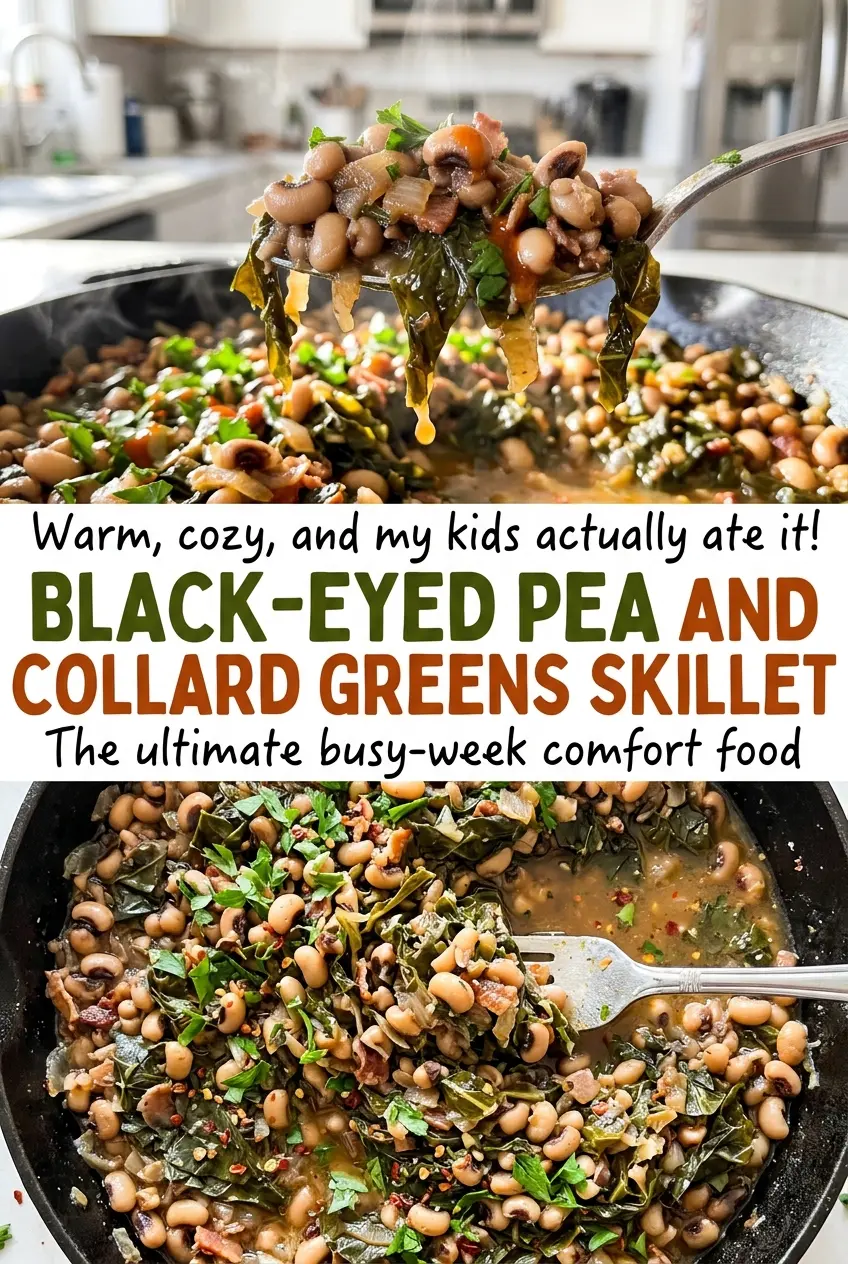
I cook the collards covered until they’re tender before adding the black-eyed peas. The greens need time to soften, while canned peas only need a few minutes to heat through. Crisp bacon goes back in at the end, and a little apple cider vinegar lifts the earthy greens. Each bite has tender collards, creamy peas, and a salty crunch at the finish.
Kitchen Note
Keep the bacon on its paper towel-lined plate while the greens braise. If it stays in the covered skillet, the pieces soften; stirring it in at the finish preserves some crisp edges.
Save this Black-Eyed Pea and Collard Greens Skillet for tender braised greens, creamy peas, crisp bacon, and a bright vinegar finish.
Why the Peas Go In Only After the Collards Are Tender
Collards and canned black-eyed peas don’t need the same amount of time in the pan. The greens start out bulky and firm, and a covered cook with broth gives their leaves time to soften all the way through. The peas are already cooked; they need only to warm up. Add them at the beginning and they’ll spend the whole braise being stirred around, which can leave them split and soft by the time the collards are ready.
That order also lets the greens take on the savory broth before the peas go in. Once the collards are tender, the beans need just a short covered stretch to heat through. I stir gently at that point, then finish with vinegar and bacon, so the peas stay distinct instead of disappearing into the greens. It’s a small timing choice, but it gives the skillet its satisfying mix of textures.
What Collards, Canned Peas, and Bacon Each Bring to the Skillet
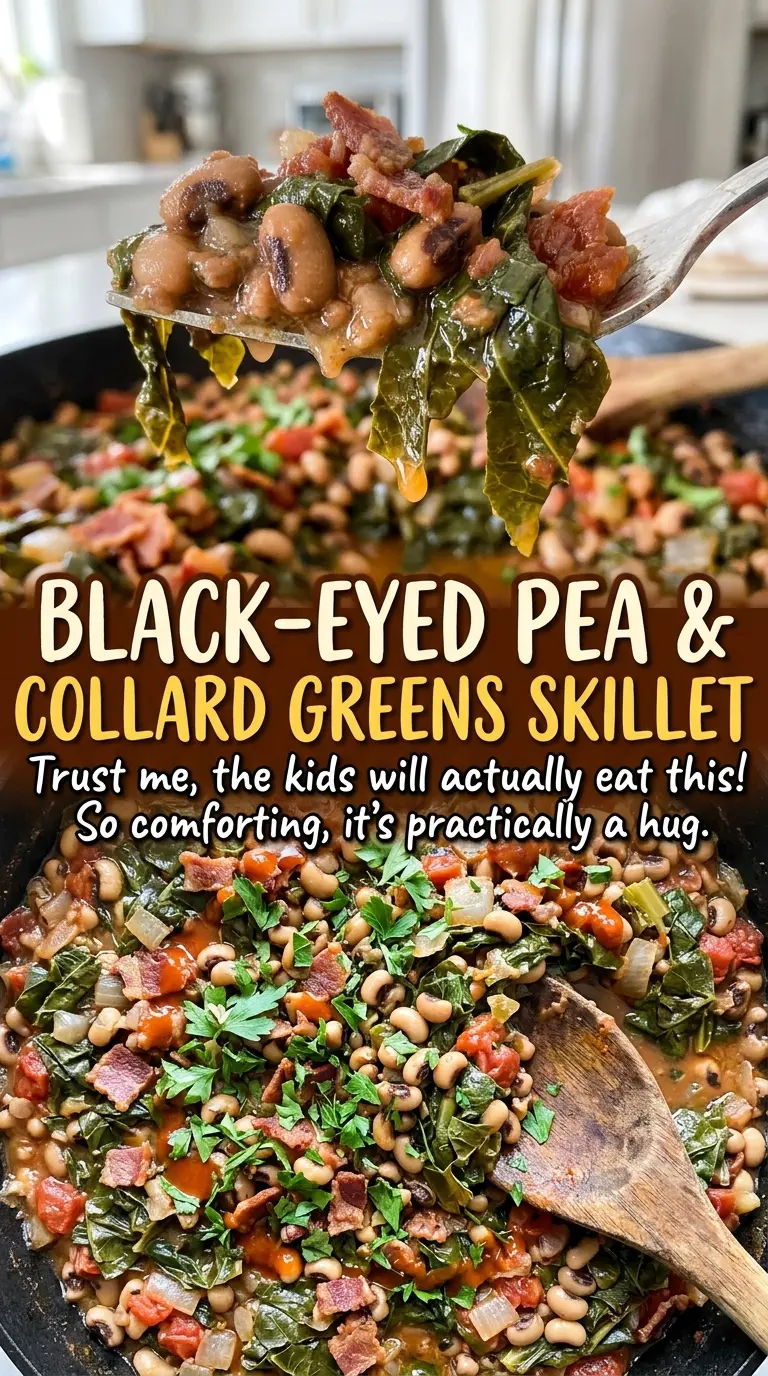
- Collard greens — Choose a firm bunch with leaves that aren’t yellowing or limp. Remove the tough stems and chop the leaves so they wilt and soften evenly. Their sturdy texture is what makes them suited to a longer covered cook.
- Bacon — It brings smoky, salty flavor and crisp bits for the finish. Any standard bacon works here; the useful cue is crispness, not a specialty variety. The bacon is cooked first, then added back after the greens and peas are ready.
- Canned black-eyed peas — Canned peas keep this a one-skillet meal without a separate bean-cooking step. Drain and rinse them before adding, and choose intact-looking peas if you want them to hold their shape when stirred in.
- Low-sodium chicken broth — The broth gives the collards liquid to braise in without making the finished skillet overly salty. A good everyday carton is fine; low-sodium broth leaves more room for the bacon and final seasoning to come through.
- Apple cider vinegar — Its tart, fruity edge balances the greens and bacon. Add it at the end, when its brightness won’t get lost in the covered cook. A fresh bottle is useful here, but there’s no need for a special artisanal vinegar.
- Onion, garlic, and crushed red pepper — These build a savory base before the greens go in. Fresh garlic gives the clearest flavor, and crushed red pepper adds a gentle heat rather than turning the skillet into a spicy dish.
How to Get Tender Collards Without Softening the Peas to Mush
Crisp the Bacon and Soften the Onion
Cook the chopped bacon in a 12-inch skillet over medium heat for 6 to 8 minutes, stirring occasionally, until crisp. Transfer it to a paper towel-lined plate and pour off the drippings. Add the olive oil and diced onion to the skillet, then cook over medium heat for 4 to 5 minutes, stirring occasionally, until softened. Keep the heat steady; the onion should soften rather than brown before the aromatics go in.
Wake Up the Garlic, Then Wilt the Greens
Stir the minced garlic and crushed red pepper into the softened onion and cook for 30 seconds. Add the chopped collards by handfuls, stirring each addition until it wilts before adding more. The raw greens take up a lot of space at first, so pause as needed to let the leaves collapse into the skillet. Don’t rush the garlic; its brief cook is enough to become fragrant without scorching.
Braise Until the Collards Are Tender
Pour in the chicken broth and cover the skillet. Cook over medium-low heat for 18 to 25 minutes, stirring once or twice, until the collards are tender. Keep the lid on between stirs so the steam stays in the pan and the leaves soften in the broth. If they’re still chewy at the shorter end of the range, continue cooking until they reach the tenderness you like.
Warm the Peas and Finish the Skillet
Stir in the drained, rinsed black-eyed peas along with the kosher salt and black pepper. Cover and cook for 5 minutes, just until the peas are heated through. Stir in the apple cider vinegar and cooked bacon at the end. Fold gently so the peas stay whole and the bacon is distributed through the greens.
Easy Swaps That Keep This Skillet in Balance
A vegetarian version with smoked tempeh
Use diced smoked tempeh in place of the bacon, browning it in the olive oil before cooking the onion, and swap vegetable broth for the chicken broth. The tempeh adds a smoky, savory note, though it won’t have the same crisp, fatty bite as bacon.
Use kale for a milder, softer green
Swap chopped kale for the collards, removing any tough stems first. Kale has a less earthy taste and softens faster, so check the leaves for tenderness earlier during the covered cook instead of automatically using the full collard cooking time.
Trade the black-eyed peas for cannellini beans
Use canned cannellini beans, drained and rinsed, in place of the black-eyed peas. They’re mild and creamy, with a slightly softer texture, so fold them into the tender greens gently when it’s time to heat the beans through.
Storage and Reheating
- Refrigerator: Refrigerate within 2 hours and keep leftovers for 3 to 4 days. The collards soften a little more as they sit.
- Freezer: Freeze cooled portions in airtight containers for up to 2 to 3 months. Thaw overnight in the refrigerator; the greens will be softer after thawing.
- Reheating: Warm gently in a covered skillet over medium-low heat, stirring occasionally, until the leftovers reach 165°F. A splash of broth loosens the greens; avoid a hard boil, which can break up the peas.
The Questions That Come Up While This Skillet Cooks
Black-Eyed Pea and Collard Greens Skillet
Ingredients
Equipment
Method
- Cook the bacon in a 12-inch skillet over medium heat for 6 to 8 minutes, stirring occasionally, until crisp.
- Transfer the bacon to a paper towel-lined plate and pour off the drippings.
- Add the olive oil and onion to the skillet and cook over medium heat for 4 to 5 minutes, stirring occasionally, until softened.
- Stir in the garlic and crushed red pepper and cook for 30 seconds.
- Add the collard greens by handfuls, stirring until each addition wilts.
- Pour in the chicken broth, cover the skillet, and cook over medium-low heat for 18 to 25 minutes, stirring once or twice, until the collards are tender.
- Stir in the black-eyed peas, salt, and black pepper, cover, and cook for 5 minutes until the peas are heated through.
- Stir in the vinegar and cooked bacon.
- Serve.