
Baked Cheeseburger Sliders
When the buttered tops start to turn golden, the cheese has melted around the beef and the centers of the rolls are still soft. That’s what I want from baked…

By Ava
•
•
Reading time: 8 min
Tip: save now, make later.
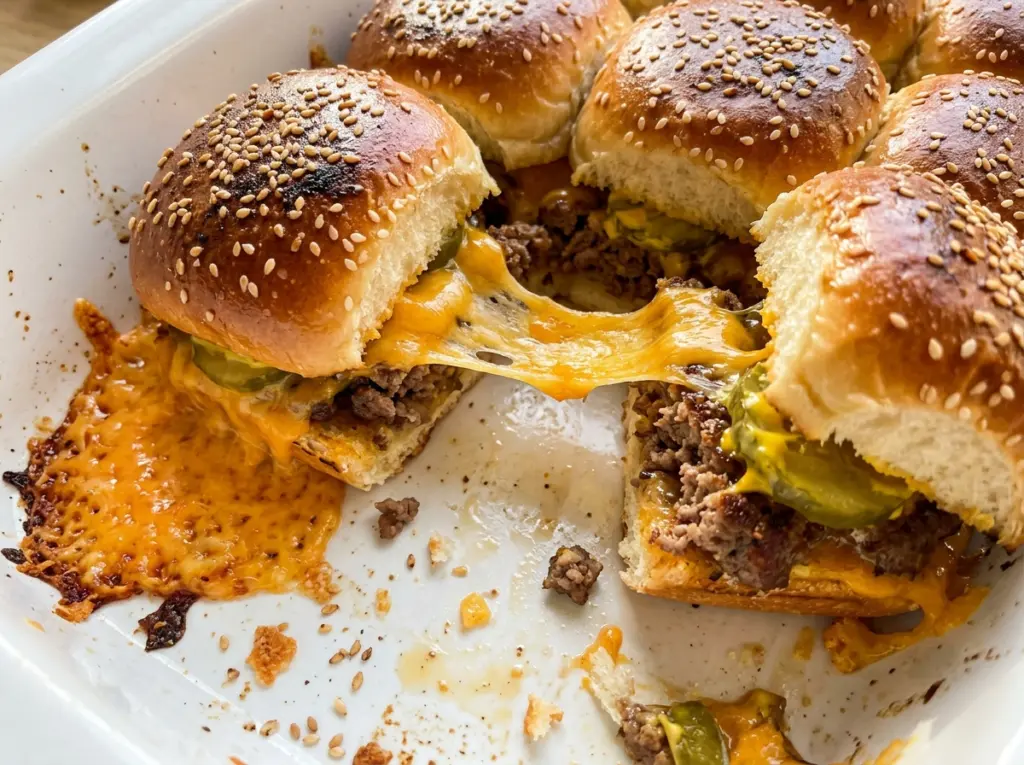
When the buttered tops start to turn golden, the cheese has melted around the beef and the centers of the rolls are still soft. That’s what I want from baked cheeseburger sliders: familiar burger flavor in a pan that makes serving a crowd less fussy. The filling cooks in one batch, and the assembled rolls bake together in a 9×13-inch dish, so you don’t have to build individual sandwiches at the counter.
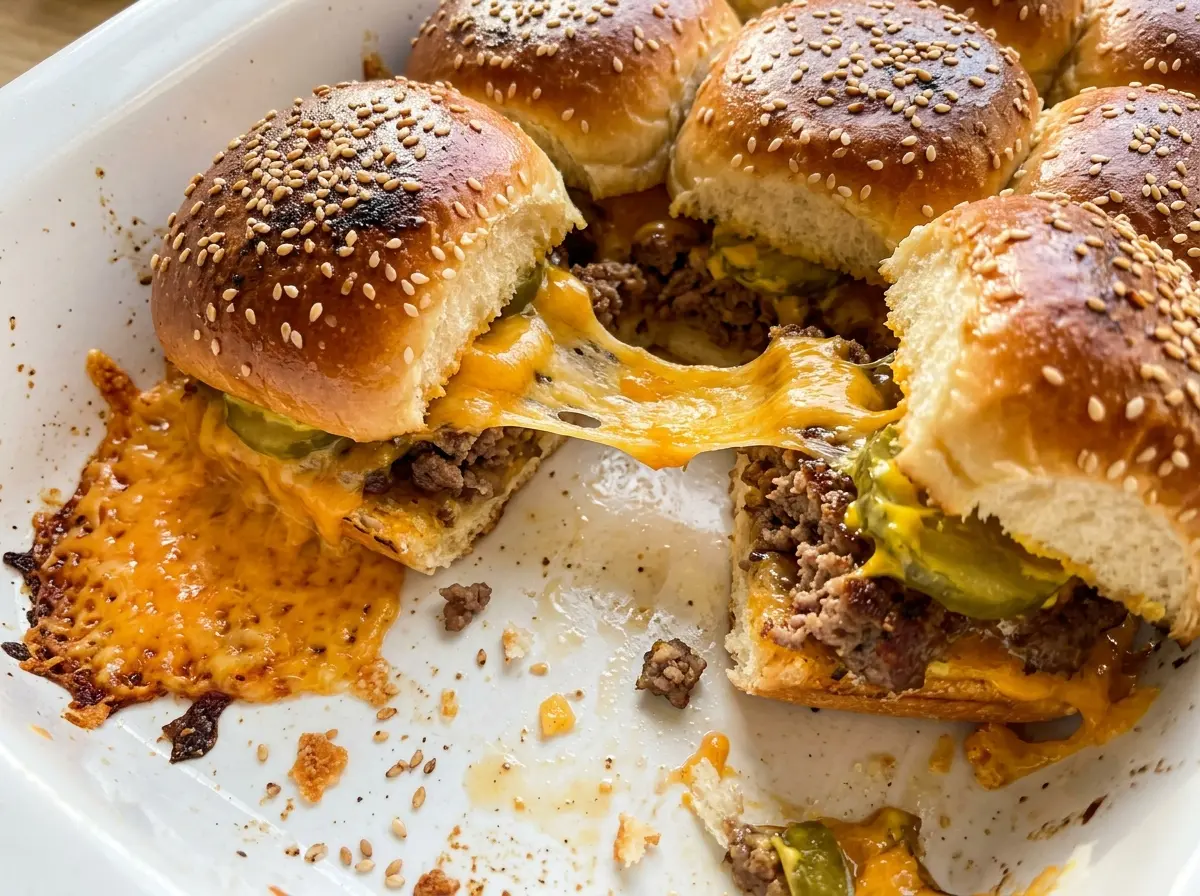
I keep the layers simple and let the oven do the finishing. The covered bake gives the cheese time to melt; uncovering the dish at the end brings a little color to the rolls. After a short rest, the sliders separate neatly, with savory beef, melted cheese, mustard, and a dill pickle chip in every bite.
Kitchen Note
Slice through the rolls horizontally as one slab, but keep the individual rolls joined together. The connected bottoms are easier to fill evenly, and the tops go back on in one piece without shifting the layers.
Save these baked cheeseburger sliders for an easy-to-serve meal with buttery tops, melted cheese, and a dill pickle in every bite.
Why Draining the Beef Keeps the Rolls from Turning Greasy
The beef filling sits directly on soft Hawaiian rolls, so extra fat has nowhere to go once the sliders are assembled. If you skip draining the skillet, that fat can soak into the bottoms while the rolls bake. The result is heavier and greasier than a slider should be, even when the cheese has melted just right.
Using 85% lean ground beef gives the filling enough richness without leaving an excessive amount of fat in the pan. Once the beef is browned and cooked through with the onion, drain the excess fat before stirring in the Worcestershire sauce. That one pause keeps the filling savory and moist without making the bread soggy. You don’t need to press the beef dry; just remove the loose fat that collects in the skillet. Then the rolls can hold the filling instead of absorbing the drippings.
What the Sweet Rolls, Melting Cheese, and Pickles Bring to These Sliders
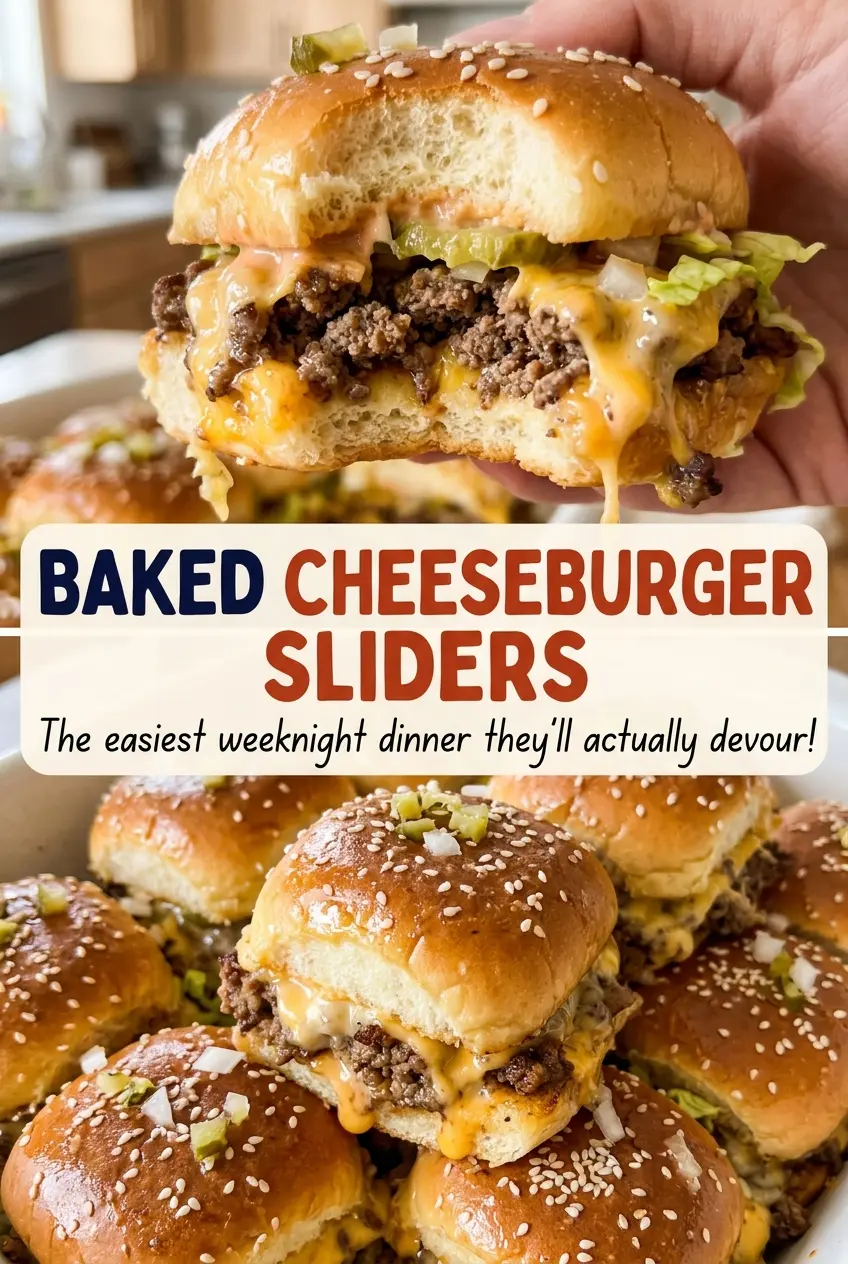
- 85% lean ground beef browns into a juicy, substantial filling while still leaving excess fat to drain away. There’s no need for premium ground beef here; the onion and Worcestershire add plenty of savory character.
- Yellow onion adds sweetness and cooks alongside the beef. Dice it finely so the pieces soften within the skillet cooking time. White onion works as a swap in the same preparation, though its flavor is a little sharper.
- Worcestershire sauce adds a concentrated savory note after the beef is browned. Stir it in at the end of the skillet cooking so its flavor coats the filling rather than getting lost early in the browning.
- Hawaiian slider rolls bring a light sweetness that balances the savory beef. A standard package is fine; choose rolls that are soft and connected so the slab is easy to slice and layer.
- Yellow mustard and dill pickle chips add a tangy counterpoint to the rich filling. The pickle chips also give each slider a crisp, briny bite, so use dill rather than sweet pickle chips for the familiar cheeseburger taste.
- American cheese melts into a smooth layer around the beef. The regular packaged slices work well here; there’s no need for a specialty cheese.
- Unsalted butter and sesame seeds give the tops their buttery finish and a little sesame flavor. Melt the butter before brushing so it spreads over the rolls instead of pulling at them.
From Skillet to Golden Tops: Building the Sliders in Three Stages
Brown the Beef and Soften the Onion
Set the oven to 350°F while you cook the filling. In a 12-inch skillet over medium heat, cook the ground beef and finely diced onion with the kosher salt and black pepper for 8–10 minutes, breaking the beef into small pieces as it browns. The beef should be browned and reach 160°F; if it’s still pink or the onion looks firm, keep cooking until those cues are right. Drain excess fat, stir in the Worcestershire sauce, and cook for 1 minute.
Layer the Filling Without Pulling the Rolls Apart
Lightly coat a 9×13-inch baking dish with nonstick cooking spray. Slice the package of rolls horizontally as one slab, keeping the individual rolls connected, and place the bottom half in the dish. Spread the yellow mustard over the bottoms, then layer on the beef evenly so no slider is left short. Add the American cheese and pickle chips, then set the top slab of rolls back in place.
Let the Covered Bake Melt the Cheese, Then Brown the Tops
Brush the melted unsalted butter over the tops and sprinkle with sesame seeds. Cover the dish with foil and bake for 15 minutes, then uncover and bake for 5–8 minutes, until the cheese is melted and the tops are lightly golden. If the tops need a little more color, watch them closely during the uncovered portion so they don’t get too dark. Let the sliders rest for 5 minutes before separating and serving.
Easy Swaps for Different Buns, Cheese, and Toppings
Make Them Gluten-Free
Replace the Hawaiian slider rolls with 12 gluten-free slider rolls that fit in the baking dish. They’re usually less sweet and can be a little more delicate, so keep them together as a slab when you slice and assemble.
Use Cheddar for a Sharper Cheeseburger
Swap the American cheese for 12 slices of medium cheddar. It gives the sliders a more pronounced cheddar flavor and a slightly less seamless melt, but still works well in the covered bake.
Leave Off the Pickles for a Milder Bite
Omit the dill pickle chips if you prefer a softer, less tangy slider. The filling and cheese will taste richer without that briny contrast, so keep the mustard layer for a little sharpness.
Storage and Reheating
- Refrigerator: Store leftover sliders in a covered container for 3–4 days. The rolls soften as they sit, but the filling stays moist.
- Freezer: They can be frozen, though the rolls will be softer after thawing. Wrap cooled sliders individually, place them in a freezer-safe bag, and use within 2 months for the best texture.
- Reheating: Warm them covered in a 325°F oven until the centers reach 165°F, then uncover briefly if you want to refresh the tops. Avoid reheating uncovered the whole time, which can dry out the bread before the middle is hot.
Questions That Come Up When Baking Cheeseburger Sliders
Baked Cheeseburger Sliders
Ingredients
Equipment
Method
- Preheat the oven to 350°F.
- Cook the ground beef and onion with the salt and pepper in a 12-inch skillet over medium heat for 8-10 minutes, breaking up the beef, until browned and it reaches 160°F; drain excess fat.
- Stir in the Worcestershire sauce and cook for 1 minute.
- Lightly coat a 9x13-inch baking dish with nonstick cooking spray.
- Slice the rolls horizontally as one slab, keeping the individual rolls connected, and place the bottom half in the dish.
- Spread the mustard over the roll bottoms, then evenly layer on the beef, cheese, and pickle chips; replace the top half of the rolls.
- Brush the melted butter over the tops and sprinkle with the sesame seeds.
- Cover the dish with foil and bake for 15 minutes, then uncover and bake for 5-8 minutes, until the cheese is melted and the tops are lightly golden.
- Rest the sliders for 5 minutes before separating and serving.