
American Flag Cheesecake
American Flag Cheesecake lands on the table with the kind of clean, sharp drama that makes people stop mid-conversation before they take the first bite. The crust stays buttery and…
By Ava
•
•
Reading time: 10 min
Tip: save now, make later.
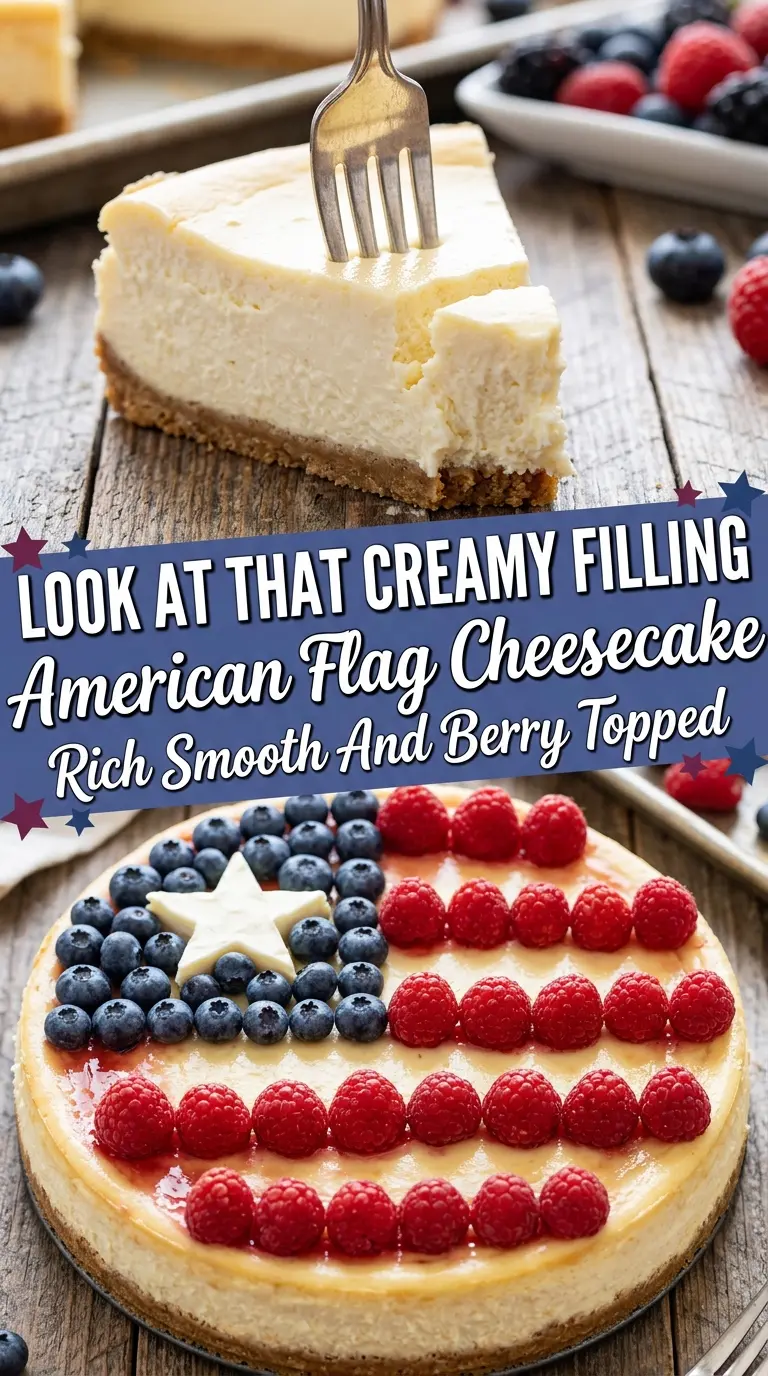
American Flag Cheesecake lands on the table with the kind of clean, sharp drama that makes people stop mid-conversation before they take the first bite. The crust stays buttery and crisp under a thick, cool cheesecake layer, and the fruit on top gives it the look of a celebration without turning the dessert into a sugar bomb. The best part is that it slices neatly when it’s chilled long enough, so you get those picture-perfect layers instead of a soft, messy pan.
What makes this version work is the balance: a simple graham cracker crust that bakes long enough to set, a filling rich with cream cheese and sour cream for a dense but not heavy texture, and a topping that uses fresh berries instead of a thick frosting. The apricot glaze is there for shine, not sweetness, so the fruit still tastes like fruit. Let the cheesecake cool gradually and chill it fully before you decorate; rushing that part is how you end up with cracks and a loose center.
Below, I’ve included the timing cues that matter most, the easiest way to get the flag pattern clean, and a few swaps if you need to work with what’s in the fridge.
The crust held its shape beautifully and the cheesecake chilled into a super clean slice. I was nervous about the berry flag looking messy, but the apricot glaze kept everything in place and it looked gorgeous on the table.
Save this American Flag Cheesecake for the celebrations that need a crisp crust, creamy filling, and berry stripes that actually hold their shape.
The Crack-Free Cheesecake Trick That Matters Before You Add the Berries
The filling itself is only half the job here. The surface needs to bake gently and cool slowly, or the top will split and the fruit arrangement won’t sit as neatly as it should. The goal is a center that still has a slight wobble when you turn off the oven. If the whole middle sloshes, it needs more time. If it looks completely firm in the oven, it’s already overbaked and will set up dry.
The other part people miss is that cheesecake finishes with carryover heat. Turning off the oven and letting it cool gradually keeps the texture dense and smooth instead of puffed and then collapsed. That slower cooling is what gives you a sturdy base for the flag topping instead of a sunken center that traps juice from the berries.
What Each Ingredient Is Actually Doing in This Dessert
- Graham cracker crumbs — These give the crust its classic flavor and enough structure to slice cleanly. Crush them fine so the base packs tightly; large chunks make the crust crumbly instead of sturdy.
- Unsalted butter — Butter binds the crumbs and sets the crust once it cools. Salted butter works in a pinch, but the flavor is cleaner with unsalted because the filling already has enough going on.
- Cream cheese — This is the backbone of the filling, and full-fat blocks matter here. Tub-style cream cheese is softer and can make the cheesecake loose, so stick with brick cream cheese if you want that dense, classic slice.
- Sour cream — It lightens the filling just enough and keeps the texture from feeling stiff. Plain Greek yogurt can work, but it tastes a little tangier and sets slightly firmer.
- Fresh strawberries and blueberries — Fresh berries hold their shape and give the finished cake that clean flag look. Frozen fruit turns soft and bleeds juice, which makes the decoration slide around.
- Apricot preserves — The warmed glaze adds shine and helps the berries stay put without burying them in sweetness. If you don’t have apricot, seedless apple jelly is the closest swap for color and gloss.
Building the Crust, Filling, and Flag in the Right Order
The Crust Needs a Short Bake, Not a Long One
Mix the crumbs, melted butter, and sugar until the mixture looks like damp sand, then press it firmly into the pan. Bake it just long enough to set the edges and deepen the color slightly. If you leave it in too long, it gets hard and shatters when you slice the cheesecake. Let it cool before the filling goes in so the crust stays crisp underneath instead of steaming soft.
Beat the Filling Until It Looks Smooth Before Any Eggs Go In
Start with the cream cheese and sugar and mix until the batter looks completely smooth and a little glossy. Any lumps left at this point stay in the finished cheesecake, so scrape the bowl often. Add the eggs one at a time and mix just until they disappear; overmixing at this stage pulls in extra air and can lead to cracks. Stir in the sour cream and vanilla at the end so the batter stays silky and even.
Bake Until the Center Still Jiggles Slightly
Pour the filling over the cooled crust and bake until the edges are set and the center has a gentle wobble, like set custard. That movement is the sign you want. If you wait until the whole pan looks firm, the cheesecake will bake past creamy and end up dry after chilling. Turn off the oven and let it cool inside first, then move it to the fridge and give it the full chill time before decorating.
Arrange the Fruit After the Cheesecake Is Fully Chilled
Start with the blueberries in the upper left corner so the flag layout has a fixed anchor point. Then layer the strawberry slices into even rows for the stripes, overlapping them just enough to hide gaps. Brush the fruit lightly with warmed apricot preserves for shine and hold. If the cheesecake is even a little warm, the fruit will slide and the glaze can seep into the surface, so decorate only after it’s completely cold.
How to Adapt This for Different Pans, Diets, and Crowd Sizes
Gluten-Free Crust
Swap the graham crackers for certified gluten-free graham-style crumbs or crushed gluten-free vanilla cookies. The texture stays nearly the same as long as you still mix with enough butter to hold the crumbs together. The flavor shifts slightly sweeter if you use vanilla cookies, which works well with the berries.
Lighter Berry Topping
If you want a less polished finish, skip the apricot glaze and pile the fresh berries on just before serving. The cheesecake will still taste the same, but the fruit won’t have that glossy, bakery-style look and it may release a little juice after a few hours.
Mini Cheesecake Version
Bake the batter in lined muffin cups or mini springform pans if you want individual servings. The bake time drops a lot, and the centers should still have a soft wobble when they come out. These are easier to decorate with the flag pattern if you’re serving a smaller group, but they chill faster and need careful handling when you remove them from the pan.
Storage and Reheating
- Refrigerator: Keeps for 4 to 5 days covered. The crust softens a little under the filling, but the texture stays pleasant.
- Freezer: The cheesecake base freezes well without the berry topping. Wrap it tightly, freeze up to 1 month, and add the fruit after thawing in the fridge.
- Reheating: Don’t reheat slices; serve them chilled. If the cheesecake gets too cold and firm straight from the fridge, let it sit at room temperature for 15 to 20 minutes so the texture softens slightly.
Answers to the Questions Worth Asking

American Flag Cheesecake
Ingredients
Equipment
Method
- Preheat oven to 325°F (163°C). Set out a 9-inch springform pan so the crust can go in right away.
- Mix graham cracker crumbs, melted unsalted butter, and granulated sugar until evenly combined. Press the mixture firmly into the bottom of the springform pan to create a tight crust layer.
- Bake the crust for 10 minutes. Cool the crust on a rack until it is no longer hot.
- Beat cream cheese and granulated sugar until smooth. Scrape the bowl as needed so there are no lumps.
- Add eggs one at a time, mixing after each addition. Stop and scrape after each egg for a smooth batter.
- Mix in sour cream and vanilla extract until fully incorporated. The batter should look glossy and uniform.
- Pour the filling over the cooled crust. Tap the pan gently to settle the surface.
- Bake for 55–65 minutes until the center is slightly set. The edges should look set while the middle still has a soft wobble.
- Turn off the oven and let the cheesecake cool gradually. Leave it inside for a gentle temperature change to help prevent cracks.
- Refrigerate at least 6 hours or overnight. Chill until the cheesecake is firm enough to slice cleanly.
- Arrange fresh blueberries in the upper left corner to create the flag's star section. Fill the area evenly so the blue looks dense and centered.
- Arrange fresh strawberry slices in horizontal rows to create red stripes. Place them consistently so the stripes are even across the flag area.
- Brush the fruit lightly with warmed apricot preserves for shine. Use a light coating so the topping glazes without pooling.
- Chill until ready to serve. Keep it cold until serving for the best slice and hold.