
Air Fryer Chicken Breast – Cozy Dinner Recipe
One end of a chicken breast can turn dry while the thick center is still cooking. That unevenness is what used to make air-fryer chicken feel like a gamble: the…

By Ava
•
•
Reading time: 9 min
Tip: save now, make later.
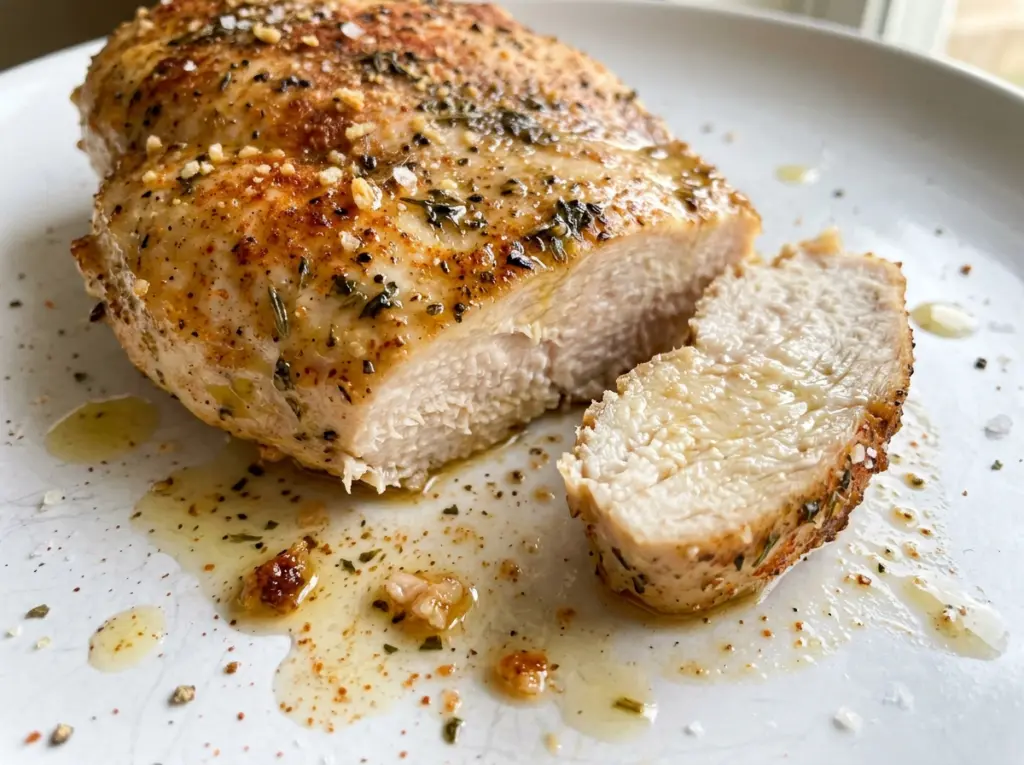
One end of a chicken breast can turn dry while the thick center is still cooking. That unevenness is what used to make air-fryer chicken feel like a gamble: the outside looked ready, but the middle needed more time. These air fryer chicken breasts solve that problem with one quick prep step and a temperature check instead of guesswork.
I pound each breast between sheets of plastic wrap until it’s an even 3/4 inch thick. That gives the meat a much better chance of cooking at the same pace from edge to center, so you’re not waiting on a thick section while the thinner end dries out.
Olive oil helps the paprika, garlic powder, salt, and pepper cling to every surface. The air fryer does the rest: a short cook at 375°F, a flip halfway through, and a five-minute rest for juicy, well-seasoned chicken with warm paprika color.
Kitchen Note
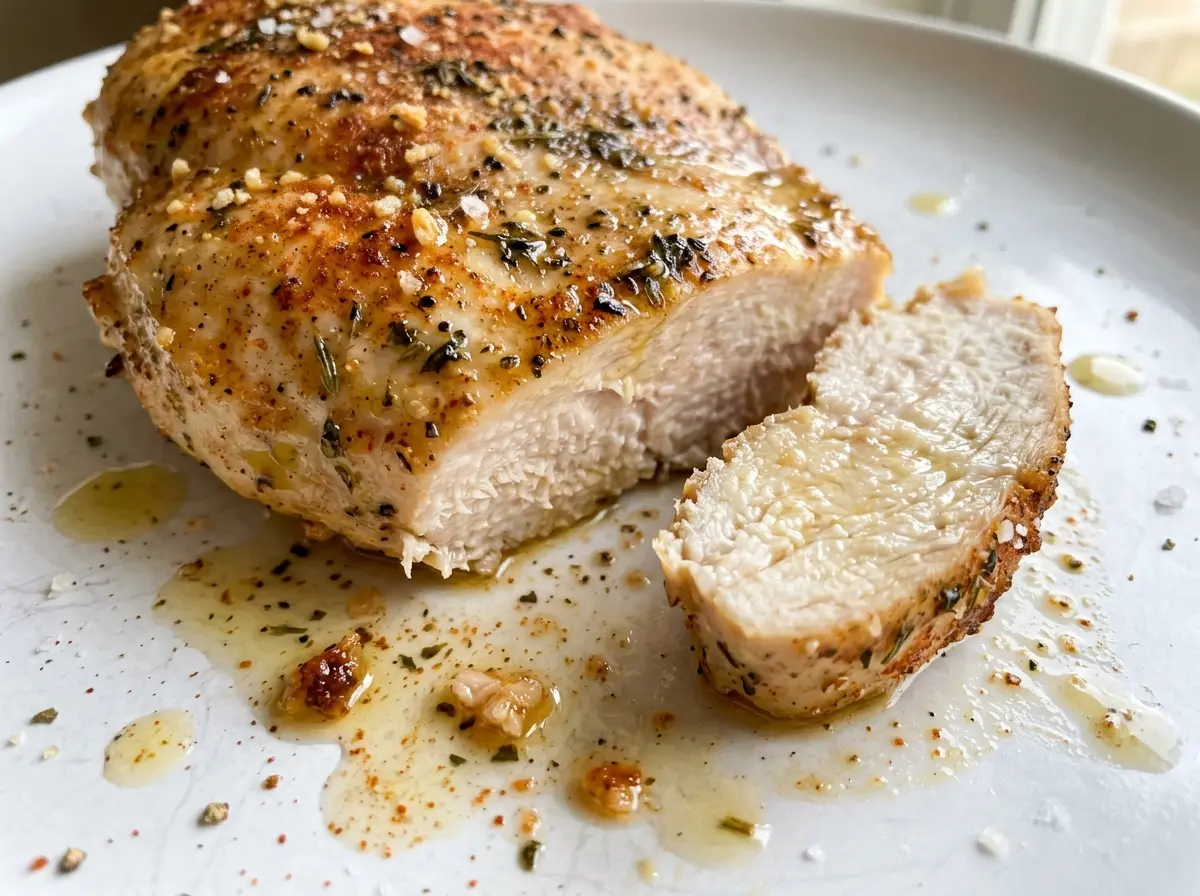
Pound the chicken between plastic wrap, not directly on the counter. Stop when the thickest sections are level with the thinner ends at 3/4 inch; that even shape is what helps the breasts finish together.
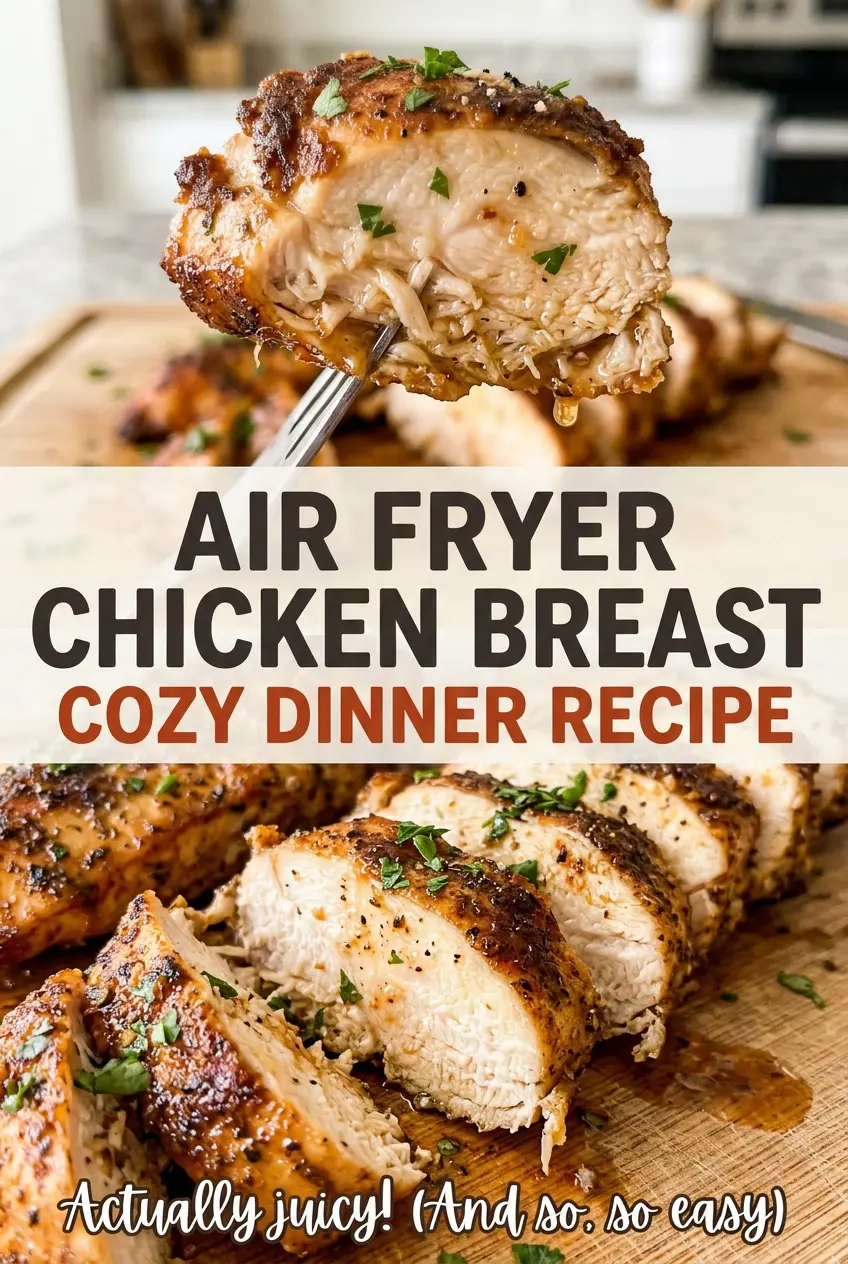
Save these air fryer chicken breasts for an easy dinner: tender centers, paprika-garlic seasoning, and a quick cook at 375°F.
Why a Crowded Air Fryer Basket Leaves Chicken Unevenly Cooked
Chicken breasts need space around them in the air fryer basket. When pieces overlap or sit tightly packed together, hot air can’t circulate evenly around every surface. One breast may brown while a neighboring one stays pale underneath, and cooking time becomes harder to judge.
Arrange the breasts in a single layer, leaving a little room between them. If the basket won’t fit all four comfortably, cook in batches rather than stacking or squeezing them in. That extra space lets the air move around the chicken, and it makes flipping each piece halfway through much easier.
Batching doesn’t mean the later round has to be a different recipe. Keep the air fryer at the same temperature, arrange each batch with room around the pieces, and check each breast individually at the thickest point. The thermometer—not how browned the outside looks—is the reliable signal that the center is cooked through.
What the Oil and Seasonings Bring to Each Chicken Breast
- Chicken breasts — Boneless, skinless pieces in the same general size range are easiest to cook together. The thickness matters more than the outline, so even out the thick part before seasoning. There isn’t a direct swap that keeps the same timing and texture; thighs, for example, are a different cut and won’t cook to the same schedule.
- Olive oil — The thin coating helps the dry seasoning cling instead of falling off in the basket, and it keeps the surface from seeming dusty. A basic olive oil is fine; you don’t need a strongly flavored or expensive bottle for this job. A neutral cooking oil can stand in if that’s what you have, though it won’t bring the same faint olive flavor.
- Paprika — This gives the chicken its warm color and mellow, rounded flavor. Fresh-smelling paprika makes a difference; a jar that has sat open for ages can taste flat. Smoked paprika can replace regular paprika in the same amount, but it shifts the finished chicken toward a noticeably smoky taste.
- Garlic powder and black pepper — Both are dry seasonings, so they coat the oiled surface evenly without adding moisture. Use garlic powder rather than fresh chopped garlic here; fresh pieces can scorch in the air fryer. Freshly ground pepper has a brighter bite, while preground pepper is perfectly fine for a simple weeknight seasoning.
- Kosher salt — Kosher salt is what I use for an even seasoning across the surface. Fine table salt packs more tightly into a spoon, so it can make the chicken too salty if you use the same volume. If you need to substitute it, use less table salt and adjust carefully.
The Four Stages That Keep Air Fryer Chicken Juicy
Preheat Before the Chicken Goes In
Set the air fryer to 375°F and let it preheat before you start cooking. A hot basket gives the chicken a consistent start, which matters when the cook time is short. While it heats, you can pound and season the breasts. Don’t use the timer as a substitute for checking the center at the end.
Flatten the Thick Sections
Place the breasts between sheets of plastic wrap and pound them until each is an even 3/4 inch thick. Work on the thicker parts rather than trying to flatten the whole piece beyond that thickness. An even breast should look level instead of sloping sharply from a thick center to thin edges. If one piece is still much thicker than the others, give that section another few gentle taps.
Coat First, Then Season Both Sides
Rub olive oil over the entire surface of each breast. Sprinkle the salt, paprika, garlic powder, and black pepper over both sides, turning the chicken so the coating is distributed rather than concentrated in one spot. The oil should leave a light sheen, not a puddle. If a little seasoning remains on the work surface, press the chicken gently into it before moving to the basket.
Flip, Check, and Let the Meat Rest
Arrange the chicken in one layer and cook at 375°F for 12 to 16 minutes, flipping halfway through. Cooking time varies with the air fryer and the chicken, so check the thickest part of each breast with a food thermometer. Take the chicken out when each piece reaches 165°F at its center. Transfer it to a plate and let it rest for 5 minutes before serving so the juices settle instead of running straight onto the plate.
Three Small Changes for Different Dinner Needs
A Lower-Sodium Seasoning
Leave out the kosher salt and use the paprika, garlic powder, and black pepper already in the seasoning. The chicken will taste less salty and a little less rounded, but it still gets color and savory flavor from the spices.
Smoky Paprika Chicken
Replace the regular paprika with smoked paprika in the same amount. The chicken keeps the same method and gains a deeper, woodsy note; choose this when you want the seasoning to taste more pronounced.
Make a Half Batch
Scale every ingredient in half when you only need two portions. Keep the same thickness and cooking method, and use the basket space to leave room around the chicken rather than trying to fill it. The reduced batch is convenient, but it won’t leave as much cooked chicken for later meals.
Storage and Reheating
- Refrigerator: Store cooked chicken in an airtight container for 3 to 4 days. The surface softens in storage, but the meat stays useful for quick meals.
- Freezer: Freeze cooled breasts in a tightly sealed freezer-safe container or bag for up to 2 to 3 months. Thaw them in the refrigerator before reheating for the most even result.
- Reheating: Warm slices in the microwave in short bursts, covered, or reheat a whole breast gently in a covered skillet. Heat leftovers to 165°F, and avoid prolonged high heat, which dries out lean chicken.
Questions That Come Up Before the Air Fryer Starts
Air Fryer Chicken Breast – Cozy Dinner Recipe
Ingredients
Equipment
Method
- Preheat the air fryer to 375°F.
- Place the chicken breasts between sheets of plastic wrap and pound them to an even 3/4-inch thickness.
- Rub the chicken all over with the olive oil.
- Season both sides with the salt, paprika, garlic powder, and black pepper.
- Arrange the chicken in a single layer in the air fryer basket, working in batches if needed.
- Cook for 12 to 16 minutes, flipping halfway through, until the thickest part of each breast reaches 165°F.
- Transfer the chicken to a plate.
- Let it rest for 5 minutes before serving.