
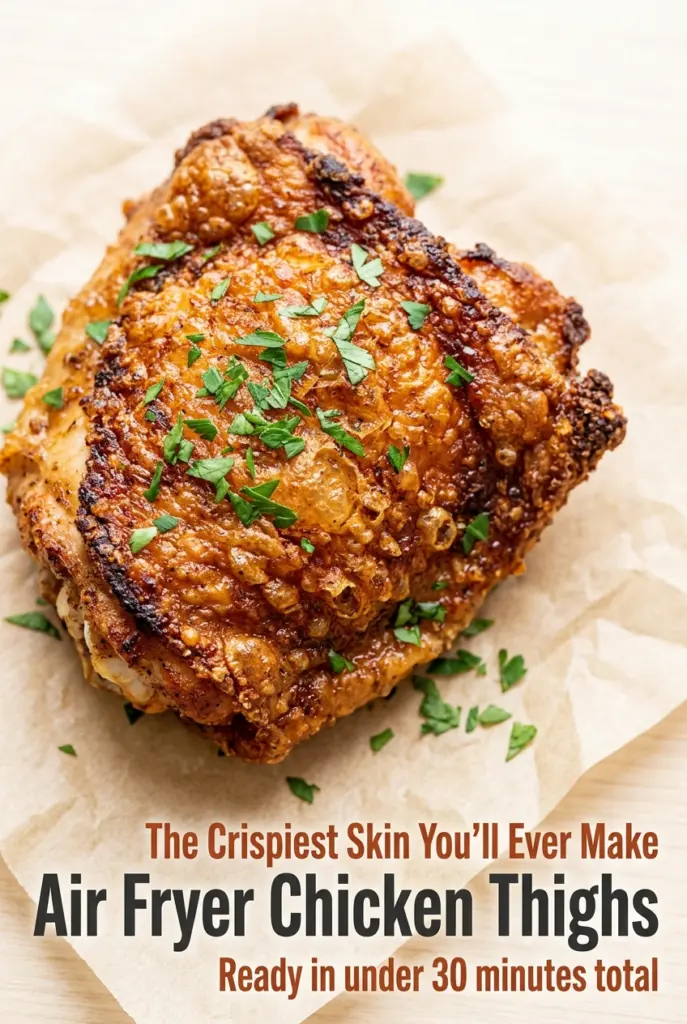
Air Fryer Bone-In Chicken Thighs
Crackling chicken skin and juicy dark meat are exactly why bone-in thighs belong in the air fryer. You get that deep golden finish without heating the whole kitchen, and the…

By Ava
•
•
Reading time: 9 min
Tip: save now, make later.
Crackling chicken skin and juicy dark meat are exactly why bone-in thighs belong in the air fryer. You get that deep golden finish without heating the whole kitchen, and the meat stays tender because the skin protects it while it cooks. The best part is how little babysitting this takes once the seasoning goes on.
The trick is drying the skin well before it ever sees oil. Moisture is the enemy of crisping, and if the thighs go into the basket damp, they’ll steam before they brown. A simple rub of smoked paprika, garlic, onion, thyme, salt, and pepper gives the chicken a savory edge that works with the natural richness of the thighs instead of covering it up.
Below, I walk through the part that matters most: how to get the skin crisp in the air fryer without drying out the meat underneath. I’ve also added the swaps and storage notes that help on busy nights, because this is the kind of dinner that deserves to be easy to repeat.
The skin came out shatteringly crisp and the thighs were still juicy at 175, which is exactly what I needed. The seasoning had great flavor without being salty, and this was on the table faster than waiting for the oven to preheat.
Crispy-skinned air fryer chicken thighs that stay juicy every time
The Reason the Skin Gets Crispy Instead of Rubbery
Air fryers are great at moving hot air around, but they won’t rescue damp chicken skin. The skin has to start dry, and the thighs need space in the basket so the air can reach all sides instead of trapping steam. That’s the difference between a crisp, blistered finish and skin that turns soft before the meat is done.
Cooking skin-side down first also helps render some of the fat before the final crisping pass. If you start skin-side up and never flip, the top can brown before the fat underneath has a chance to melt away. The flip at the halfway point gives you a better texture and a cleaner bite.
- Drying the skin: Paper towels aren’t optional here. Surface moisture has to go before the oil and seasoning go on.
- Spacing: Crowding the basket traps steam. Work in batches if the thighs don’t fit in one layer.
- Finishing temperature: Thighs stay tender at 175°F, and that extra cushion of heat is one reason dark meat works so well in the air fryer.
What Each Seasoning Is Doing on These Thighs

Chicken thighs: Bone-in, skin-on thighs are the right cut for this method. The bone helps the meat cook more evenly, and the skin shields the meat while it crisps.
Olive oil: You need just enough to help the seasoning cling and encourage browning. A neutral oil works too, but olive oil adds a little extra flavor that fits the spices.
Smoked paprika, garlic powder, onion powder, and thyme: This combination gives you savory depth without a wet marinade. Smoked paprika adds color and a little charred flavor, while the powders keep the seasoning even across the skin.
Kosher salt and black pepper: Salt brings out the chicken’s natural flavor and helps the skin season all the way through. If you use table salt instead, cut the amount a bit because it packs more tightly.
Cayenne: This is optional, but even a small pinch wakes up the whole spice rub. Leave it out if you want a milder result.
How to Get the Skin Brown Without Overcooking the Meat
Patting and seasoning the chicken
Pat the thighs dry on both sides, then rub on the oil before adding the spice mix. That order matters because oil helps the seasoning stick, and seasoning over a damp surface turns patchy. Work a little under the skin if you want deeper flavor, but don’t tear the skin trying to force it.
Starting skin-side down
Set the air fryer to 380°F and start the thighs skin-side down. This lets the fat begin rendering before the skin gets its final blast of hot air. If the basket sizzles but nothing browns, the thighs were probably crowded or the skin still had too much moisture on it.
Flipping for the final crisp
After 12 minutes, flip the thighs skin-side up and cook until the skin is deeply golden and crisp. Look for rendered fat in the basket and skin that looks taut, blistered, and browned at the edges. Pull them when the thickest part reaches 175°F, then let them rest for 5 minutes so the juices settle back into the meat.
How to Adapt This for Smaller Batches, Extra Heat, or No Dairy
Make It Spicier
Increase the cayenne to 1/2 teaspoon or add a pinch of chili flakes to the rub. The heat stays on the surface, so it gives the skin a sharper finish without changing the texture of the chicken.
Dairy-Free and Gluten-Free as Written
This recipe already fits both of those needs without any swaps. Just check your spice blends if you’re using pre-mixed paprika or garlic powder, since some blends sneak in anti-caking additives.
Using Boneless Thighs
Boneless thighs cook faster, usually about 16 to 18 minutes total depending on their size. They won’t get quite the same dramatic skin crisp, but they stay juicy and are easier to serve over rice, salad, or roasted vegetables.
Storage and Reheating
- Refrigerator: Store in an airtight container for up to 4 days. The skin softens in the fridge, but the meat stays moist.
- Freezer: These freeze well for up to 2 months if wrapped tightly and sealed. The skin won’t be as crisp after thawing, but the flavor holds up.
- Reheating: Reheat in the air fryer at 350°F for 4 to 6 minutes until hot. The mistake people make is microwaving first, which turns the skin leathery before the inside is warm.
Answers to the Questions Worth Asking
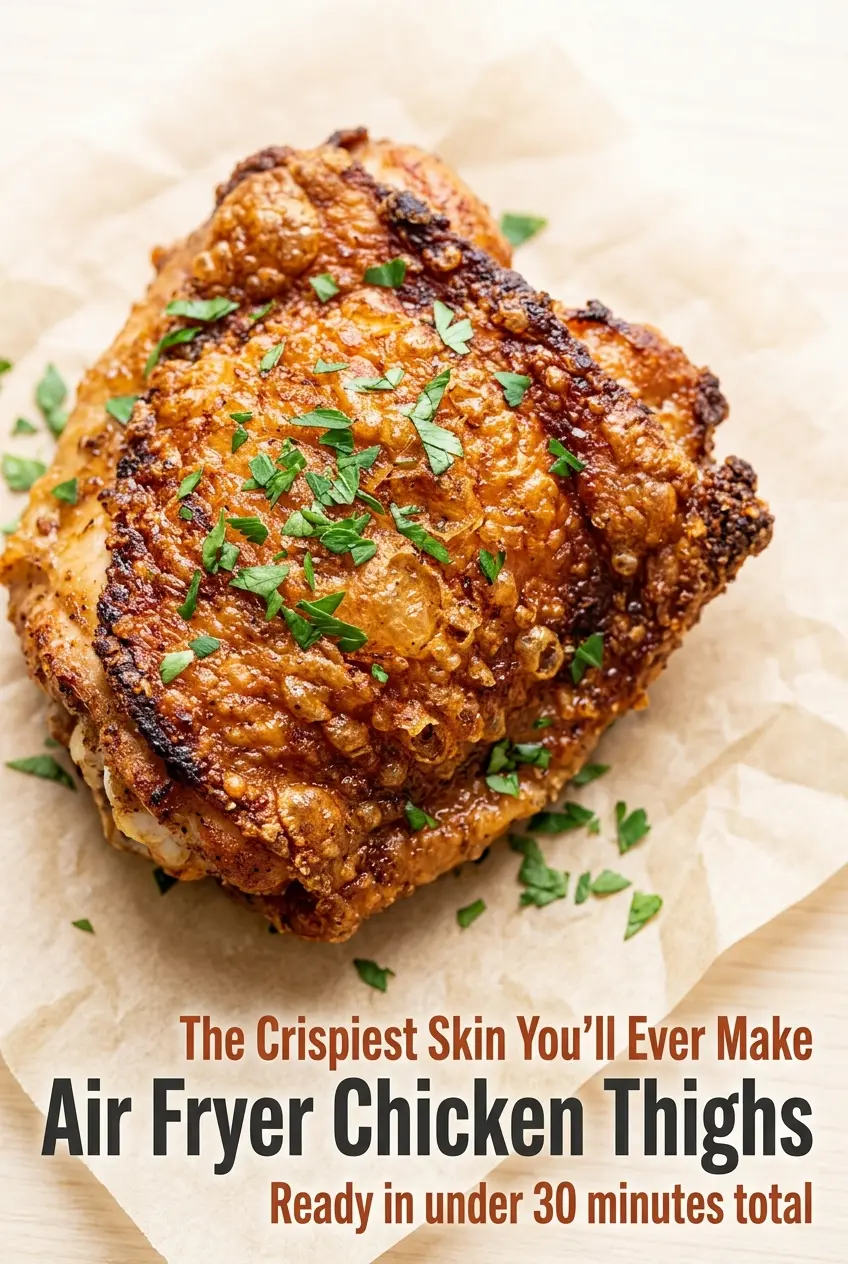
Air Fryer Bone-In Chicken Thighs
Ingredients
Equipment
Method
- Pat the chicken thighs completely dry, then rub olive oil evenly over the skin and meat for better crisping. Leave the surface dry-to-the-touch before seasoning.
- In a small bowl, mix smoked paprika, garlic powder, onion powder, dried thyme, kosher salt, black pepper, and cayenne pepper. Rub the spice mix all over the thighs, getting under the skin slightly for deeper flavor.
- Preheat the air fryer to 380°F for 3 minutes to establish crisp heat. Make sure the basket is ready so the cook starts immediately.
- Place the thighs skin-side down in a single layer and air fry at 380°F for 12 minutes. Look for the skin beginning to turn light golden at the edges.
- Flip the thighs skin-side up and air fry at 380°F for another 12-14 minutes. Cook until the skin is deeply golden and crisp, with an internal temperature of 175°F at the thickest part.
- Let the thighs rest for 5 minutes to lock in the juices. The surface should stay crisp while the meat finishes settling.
- Garnish with fresh parsley before serving for a fresh green finish. Serve immediately after resting.