
Red Velvet Whoopie Pies
Red Velvet Whoopie Pies are these delightful little treats that look like cute, soft sandwiches filled with creamy frosting. The red velvet cake layers are moist and tender, packed with…
By Ava
•
•
Reading time: 6 min
Tip: save now, make later.
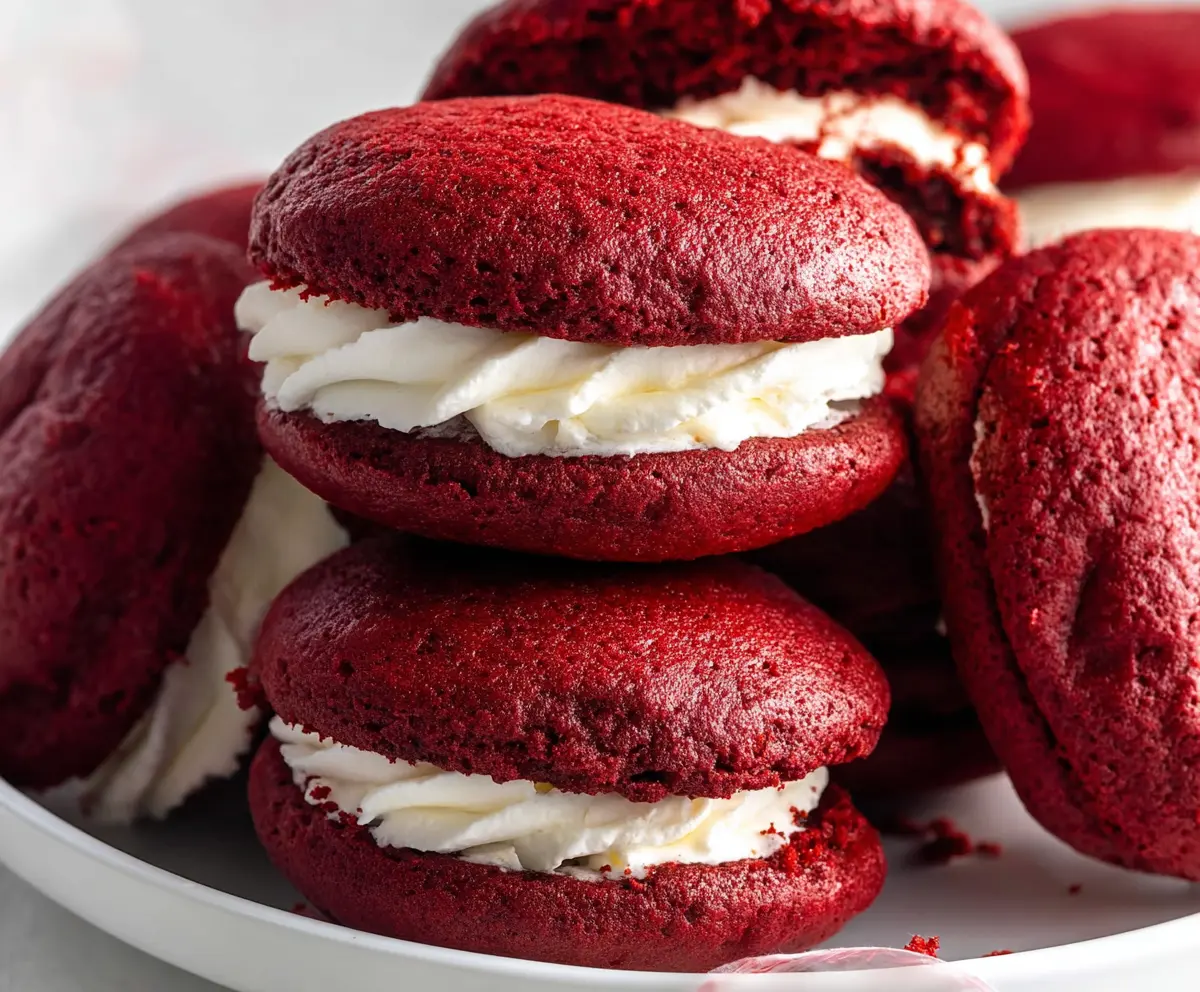
Red Velvet Whoopie Pies are these delightful little treats that look like cute, soft sandwiches filled with creamy frosting. The red velvet cake layers are moist and tender, packed with just the right amount of cocoa and a beautiful, bright red color that makes them stand out. The middle is filled with a smooth, sweet cream cheese frosting that perfectly balances the richness of the cake.
I love making these whoopie pies because they’re fun to assemble and bring out smiles every time. I usually bake the cakes ahead of time, then let the kids help me spread the frosting and sandwich the pieces together. It’s a simple way to make baking feel extra special and interactive. Plus, they’re great for parties or as a sweet surprise to gift to friends.
One of my favorite ways to enjoy these is chilling them in the fridge for a bit before serving so the frosting firms up just right and they’re cool and refreshing. They’re easy to carry along to picnics or family get-togethers because they stay neat and don’t crumble all over the place. Honestly, once you make these, you’ll find yourself reaching for them whenever you want a little homemade treat that’s both pretty and delicious.
Key Ingredients & Substitutions
All-purpose flour: This gives the whoopie pies their soft but sturdy texture. You can swap in gluten-free flour blends if needed—just make sure they’re meant for baking.
Cocoa powder: Adds a hint of chocolate flavor that balances the sweetness. Unsweetened is best; Dutch-processed works too but changes the taste slightly.
Buttermilk: Essential for tender, moist cakes. If you don’t have it, mix 1 tbsp vinegar or lemon juice with a cup of milk and let it sit for 5 minutes.
Red food coloring: Traditional for red velvet’s signature look. If you prefer, natural options like beet juice can be used, but colors might be less vivid.
Cream cheese: The filling star! Make sure it’s softened to avoid lumps. You can swap for mascarpone or a mix of cream cheese and butter for a lighter taste.
How Do I Make Soft, Perfectly Round Whoopie Pies?
Getting the perfect soft rounds can be tricky. Here are some tips:
- Use a cookie scoop or tablespoon to drop uniform batter blobs on your baking sheet.
- Flatten each blob slightly with the back of the spoon for even rounds.
- Space them well (about 2 inches apart) so they don’t spread into one another.
- Don’t overbake! Bake until just set and soft to the touch, about 10-12 minutes.
- Let the cakes cool completely before filling, or the frosting may melt and slide.
Following these steps helps ensure your whoopie pies look beautiful and taste delightfully soft every time.
Equipment You’ll Need
- Baking sheets – flat and sturdy to hold the whoopie pie batter without spilling.
- Parchment paper or silicone baking mats – prevent sticking and make cleanup easy.
- Mixing bowls – a large one for the batter and a smaller one for the filling.
- Electric mixer or hand mixer – helps beat the butter and sugar fluffy and smooth for the best texture.
- Cookie scoop or tablespoon – for dropping even-sized batter rounds to bake uniformly.
- Wire racks – let the cakes cool fully to keep them from getting soggy before filling.
Flavor Variations & Add-Ins
- Try swapping the cream cheese filling with marshmallow fluff for a lighter, sweeter center.
- Add a hint of cinnamon or nutmeg to the batter for a warm twist perfect in colder months.
- Mix mini chocolate chips into the batter for some extra texture and chocolate flavor.
- Use peppermint extract in the filling for a festive holiday touch that pairs well with red velvet.
Red Velvet Whoopie Pies
Ingredients You’ll Need:
For the Red Velvet Cakes:
- 2 cups (240g) all-purpose flour
- 1/4 cup (25g) unsweetened cocoa powder
- 1 1/2 tsp baking powder
- 1/2 tsp baking soda
- 1/2 tsp salt
- 3/4 cup (170g) unsalted butter, softened
- 1 cup (200g) granulated sugar
- 1 large egg
- 1 tsp vanilla extract
- 1 cup buttermilk, room temperature
- 1 tbsp red food coloring
- 1 tsp white vinegar
For the Cream Cheese Filling:
- 8 oz (225g) cream cheese, softened
- 1/2 cup (115g) unsalted butter, softened
- 3 cups (360g) powdered sugar, sifted
- 1 tsp vanilla extract
How Much Time Will You Need?
This recipe takes about 15 minutes to prepare the batter and filling, 10-12 minutes to bake each batch, and additional time to cool and assemble. Plan for around 1 hour total, including chilling time if you prefer firmer filling.
Step-by-Step Instructions:
1. Prepare the Batter:
Start by preheating your oven to 350°F (175°C). Line your baking sheets with parchment paper or silicone mats. In a medium bowl, whisk the flour, cocoa powder, baking powder, baking soda, and salt.
In a large bowl, beat softened butter and granulated sugar together until light and fluffy, about 3-4 minutes. Add the egg and vanilla extract, mixing until combined. In a small bowl, mix buttermilk, red food coloring, and white vinegar.
Alternate adding the dry ingredients and the buttermilk mixture to the butter mixture, beginning and ending with the dry ingredients. Mix just until everything is combined—don’t overmix!
2. Bake the Cake Rounds:
Using a tablespoon or cookie scoop, drop rounded spoonfuls of batter onto the prepared baking sheets, spacing about 2 inches apart. Flatten each slightly to form rounds. Bake for 10-12 minutes, until the cakes puff up and are soft to the touch.
Remove from the oven and cool completely on wire racks.
3. Make the Cream Cheese Filling and Assemble:
While the cakes cool, beat the cream cheese and softened butter together until smooth. Gradually add sifted powdered sugar and beat until fluffy. Stir in vanilla extract.
Once the cakes are cool, spread or pipe cream cheese filling onto the flat side of half the cakes. Top with the remaining cake halves, gently pressing to make sandwiches.
For best results, chill the whoopie pies before serving so the filling firms up.
Enjoy these soft, creamy, and classic red velvet whoopie pies as a delightful treat for yourself or to share with friends and family!
Can I Use Frozen Whoopie Pie Cakes?
Yes! Freeze the cooled cake rounds in a single layer on a baking sheet, then transfer to a freezer-safe bag. Thaw completely at room temperature before filling to prevent soggy textures.
Can I Substitute Greek Yogurt for Buttermilk?
Absolutely! Use an equal amount of plain Greek yogurt mixed with a little water to thin it out to buttermilk consistency. This keeps the cakes moist and tender.
How Should I Store Leftover Whoopie Pies?
Store them in an airtight container in the fridge for up to 4 days. Bring to room temperature before eating for the best flavor and texture.
Can I Make the Filling Ahead of Time?
Yes, you can prepare the cream cheese filling a day ahead and keep it refrigerated. Let it soften slightly before using to make spreading easier.